
Making a Quilt Pinwheel
Materials
-Fabric (at least 2 varieties to vary the pinwheel, I used 8 here)
-Rotary Tool
-Cutting Mat
-Straight Pins
-Sewing Machine
-Iron
-Ironing Board
-Scissors
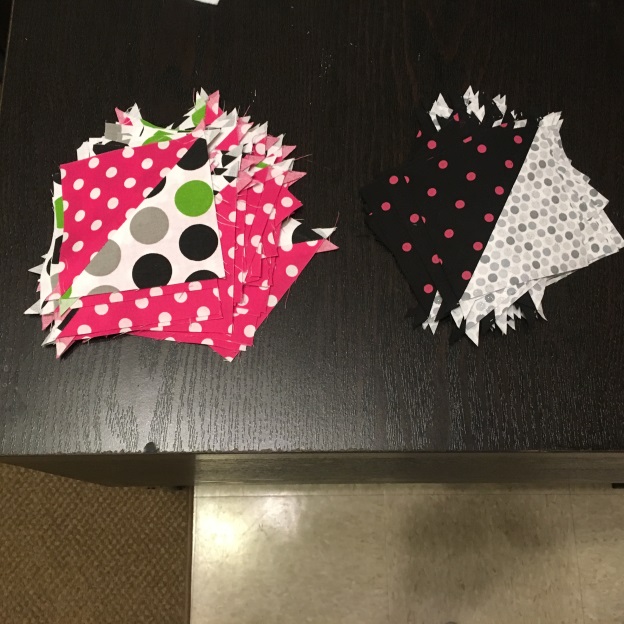
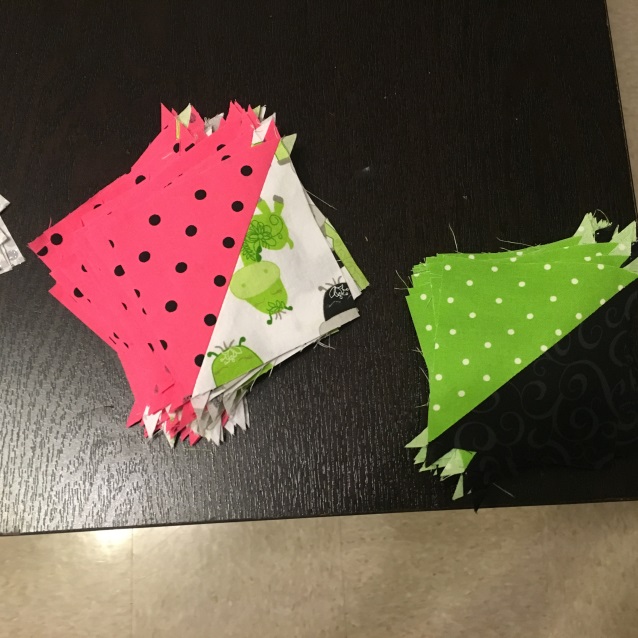
1. Cut 4 ½ inch squares or any desired size as long as all the squares are even. Diagonally cut the squares into triangles.
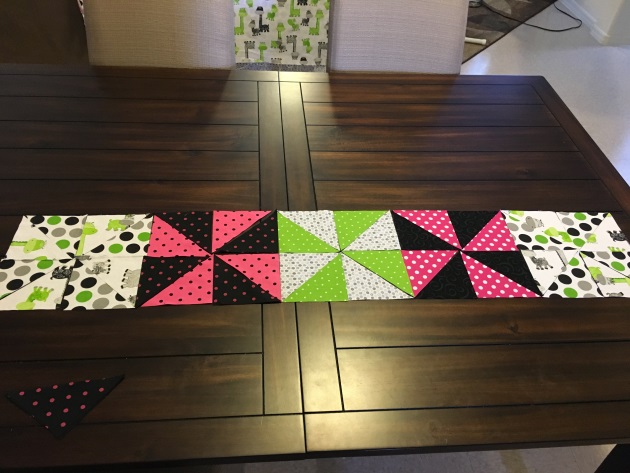
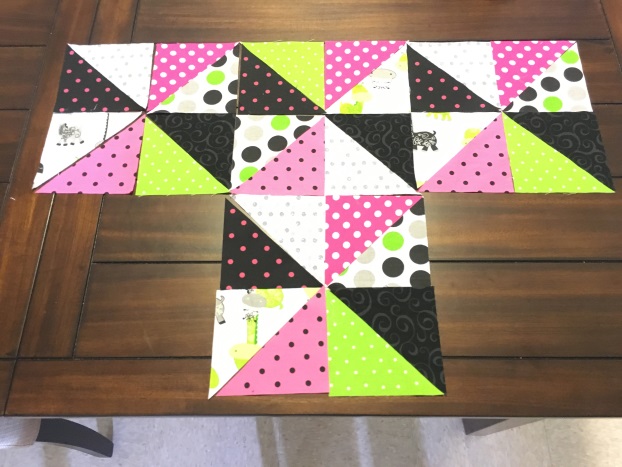
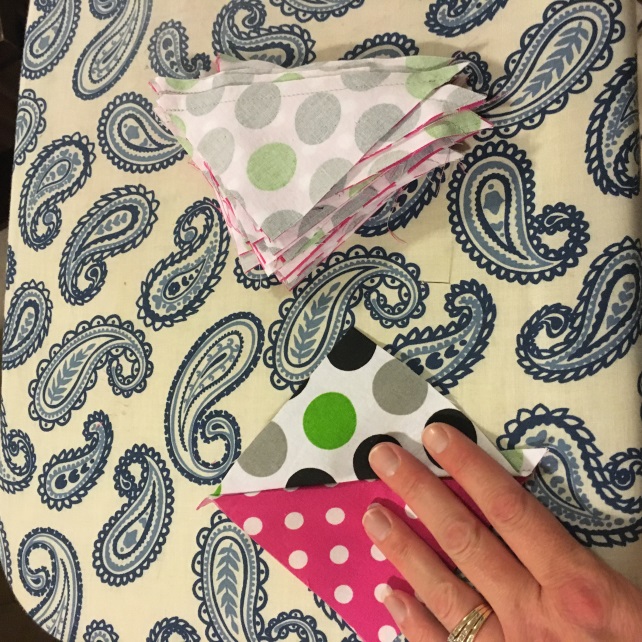
2. Lay out triangles until you are happy with how your pinwheel looks. I had to try a few ways until I was satisfied.
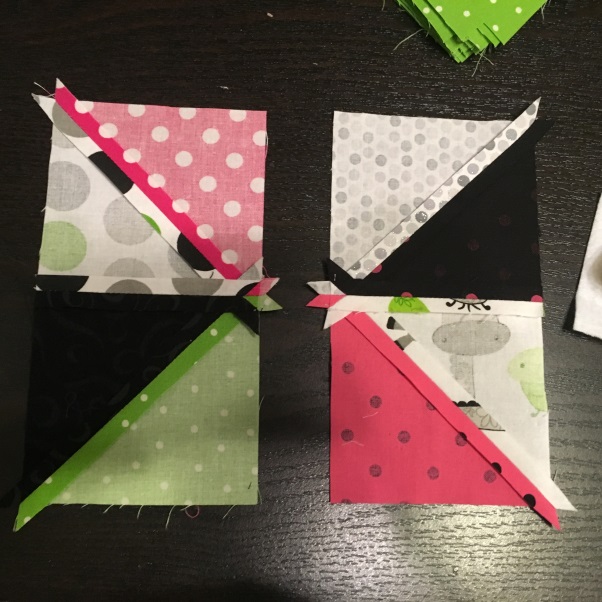
3. Take the two fabrics that make a square, lay face to face and pin together. Sew a quarter inch seam down the long, flat side of the triangle.
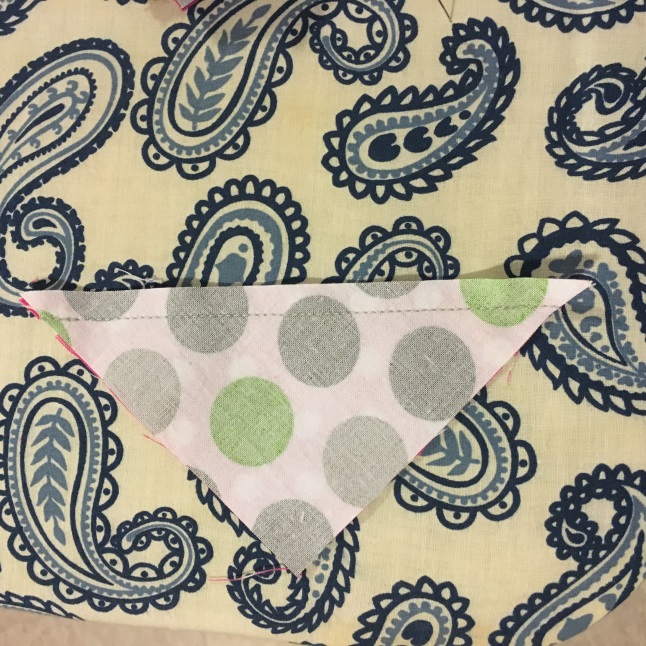
4. Repeat with all your triangle squares. Iron seams flat to show the square you have created.
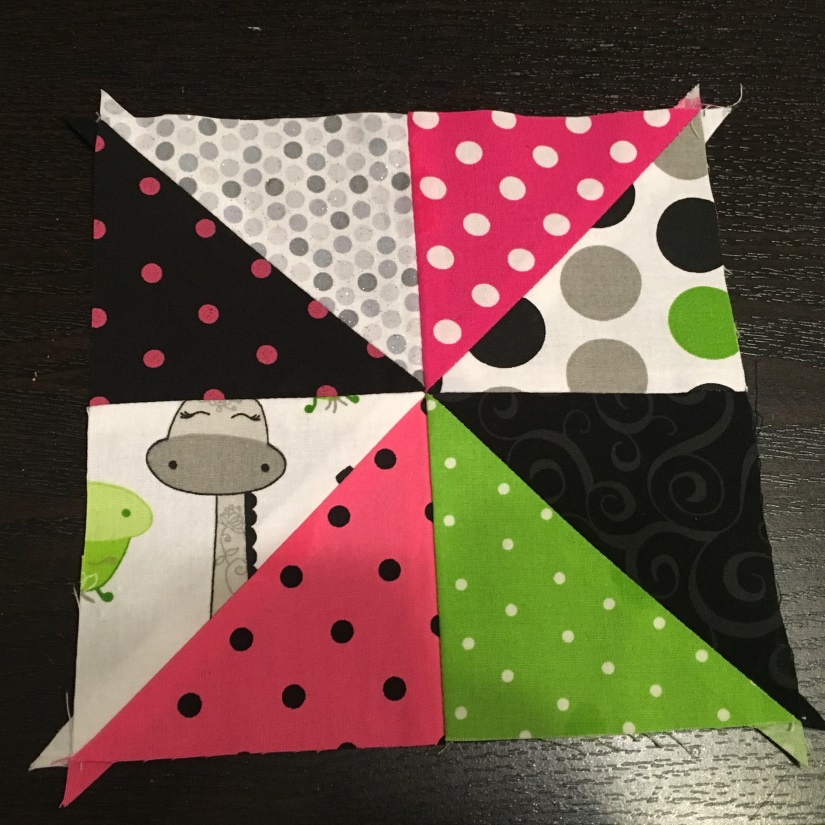
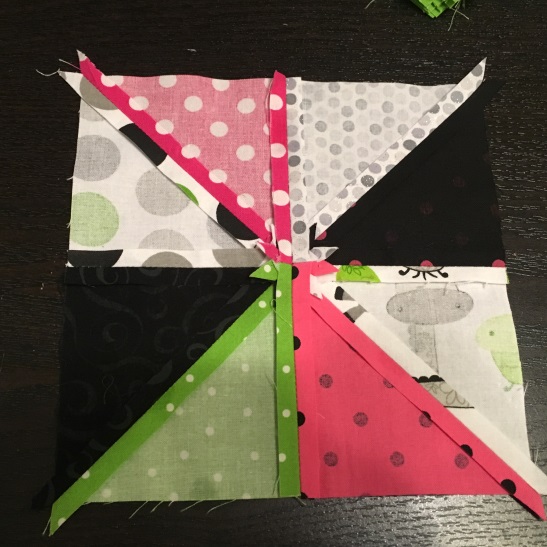
5. Take the two squares that form the right side of your pinwheel and lay them out on the table in the pattern you want your finish product to look like. Fold over the top square face to face on the bottom square. Pin the pieces together and sew a quarter inch seam. Repeat on left side. Make sure you lay them out so that your pattern stays intact after sewing. There is nothing more frustrating than realizing you sewed the wrong side and having to seam rip. Iron seams flat.
6. Lay the left and right pieces next to each other on the table, making sure it is face up and matches your desired pattern. Fold over the right side on top of the left face to face. Pin in place, once you have made sure the center seams are aligned, and sew a quarter inch seam. Iron seam flat.
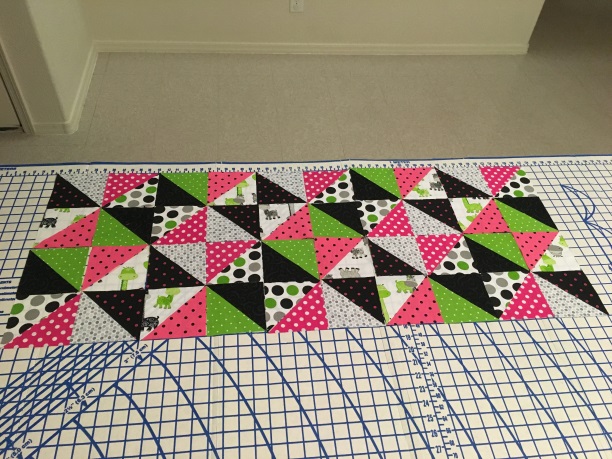
7. Voila- you have made your first pinwheel. Now repeat as many times needed to finish your desired quilt design.
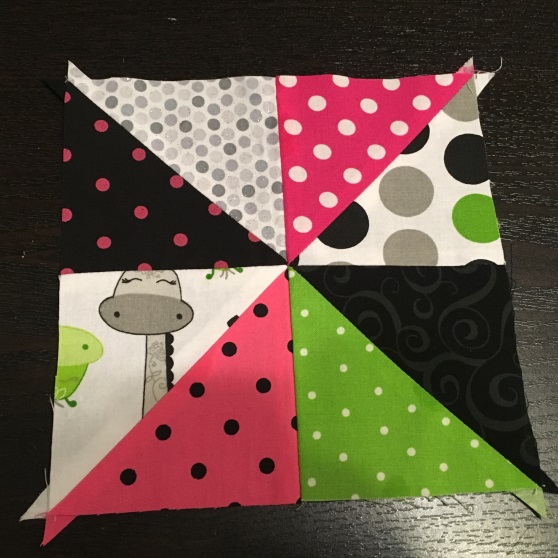
Check back for future posts on how to string the pinwheels together and finishing the quilt!