
Editor’s Note: We are so excited to have a guest blogger! Margit O. of Colorado Springs has been sewing, quilting and crafting for over 45 years. She brings expertise on hand applique and creating her own designs from blocks and patterns. Thanks for sharing, Margit! If you would like to share your projects, please write your post with step-by-step directions and pictures included and send them to craftsaction@gmail.com. If your submission is selected for publication, we’ll get in touch with you!
Hello readers!
First, I’d like to thank my niece for inviting me to blog on her website and for being my sewing buddy. Hey Jenn, Christmas sewing in August?
I’m working on a wall hanging using all the Hawaiian prints I’ve gathered over several trips to Hawaii. There are no two exact pieces of fabric in the quilt. I found the pattern, Hawaii Postcards (www.lisaboyer.com) in a shop in Kawaii in 2011. Now 5 years later, I finally have the top pieced together. It’s fairly easy and would be a great beginner quilt for someone to try. It’s all rectangles and long lattice strips. So you really don’t need a pattern, just a plan of your own. Graphing paper helps too. I’d give you the instructions, but it’s a copyrighted pattern.
I plan to free motion machine quilt this one myself. That means I’ll practice…a lot….on some scraps before I tackle it. I found several quilting designs on Pinterest that I like, probably too many.. So now it’s time to narrow down my choices and practice. Since I’m going to use turquoise thread on white, the stitching is going to show and I want it to look good.
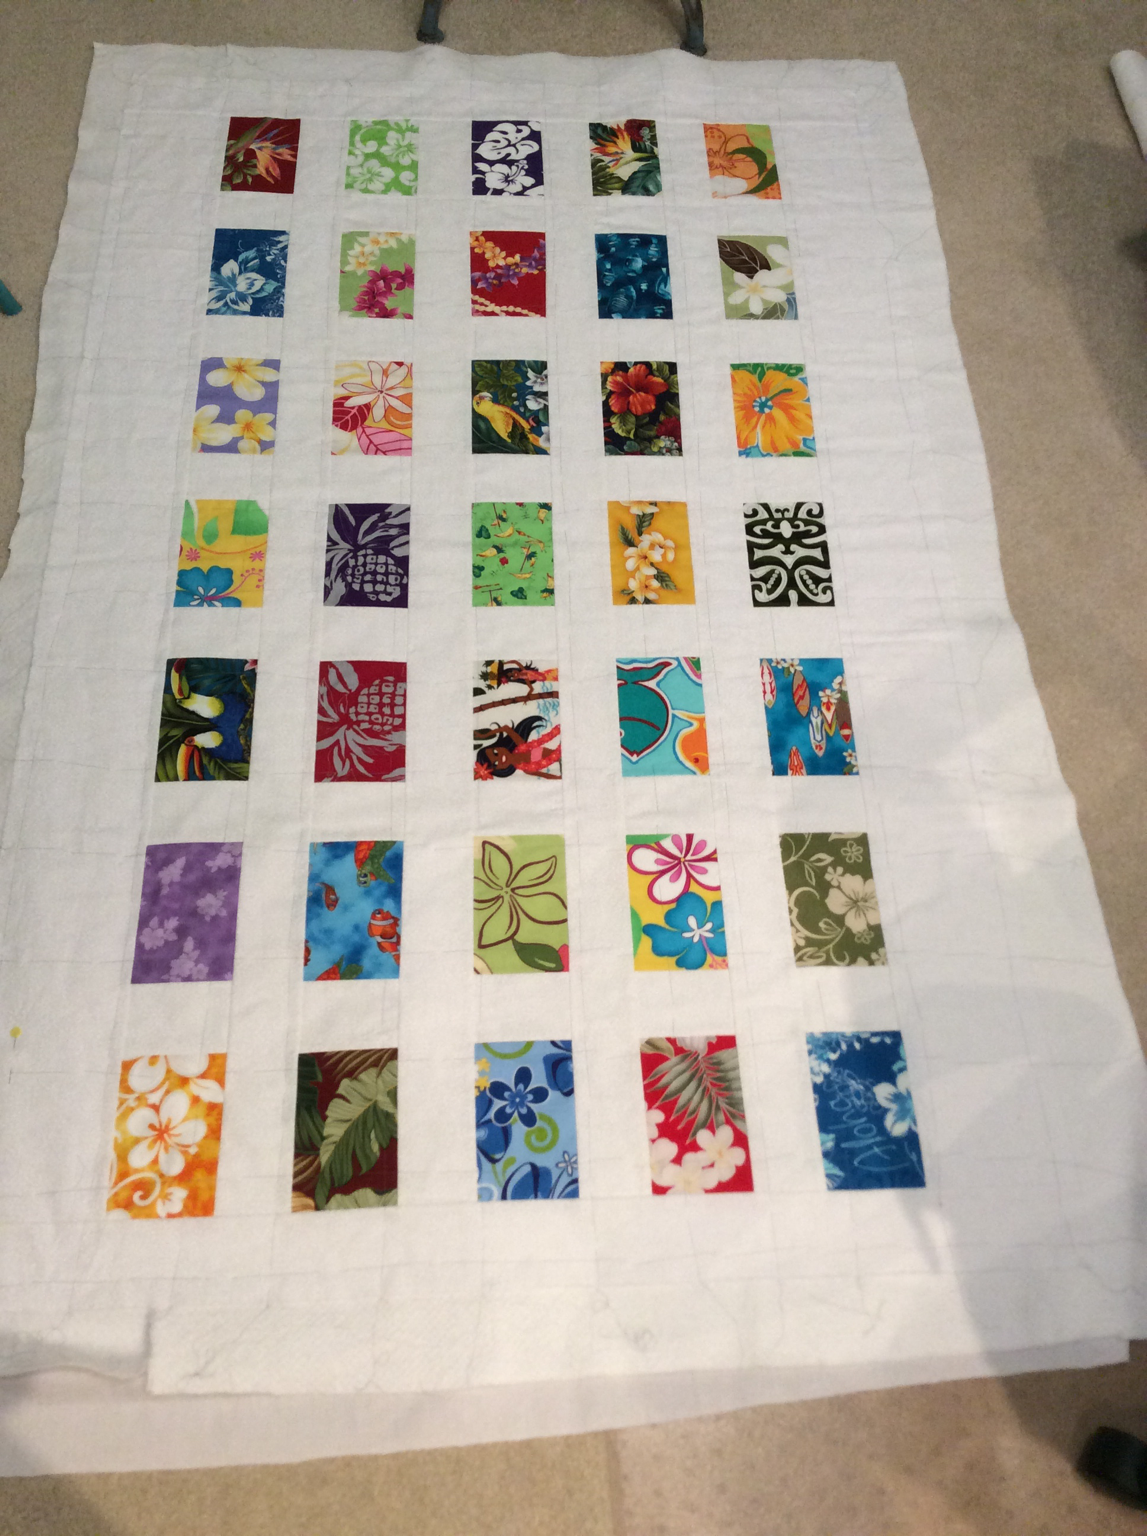
I decided the quilt was too big for my wall and divided it in half so that I have two quilts with 5 rows each and sashing in between.
The photo above is the entire top hand basted together.
You are probably wondering why I hand basted—that’s the old-fashion way. Well, because I’m quilting it myself on my machine, it’s easier to stitch right through the hand stitches instead of trying to stitch around safety pins or remove them as you go. Safety pins are a good method too if your quilting pattern works around them. Another option is the spray basting (aerosol can, fabric glue, and this stuff you sprinkle on and iron the pieces together—ok I don’t recommend that last option.) I found the spray method doesn’t work well indoors and the sprinkle stuff got in my machine and made a mess. So I’m back to the old fashioned method.
This next photo is the remaining 5 strips on my design wall. I haven’t sewn the rows together yet with the lattice strips—they are hanging in the upper left corner—stuck there with a couple of pins so I don’t lose them or use them on a different project.
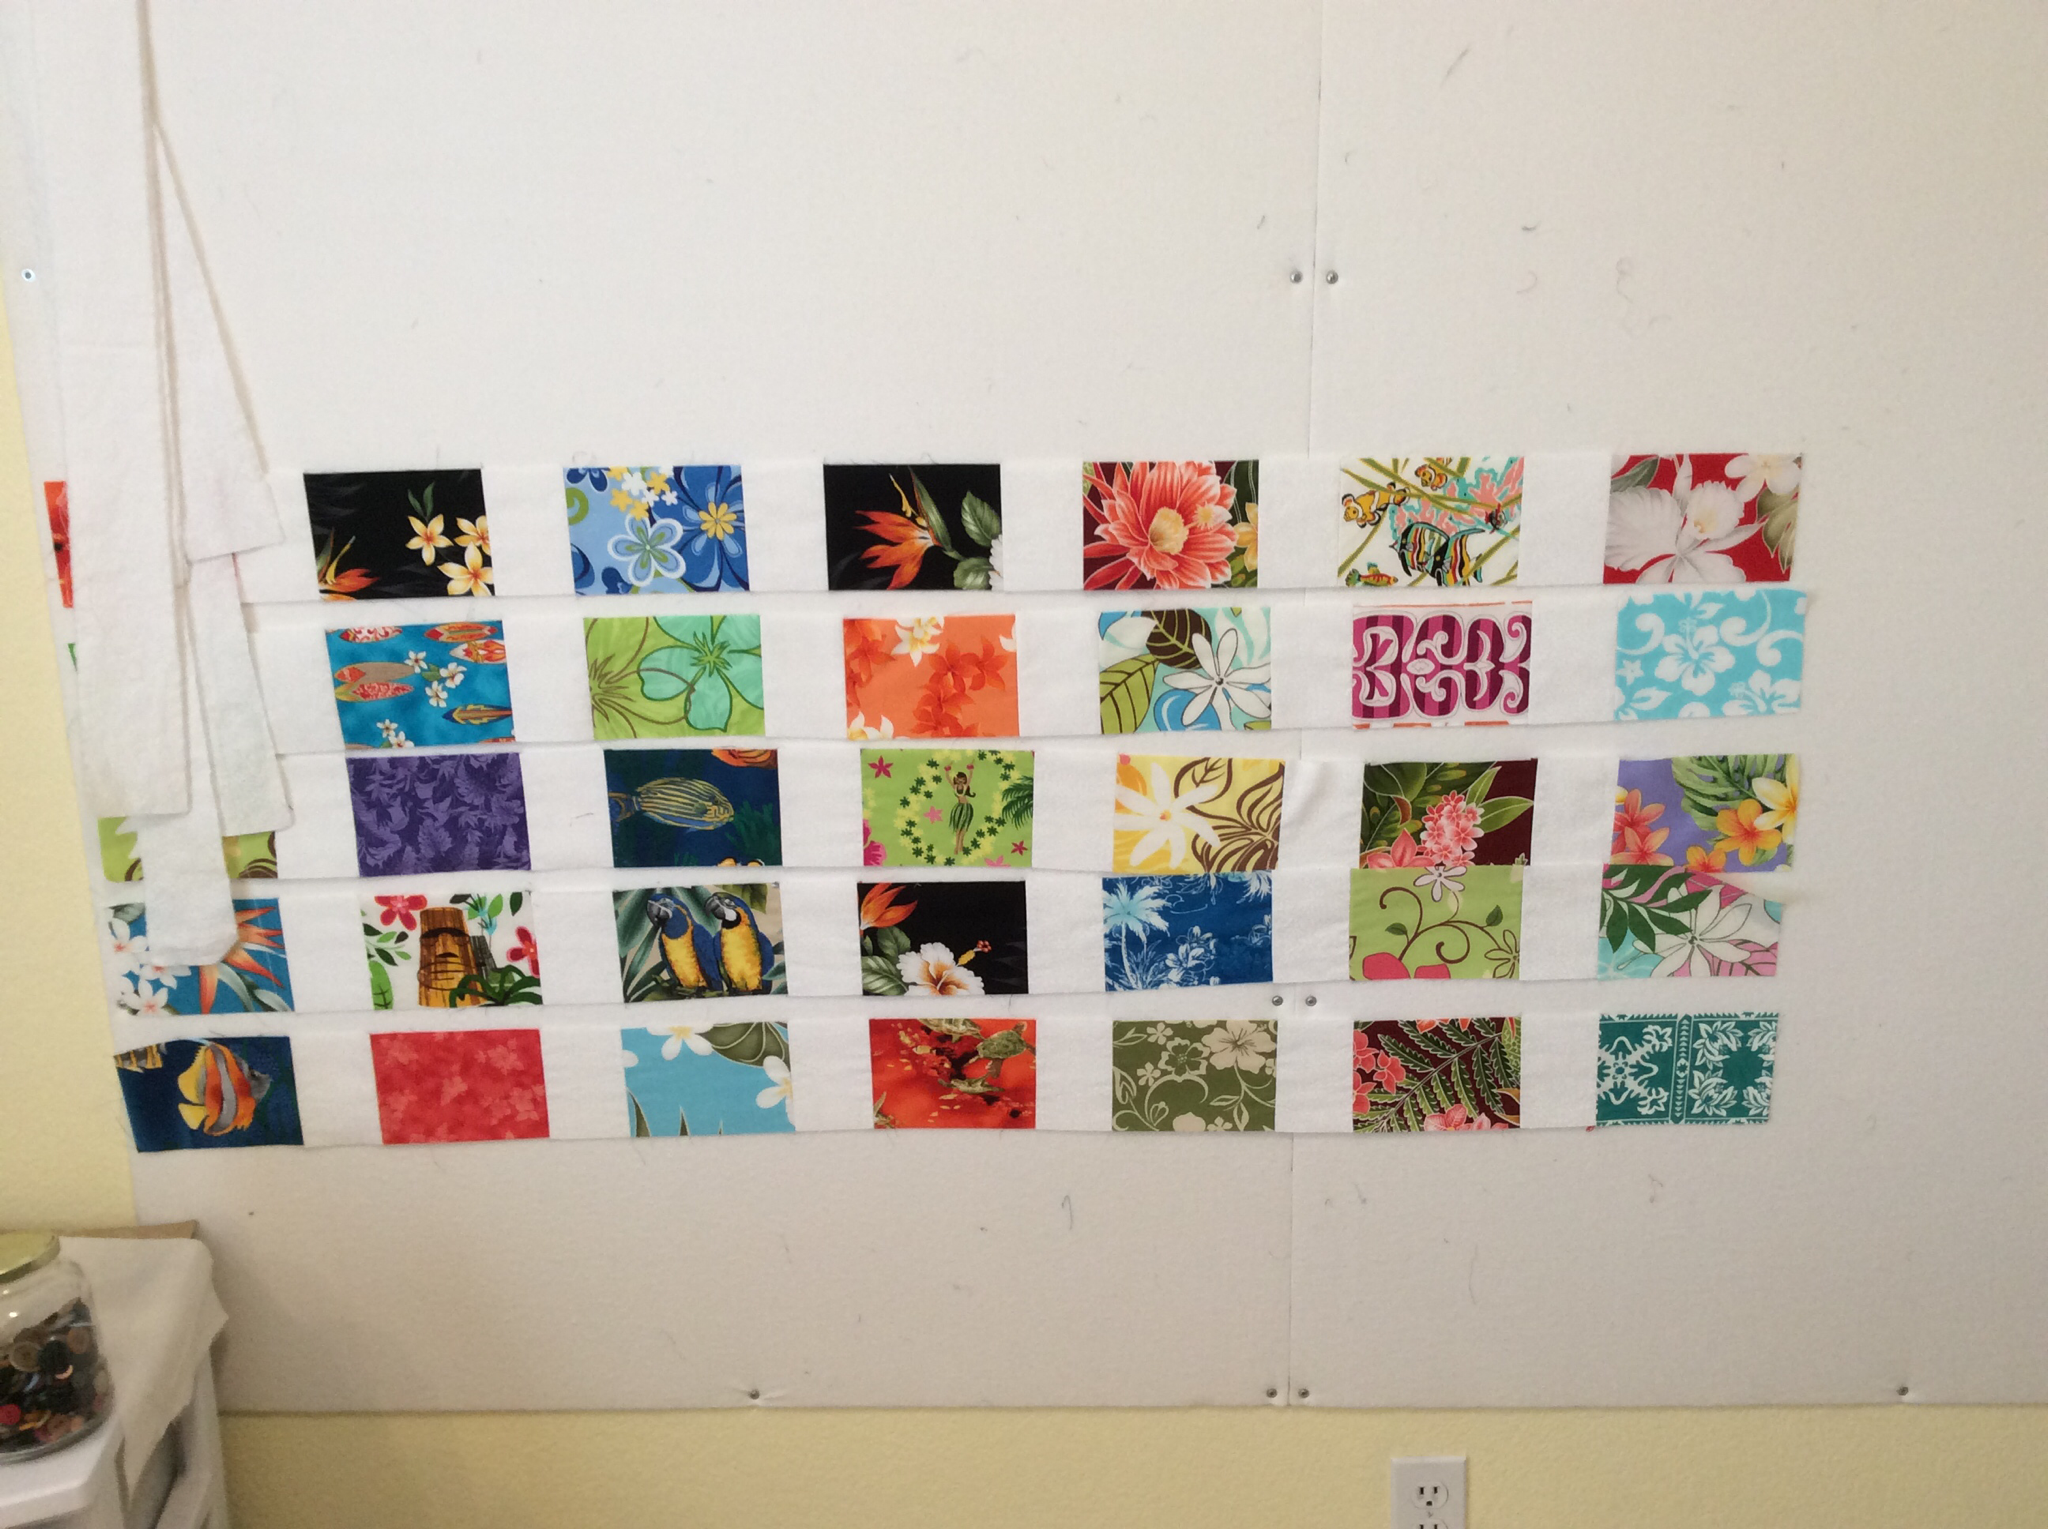
Don’t have a design wall? It’s easy to make. Buy foam board at your favorite craft shop. Glue or staple white flannel over it and screw it into the wall.
Happy sewing, crafting or whatever your “fun” is until next time,
Margit