Quilting: Where Do I Begin?
Quilting can seem a little frightening at first. There are so many beautiful and intricate quilts that it seems almost impossible as a beginner. You look at them and just feel over whelmed. My first piece of advice is to start simple! Choose a pattern with larger blocks and remember you’re just ¼” seams away from having a quilt. Quilt patterns can help introduce you to the terms and techniques used in quilting. Focus first on each block and then piecing the quilt together. Taking your first quilt in bite size fashion!
Common Terms and Techniques
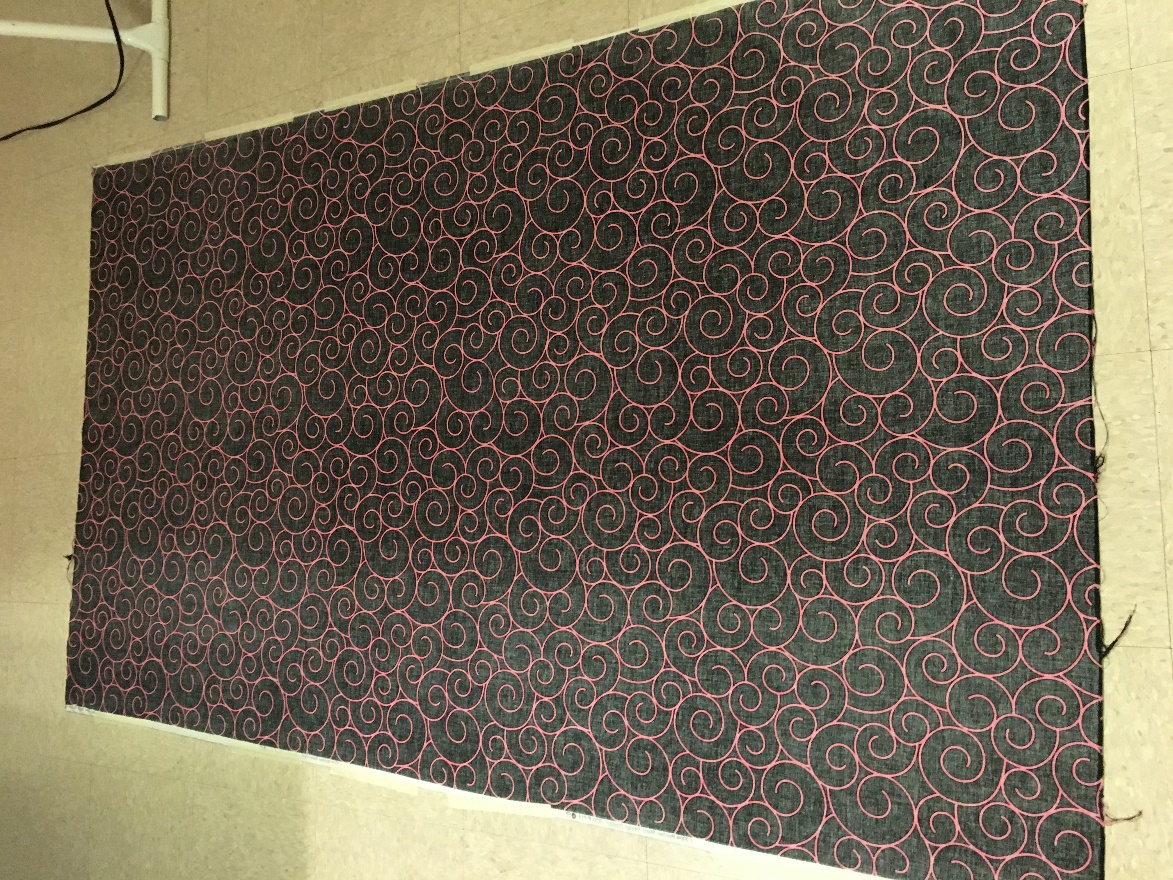
Cotton fabric is the most popular choice for quilters. A quilt is made up of three layers, commonly referred to as a sandwich. The first being your quilt top: comprised of your pieced together squares. The middle is batting: there are a variety of choices here depending on desired level of insulation and helps prevent the layers from shifting. The last is the backing: this is usually one piece of fabric unless you are working on a large quilt. Larger quilts will require you to sew pieces of your backing fabric together to form a large enough back to completely cover the size of the quilt top.
Quilt Sandwich– Stacking your quilt layers for quilting: top layer, batting and backing.
Basting– Pinning the quilt sandwich together at regular intervals to ensure that your pieces don’t shift while quilting and that your backing doesn’t pucker.
Binding– Binding is the strip of fabric sewn over the edges of your quilt layers that finishes the raw edges. You can purchase quilt binding or make your own. It consists of folded over fabrics that wrap around the edge of your quilt to seal the raw edges and finish your quilt.
Batting– The middle layer of your quilt that gives it the body and desired thickness. Most crafts stores have a variety of thicknesses (loft) and size. I prefer a mix of cotton and polyester (80/20 mix) but have used just cotton or just polyester depending on the project.
What tools did I start my quilting journey with?
Rotary Matt
A self-healing rotary matt is an absolute essential when using a rotary tool. Without a good quality rotary matt, you will damage whatever surface you are working on. My desk and dining room table will tell you the story of oops moments involved with rotary tools. I prefer an Olfa matt. They are self-healing and available in a variety of sizes.
Rotary Cutter
I definitely prefer this cutting style to old fashion scissors. A rotary tool allows you to quickly measure and cut your fabric. It also helps to ensure that your squares are consistently sized and your edges are clean.
Rotary Cutting Rulers
I use my acrylic ruler for a variety of crafts, to the point that I had to purchase a new one because I rubbed all the numbers off of the ruler. I have a variety of different sizes in my collection now. My two favorite ones are my 12”x12” and my 6”x24” sizes. I use these the most frequently.
Straight Pins
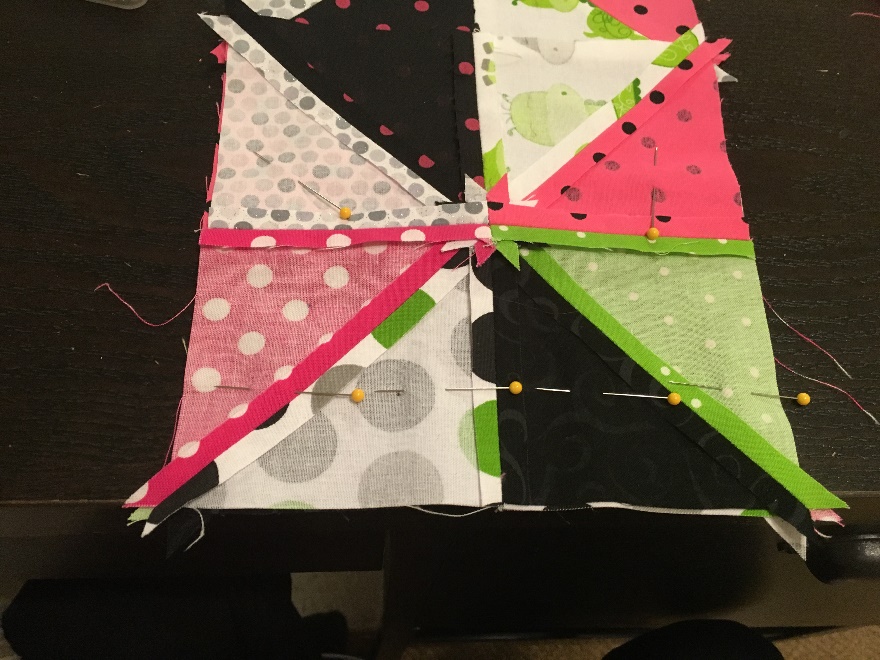
If you’ve done any sort of sewing then you know these are absolutely essential. I prefer a longer straight pin with a ball end. The colorful endings help me quickly spot all my pins for quicker removal. Jenn prefers flat flower head pins because they can pass easily under the sewing machine foot while quilting. Pinning properly can be the difference between consistent squares that line up easily and crooked squares.
Curved Safety Pins
These are used when basting the quilt. If you baste the quilt sandwich together with straight pins, you will constantly poke yourself while machine quilting. I safety pin the quilt together at a minimum of every 4 inches to insure my back is smooth and quilting is easy. You can also check out my earlier blog for spray glue and its use in quilt basting.
Making Your First Quilt Block
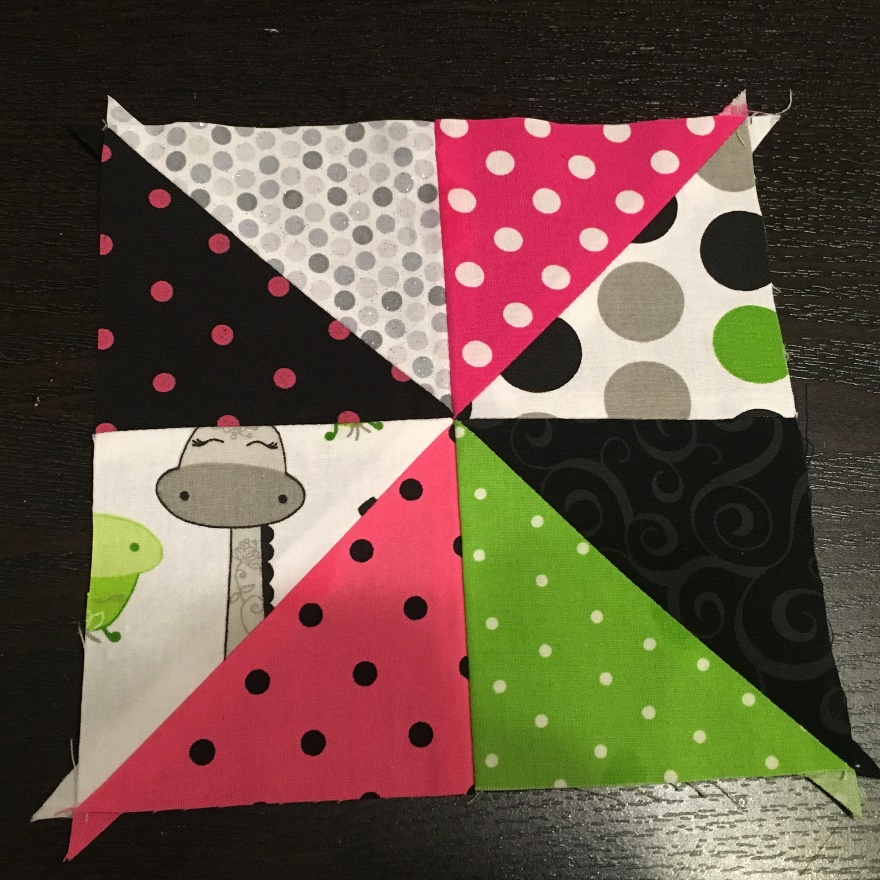
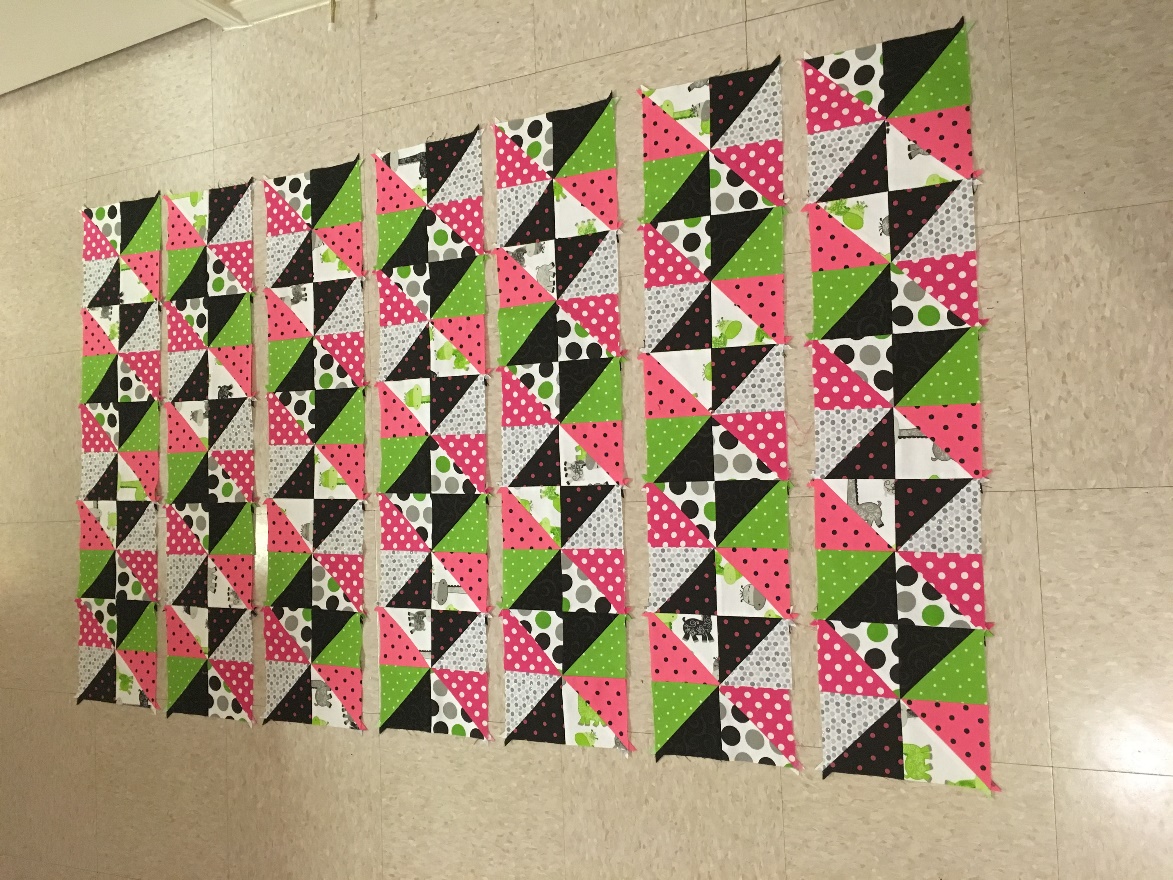
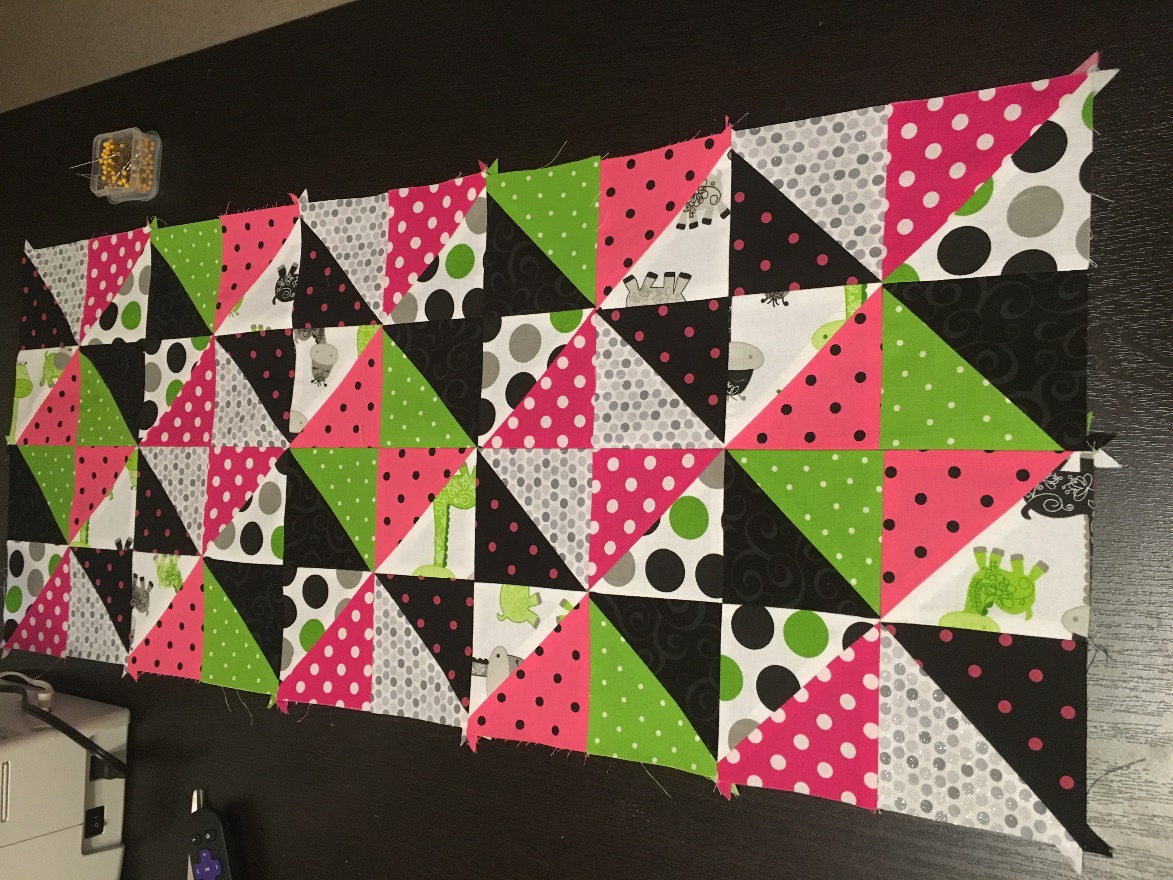
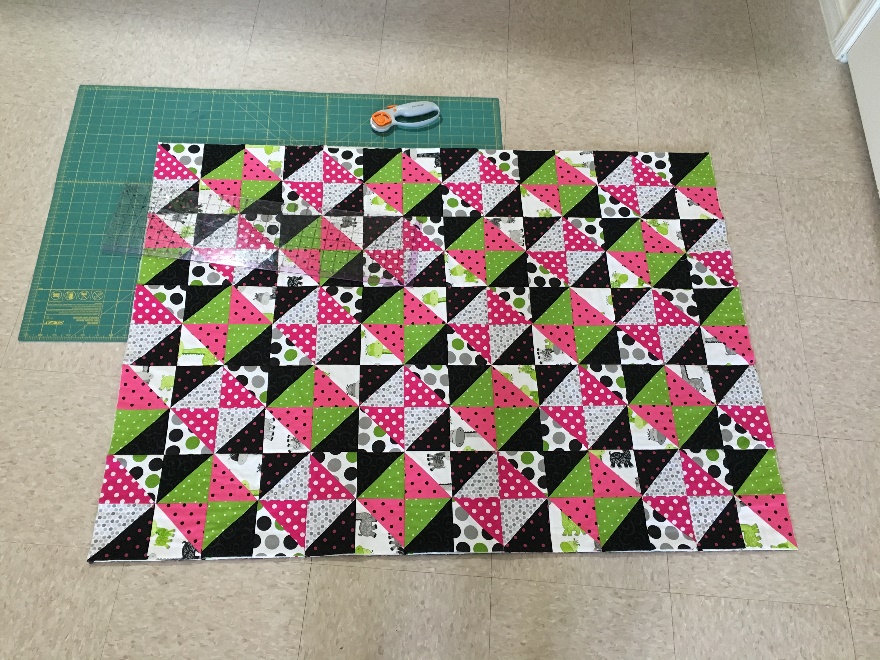
The very first thing you need to do is find a block pattern you like. Remember that if this is your first quilt it is OK to start with a simple pattern. One of my favorite types of quilt blocks is a pinwheel. The pieces are easy to cut and an assembly line process makes sewing your pieces much more efficient. A pinwheel block is just triangles sewn together. Please refer to our making a quilt pinwheel blog. After you’ve decided on a pattern, Pinterest is amazing at inspiration, you can cut your fabric. Make sure that your pieces are cut squarely or your quilt won’t piece together correctly. There are several books also available for beginner quilters with patterns in them. There are thousands of ways to design a quilt, use your imagination and lay the quilt out before sewing. This gives you the chance to move pieces around and play with your design.
So My Blocks Are Done, Now What?
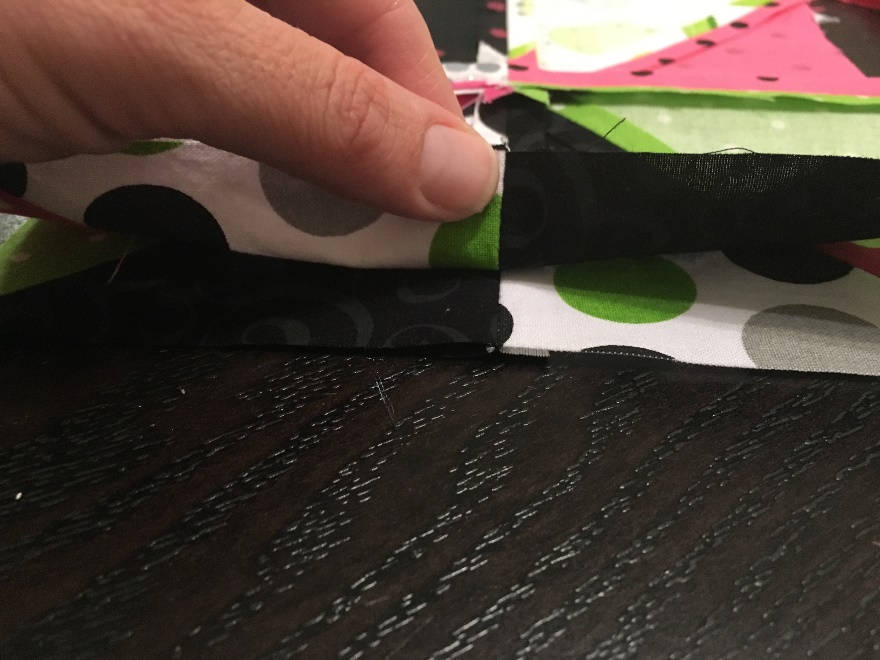
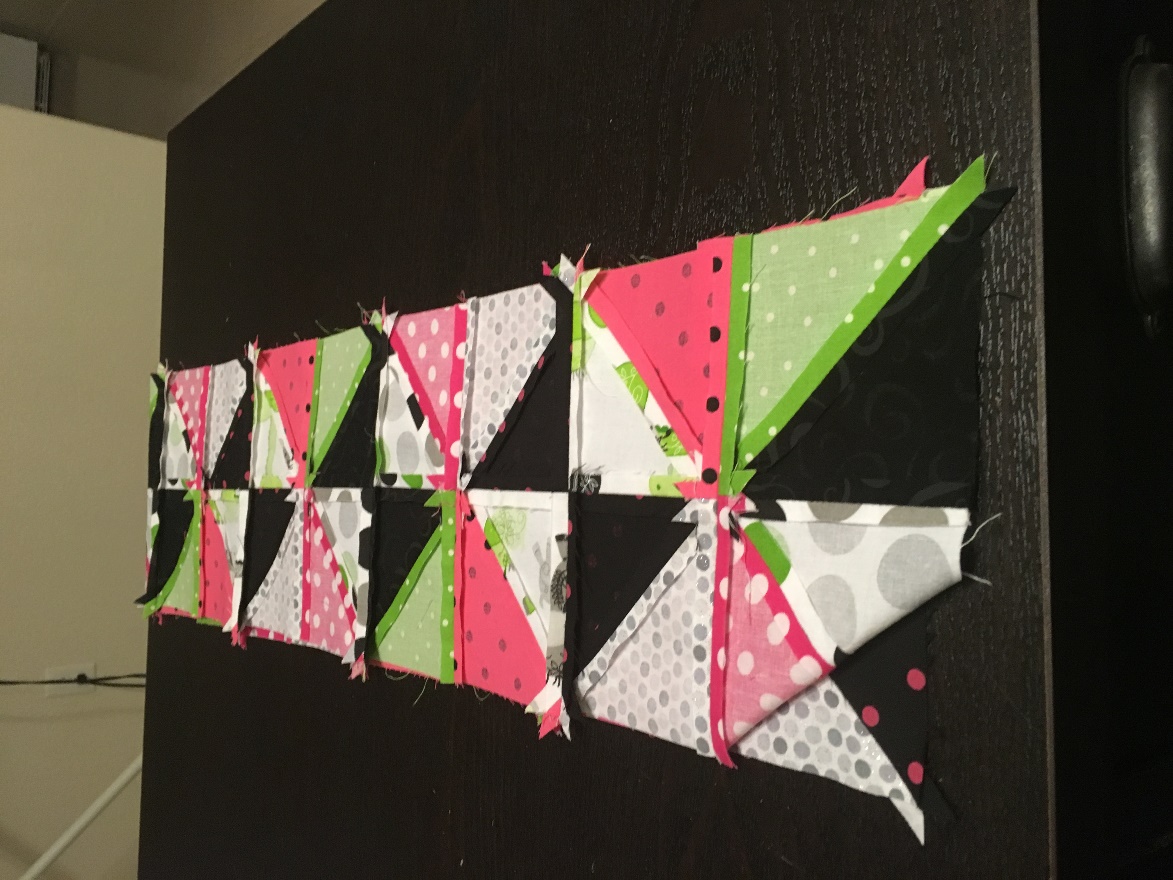
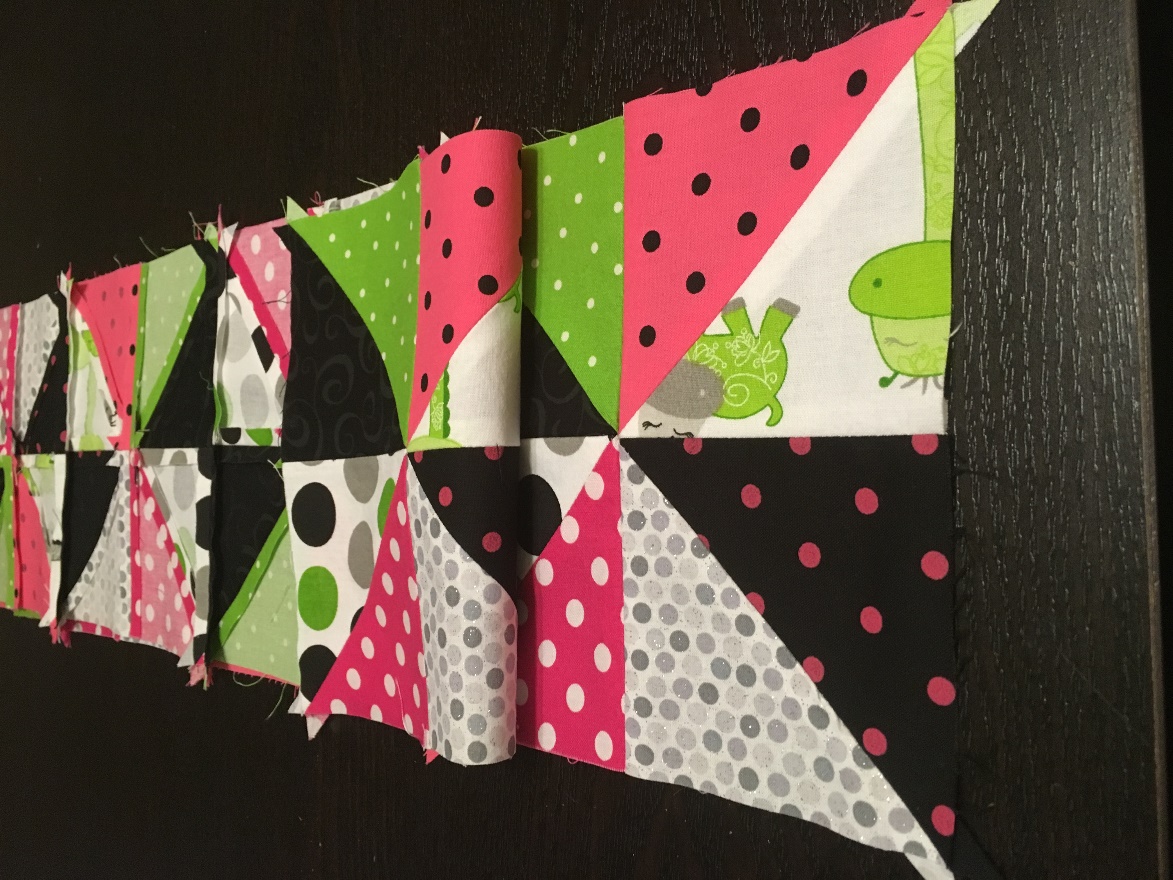
After your blocks are all assembled begin sewing each block together. Lay blocks face to face and line up your pattern, pin together. Sew a ¼” seam to connect your individual blocks. Iron each seam before moving onto the next square. There seems to be two schools of thought on the best way to iron. Ironing flat makes for easier pinning and makes patterns easy to line up. Ironing to one side or the other though is thought to leave the seam strength intact. I have done it both ways so do your own research and decide. I start in rows and then sew the finished rows together. To piece together rows lay each row face to face, align your pattern and then sew a ¼” seam to connect. This will complete your quilt top.


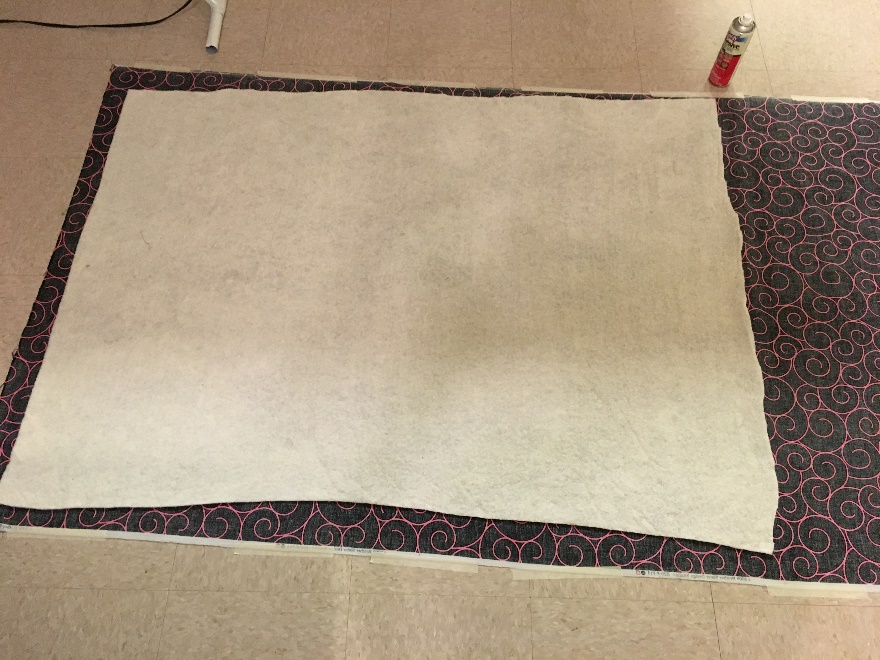
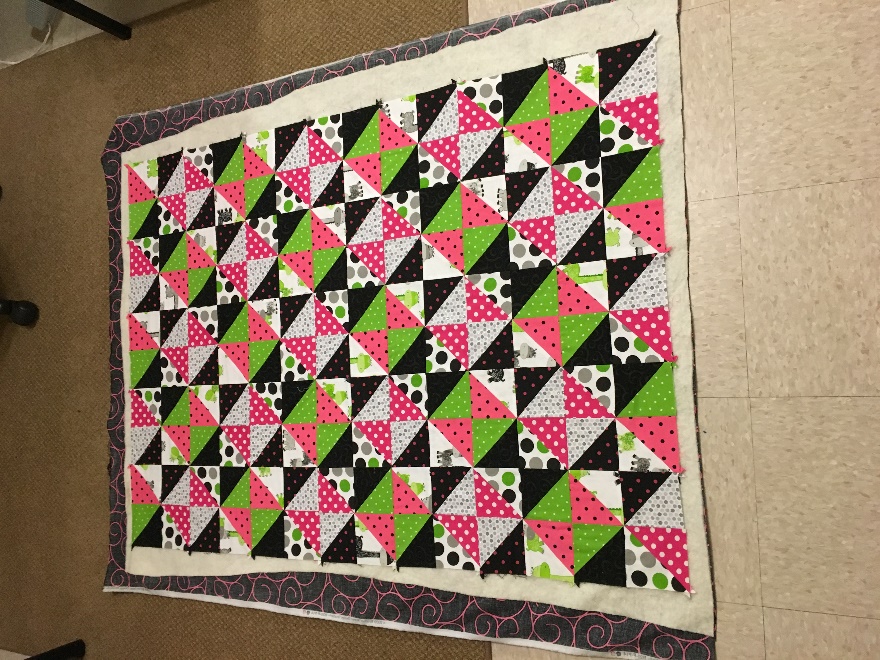
To sandwich the quilt first lay down your backing fabric wrong side up. Then lay your batting over and then your quilt top, right side up. Start basting the quilt, safety pinning at regular intervals, to get the layers secured together. Cut away excess batting and backing using your quilt top as a guide. Finish basting completely and then you are ready to quilt. I leave just a little extra batting and edging on the sides until I’m done quilting and then cut it off and make sure everything is straight. To fit the inner parts of your quilt into your machine, roll the quilt tightly so it fits in the opening between the needle and your stitch selection portion of your machine. It can be tight with larger quilts to get it in there.
There are a variety of quilting styles. If this is your first quilt, I started with in the ditch style quilting. This is simply sewing in the seams of you quilt top. It won’t make any patterns show but it will keep the quilt all together and keep the batting from bunching together over time and repeated washing. Most of the batting styles I use required that you have no more than 4” between your quilting lines. If you do not follow this guideline after a few washes you will have a very lumpy quilt. Free motion quilting is where those beautiful patterns come into play. A free-motion quilting foot is recommended when doing this on a machine. This will allow for any pattern to be sewn on to the quilt. Once quilting is complete, square off all your edges. Using your rotary tool to really get a quick, clean line to attach your binding to.
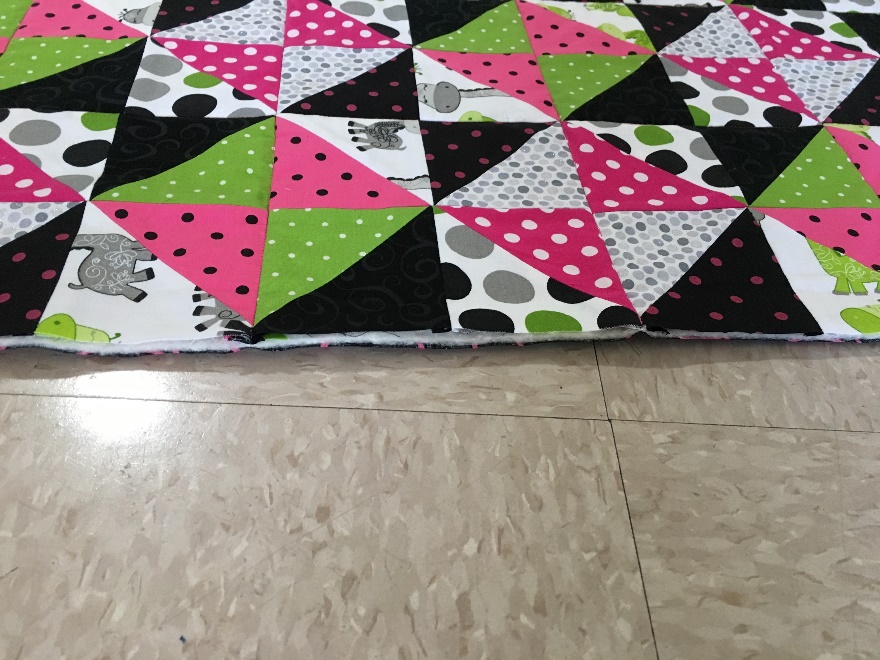
This is the raw edge that will be sealed with binding after quilting is completed.
Binding Your Quilt
Binding your quilt can be done with straight pins or binding clips. I had not yet discovered binding clips when I did this quilt. The clips make for quick aligning of the binding and insure that it won’t move as you sew. Think of binding as the taco shell to your quilt. Your taco stuffing, your quilt sandwich, needs to go into the taco shell, your binding. It should go consistant down the side of your quilt. Do not cut the corners when doing being. There are a lot of YouTube videos on mitered corners, use this technique for the best looking corners. Pin the binding on the raw edge of your quilt and then sew the binding all the way around your quilt.
Removing your binding clips or straight pins and you’re all done!
A Look Back
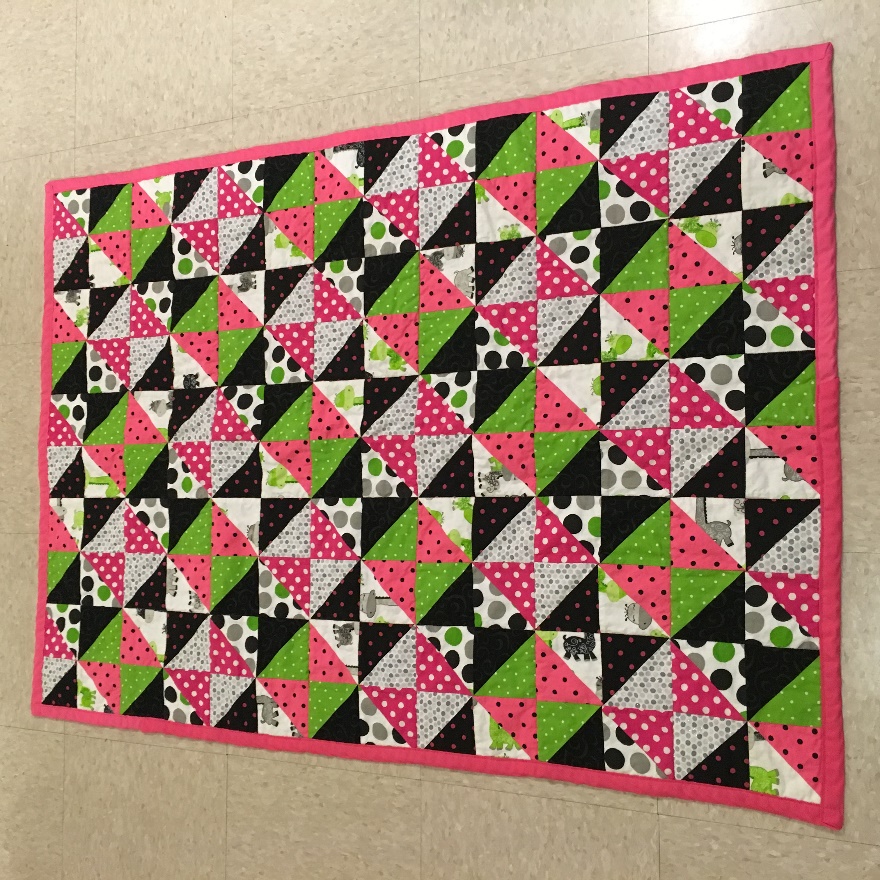
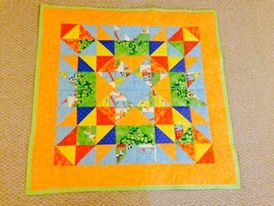
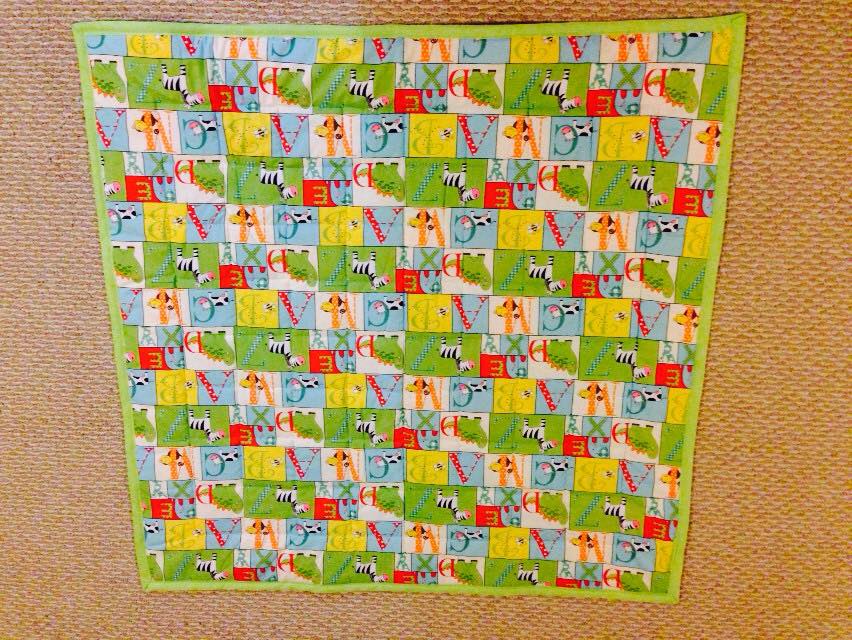
This is my very first quilt. Notice my squares don’t line up perfectly but I was so proud of this one! It was a labor of love for my first niece. So don’t be afraid to try, it is ok for it to not be perfect. I was so excited to give this one to my niece even with its flaws. I sewed a back of different fabrics from the front of the quilt.
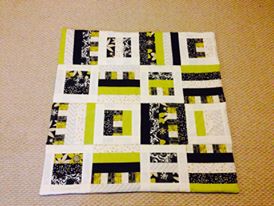
Here is my second quilt. It was a Nancy Drew quilt for my mother. Notice the in the ditch sewing can be seen on the back. It was simply sewn on the front in the seams of the different blocks.


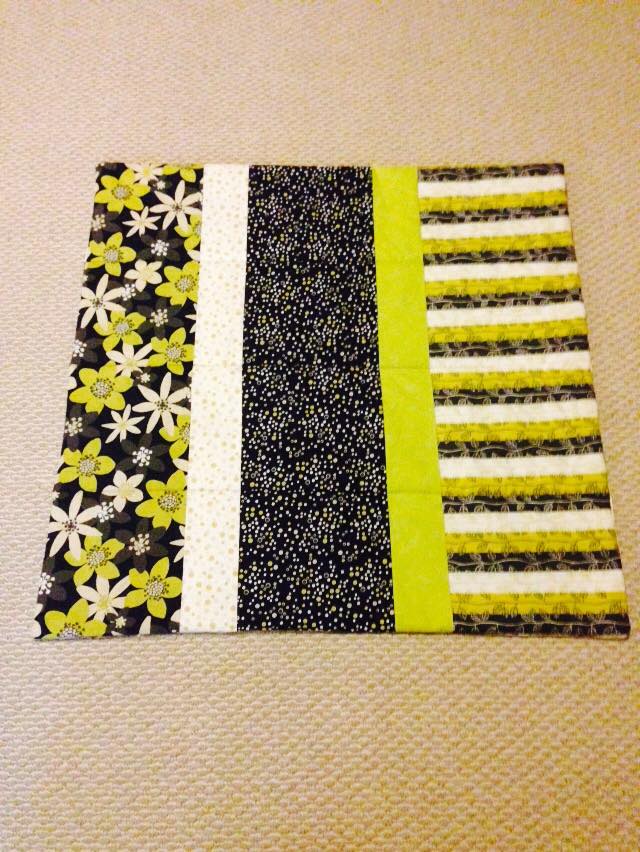
Here is another quilt I made that has just a solid piece of fabric for the backing.
Let your imagination run wild! Enjoy and Happy Crafting!