
Editor’s Note: We are so excited to have a guest blogger! Margit O. of Colorado Springs has been sewing, quilting and crafting for over 45 years. She brings expertise on hand applique and creating her own designs from blocks and patterns. Thanks for sharing, Margit! If you would like to share your projects, please write your post with step-by-step directions and pictures included and send them to craftsaction@gmail.com. If your submission is selected for publication, we’ll get in touch with you!
Hi all!
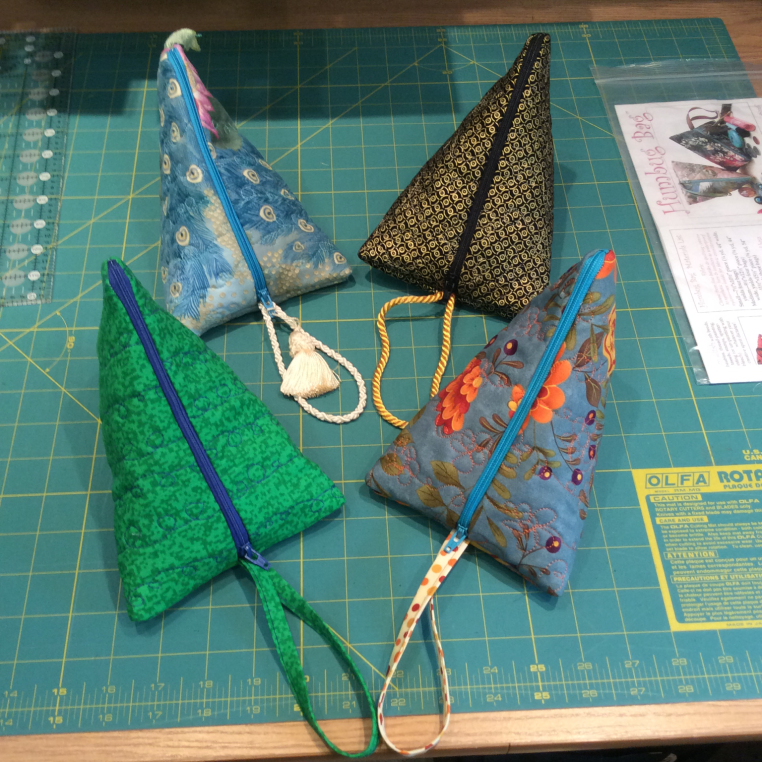
I’m here again today with an easy bag for this holiday season! The pattern is from http://www.quiltwoman.com/humbug-bag-pattern.aspx
I made 4 of these medium sized bags in 4 hours. They are pretty easy and go faster if you assembly line cut and sew. I finished the same step with each bag including the zippers. I use a medium gray thread so it blends in with everything and I don’t have to change it. Now –I broke 3 needles, but that was my fault. The first one broke when I didn’t have the needle in the right position and it hit the presser foot. The second needle broke when I hit the metal end of the zipper, and the 3rd broke because I didn’t screw it in tight enough. And I still got them done in 4 hours including selecting the fabric from my stash and cutting.
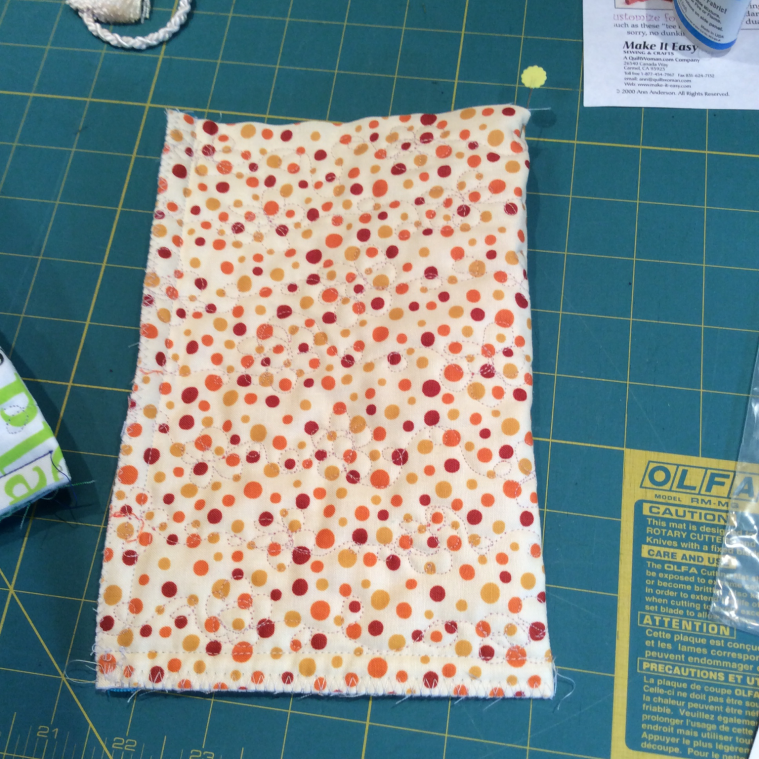
I cut the fabric one inch larger than the required size and quilted it using 100% cotton batting. I did use some high quality quilting thread to complement the fabric. Then I trimmed to the exact size. Follow the directions in the pattern to get the best results. Use a zipper foot to sew very closely to the zipper teeth. The zipper will show so it’s fun to coordinate colors or contrast instead of matching. I used what I had on hand. I’m trying to use EVERYTHING I have on hand so I didn’t buy anything to make these. It’s easy to cut the zippers to the size you need if they are too long. Lots of different fabrics work for these bags including old blue jeans.
Here’s what it looks like flat (inside view).
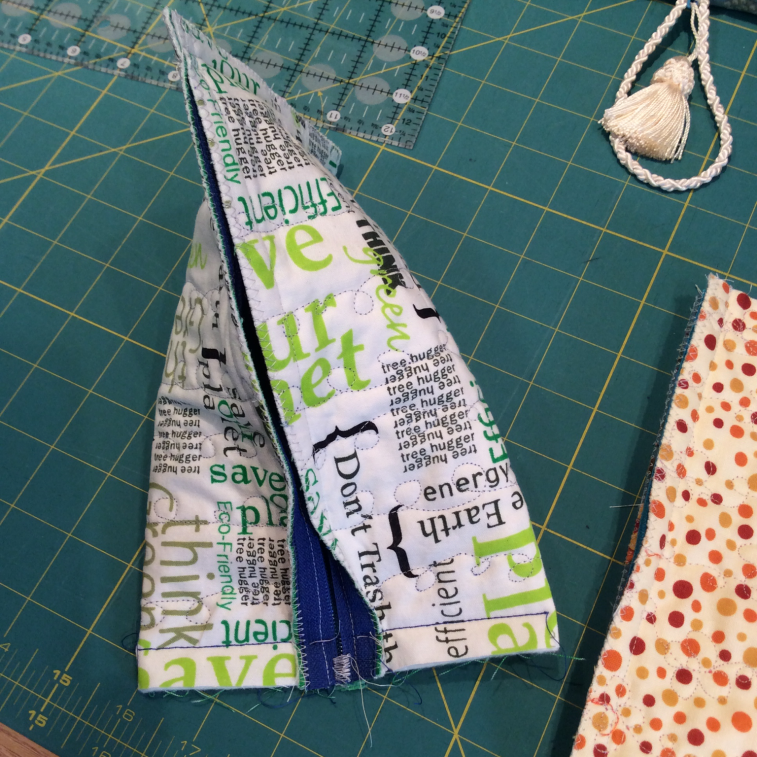
This view shows how to sew the bottom seam so the zipper is now in the middle of the bag and it forms a triangle. Remember to open the zipper before you sew this seam. Otherwise you’ll have a really hard time opening it after and trying to turn it to the right side.
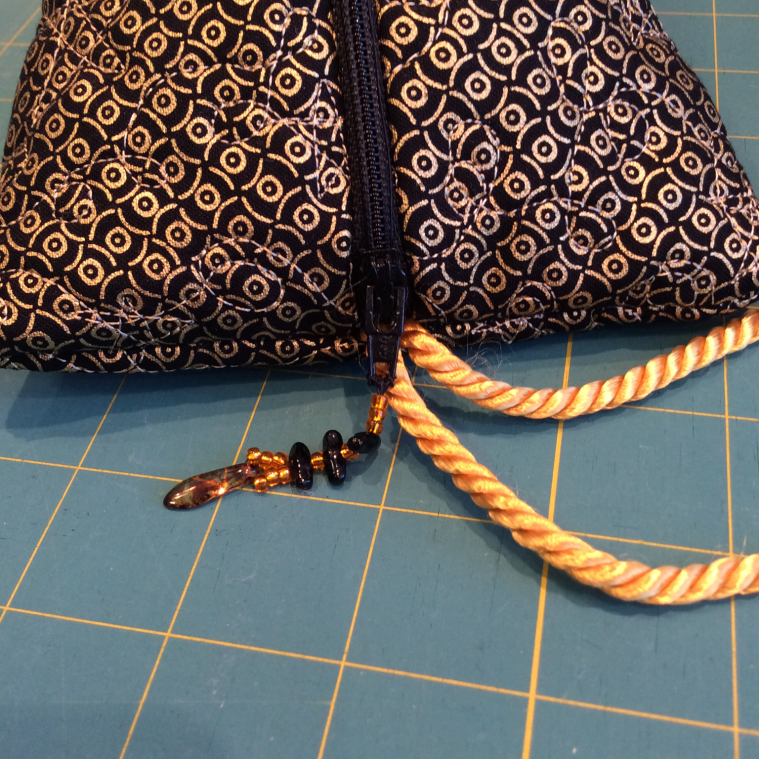
Here’s a close up where I added a beaded zipper pull. I was experimenting and used some old black hand quilting thread to thread the beads on and tied it to the hole in the zipper. Hopefully it holds up.
They make great gifts for everyone. This size is good for cosmetics, jewelry, a cell phone and can be used for an “evening” bag. I made these for my managers and a co-worker for Christmas. I hope they like them!
On to the next project….