Materials:
-Canvas (See examples for size options)
-Crayons
-Hot glue gun and glue
-Blow dryer or heat gun
-Drop cloth
-Push pins or painters tape
1. Sort out colors. Start lightest to darkest and get into an order you like. FYI- Black, brown, tan and gray do not melt well, LEAVE those out!
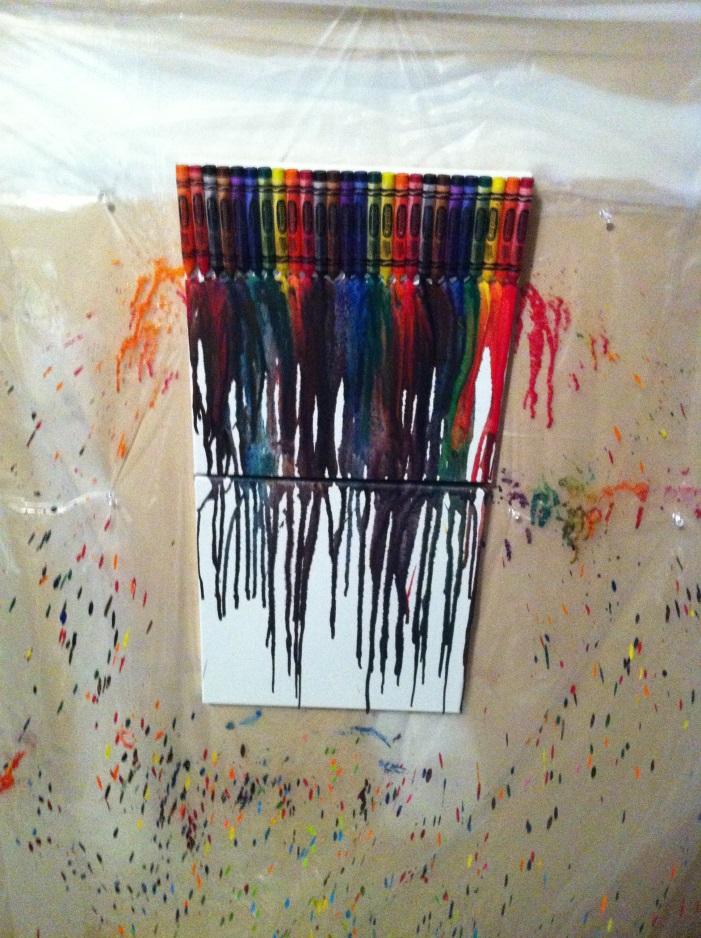
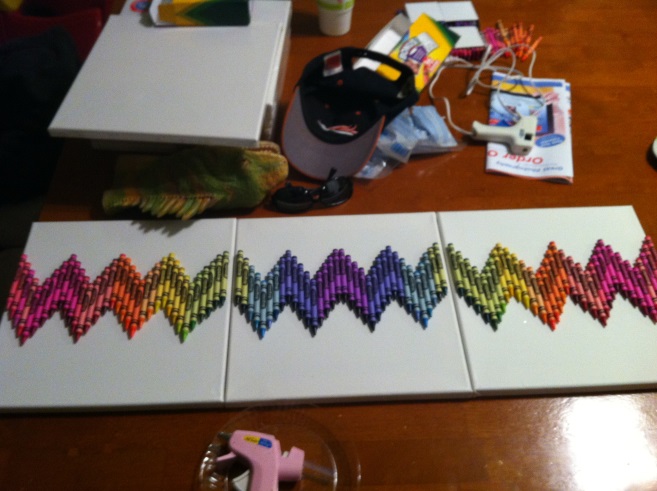
2. Lay crayons out on canvas prior to gluing or lined up behind it. This way you make sure you selected enough crayons to fit the canvas or you can add or take away until the desired look is achieved.
3. Hot glue crayons to the top of the canvas, pointy side down. Make sure to put a strip of hot glue down the crayon wrapper, that way they’re well adhered. Start at one end and work to the other, gluing crayons tightly together.
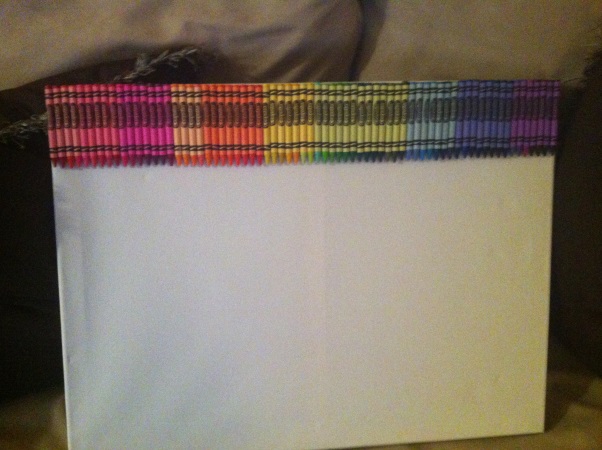
4. Either use an easel and cover it and the surrounding floor with drop cloth or I hung thumb tacks to the garage wall, through the drop cloth and hung the canvases up. Make sure to spread the drop cloth to cover the surrounding wall and floor! You can also use painters tape to secure the drop cloths for maximum protection. I personally prefer hanging the canvases. I did this so the crayon could melt onto the bottom edge of the canvas, giving the canvas a more finished look all the way around.
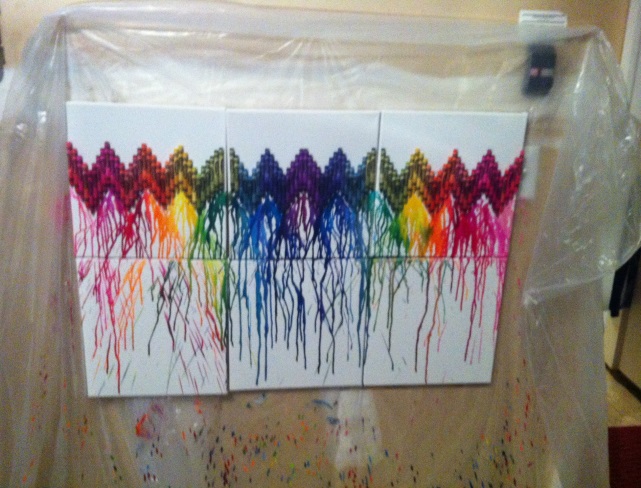
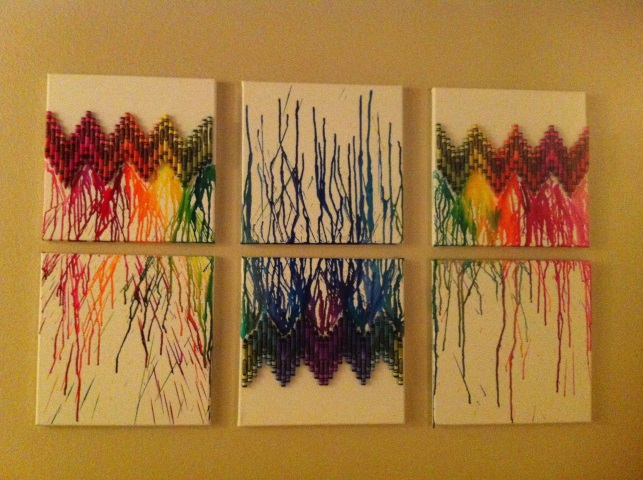
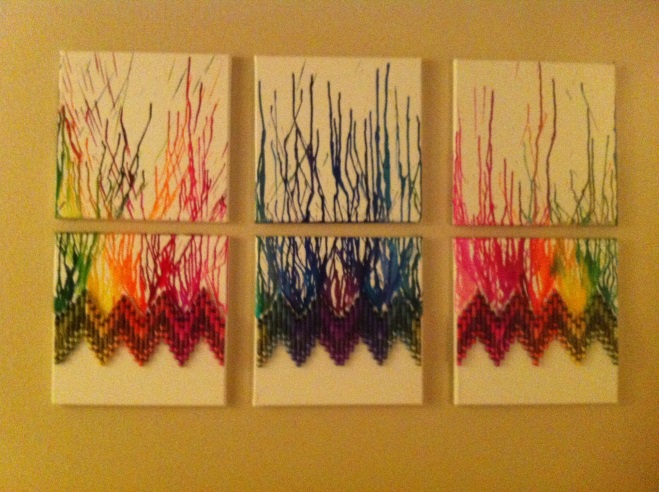
5. I used sweeping motions to start which heated the crayons evenly. What a waste of time! When I switched to focusing on one section of crayon at a time until it dripped things went much quicker! I simply went back and reheated certain sections if I wanted more of that color. Repeat until you’re happy with finished result!
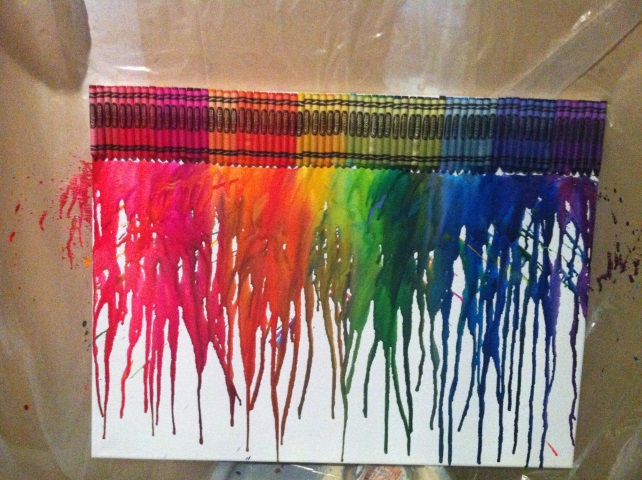
6. Let dry completely and hang!
There are so many possibilities and size options to fit your room. I’ve seen pictures where people attach stickers to the canvas first before they melt the crayons so a white shape is left when the sticker is removed. Try it and let me know!
