Good evening blog world! Today I finished a pumpkin runner, just in time for Thanksgiving! Keep an eye out for the tutorial on that soon. While binding it, I thought about how easy it is to make your own binding. I have completed multiple quilting projects now with my own binding and I have to say, it’s not as scary as it sounds and it looks much better and is more affordable! Please note, you will see pictures from two different projects in here to help explain better.
Materials:
- Coordinating fabric to the quilt, can be multiple prints/colors if desired
Directions:
- Measure the perimeter of the quilt. Add all 4 sides together. Add an additional 10” to that number.
- Cut strips 2 ¼ inch wide from the fabric.
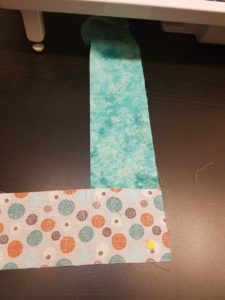
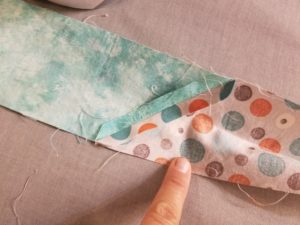
- Since most strips won’t fit the perimeter of the quilt, you need to attach them. Do so by making a backwards L, facing right sides together. Stitch a line diagonal from one end to the other and trim excess meeting parts.After trimming, press seams open. I find the binding lays flatter this way. On the picture below, the stitched line would be where the pin is, from the top left to the bottom right.
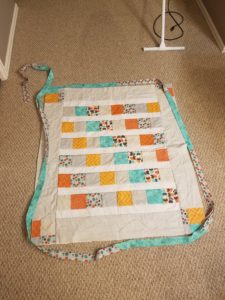
- Once you have a piece long enough, check your work by laying the binding around the quilt and making sure there is excess.
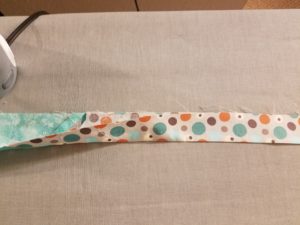
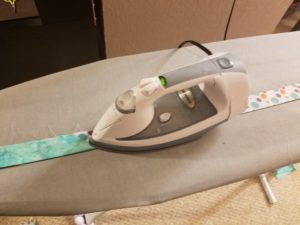
- Fold wrong sides together and press with an iron.
.
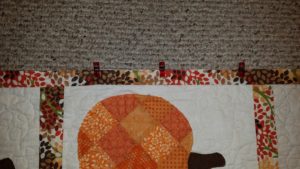
- Pin the raw edges of the binding to the raw edges of the quilt top. Leave 6” at the beginning un-sewn. Stitch ¼” seams. The clips used in the pictures below are called Wonder Clips and they are amazing!
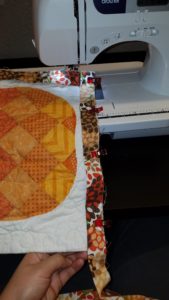
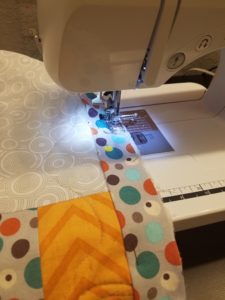
- Stop ¼” away from the bottom edge and stitch off at an angle to the right.
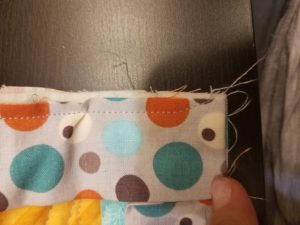
- Turn the quilt to the side, flip the binding up and bring down for the mitered corner. The fold needs to be flush with the quilt.
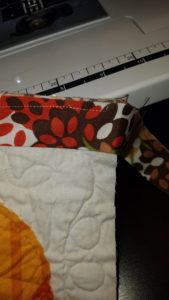
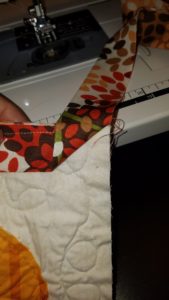
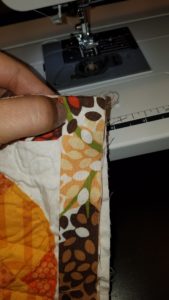
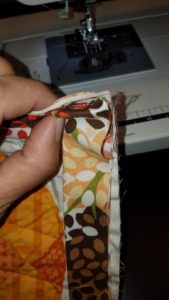
- Pin the corner in place and stitch from the top, making sure to add a few back stitches.
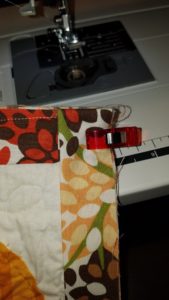
- Continue this process around the entire quilt, stopping with excess at the starting point.
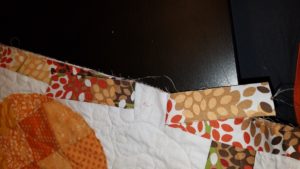
- Make both ends meet, right sides touching, pin and stitch a straight line. You need to make sure that as you are making both ends meet, right sides touching, you are attempting to stitch the straight line as flush to the quilt as possible. As you can see, mine wasn’t completely straight. I had to rip it out and do it again.
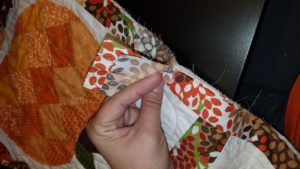
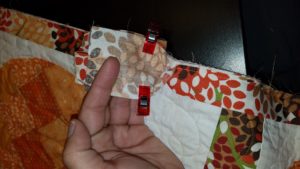
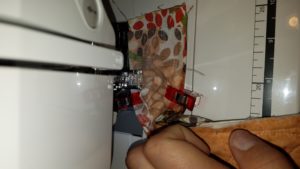
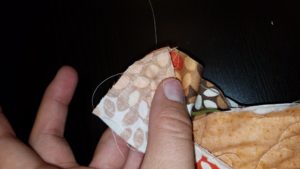
- Cut the excess and straighten the quilt. Press and stitch ¼” to close up the binding.
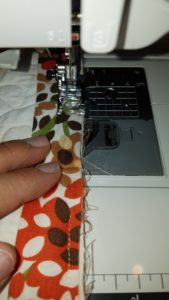
- Press binding in the opposite direction.
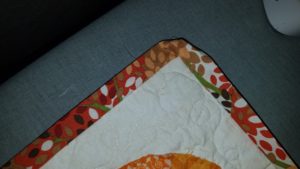
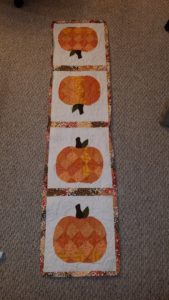
- Sew by hand to finish.
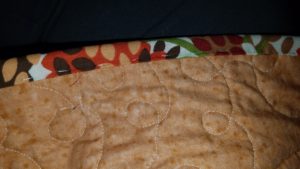
Happy Quilting!

One thought on “Make your own quilt binding”