
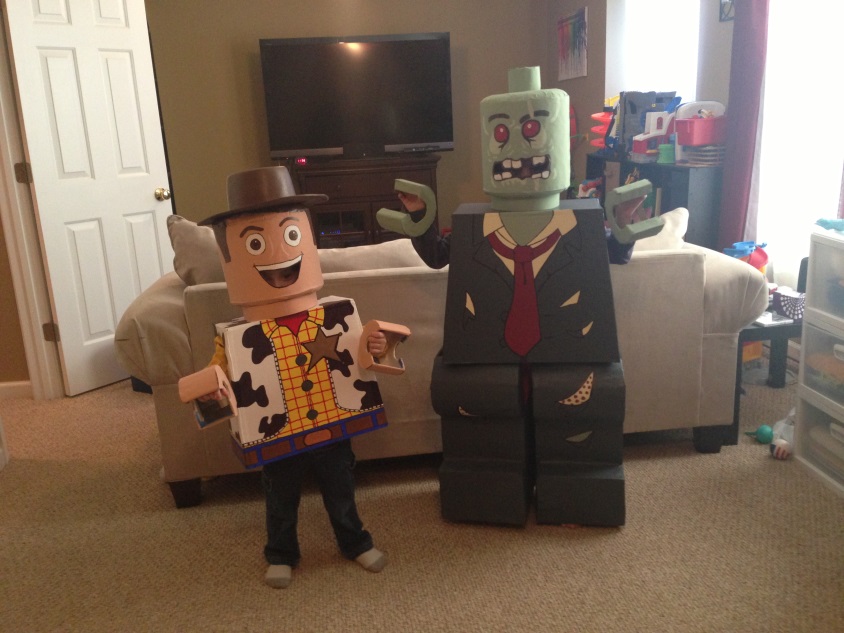
Lego Costume- Body
Materials:
-2 Small Tri-Fold Science Project Board (Dollar Tree)
-Masking/Painters Tape
-Xacton Knife
-Paint
-Brown Butcher Paper
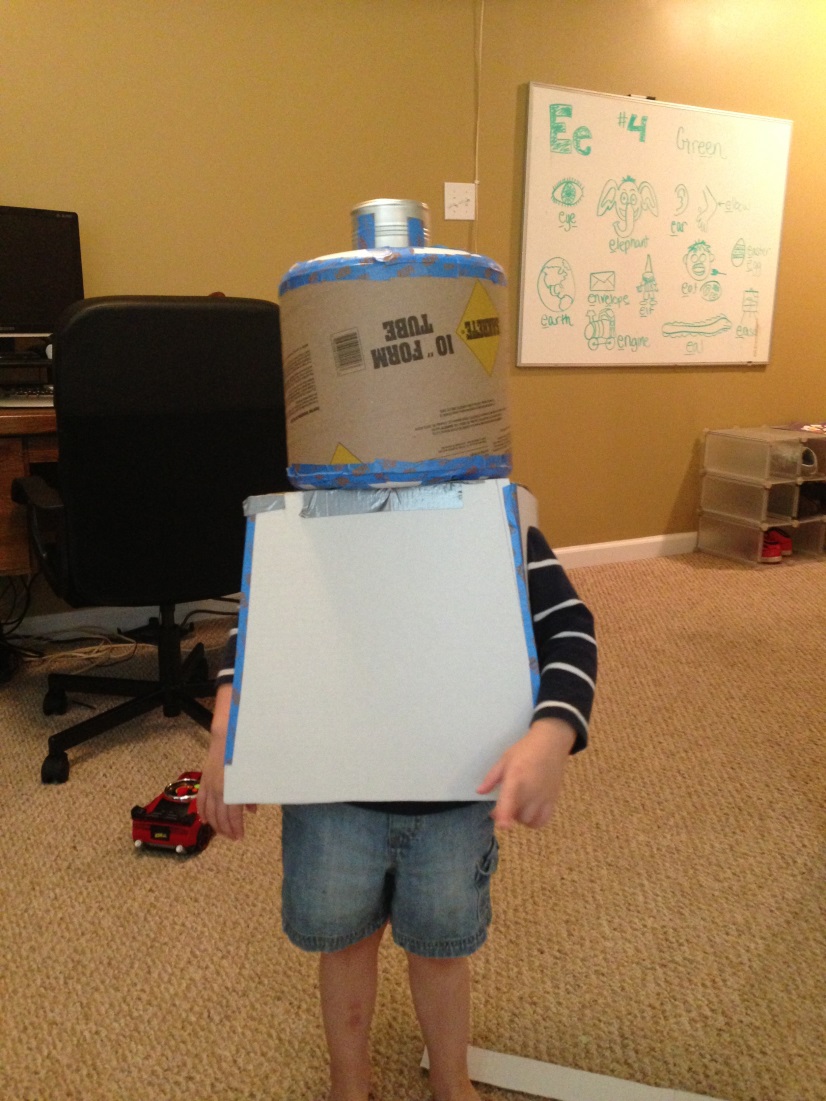
1. For the bodies of the Lego people I used foam board I found at Dollar Tree. They have a tri-fold science board that worked perfectly for the bodies.
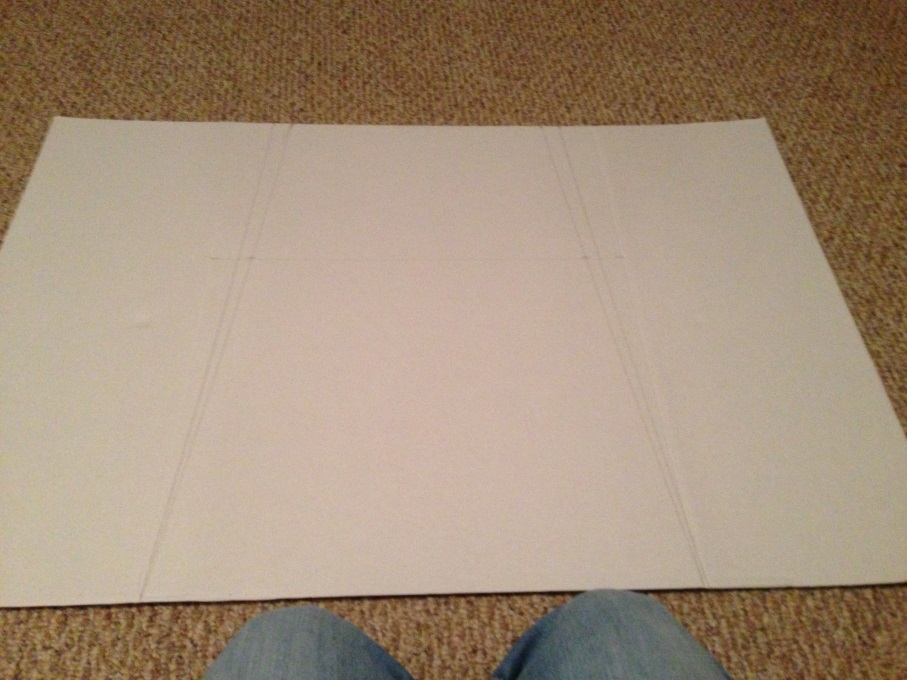
2. The trifold gave me perfect segments for different body parts. I used the middle sections for the front and back of the Lego body. Measure in 3” from the fold on both sides at the top of the board. Draw a line from this mark down to the bottom corners. I tried 2” at first and it did not have a good enough slope to the body.
3. Measure your child from neck to waist. I added 2” to this measurement to insure that I had enough material to size the body properly. Draw a line vertically, measuring from the bottom of the tri-fold board, that corresponds with your child’s adjusted measurement.
4. Cut out two of these pieces for the front and the back of the Lego body.
5. Using the side flaps of the tri-fold board, I cut pieces for the top and sides of the Lego pieces. I did 5” wide pieces for my younger son and 6” pieces for my older son. You will need to adjust thickness based off the size of your child. Side pieces use the same adjusted measurement for length and then the width is determined by your child’s size. Depending on how long your child’s torso is determines the top piece length. Measure your previously cut front or back body piece at the top to determined length needed, cut to the same thickness as the sides.

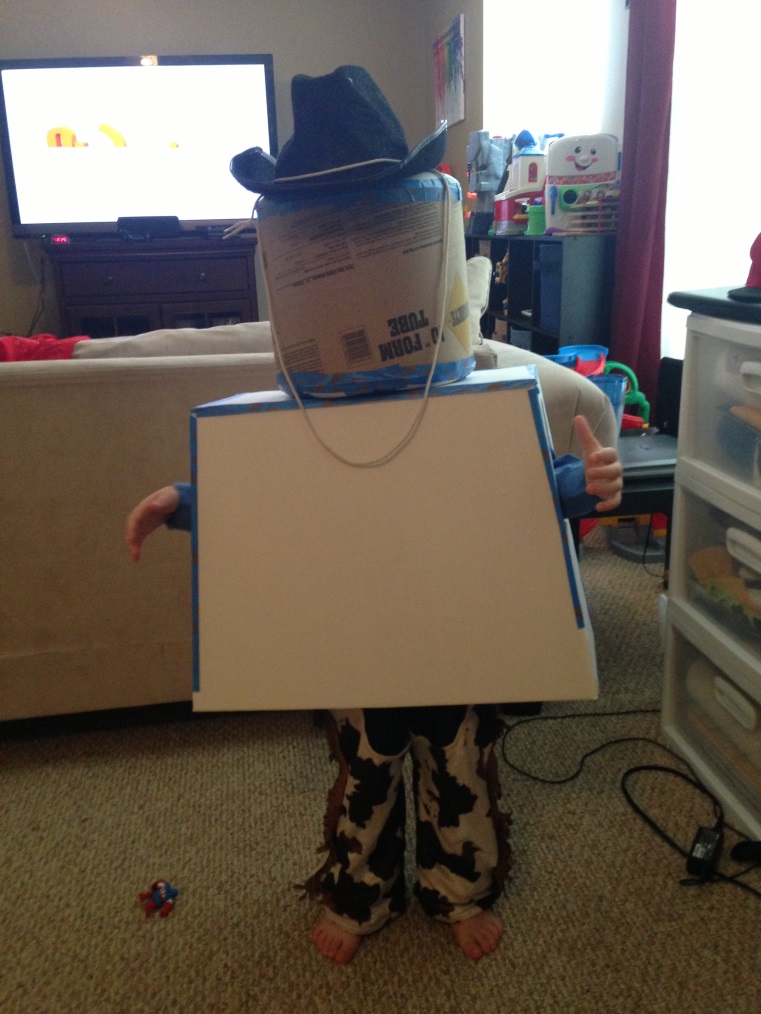
6. I cut arm and neck holes. This will allow you to try the body on your child and make sure the proportions are correct. I made my younger sons too wide the first time and he could not comfortably put his arms down. I had to take an equal amount off each side of the front and back of the body, an inch at a time, until it sized out properly.
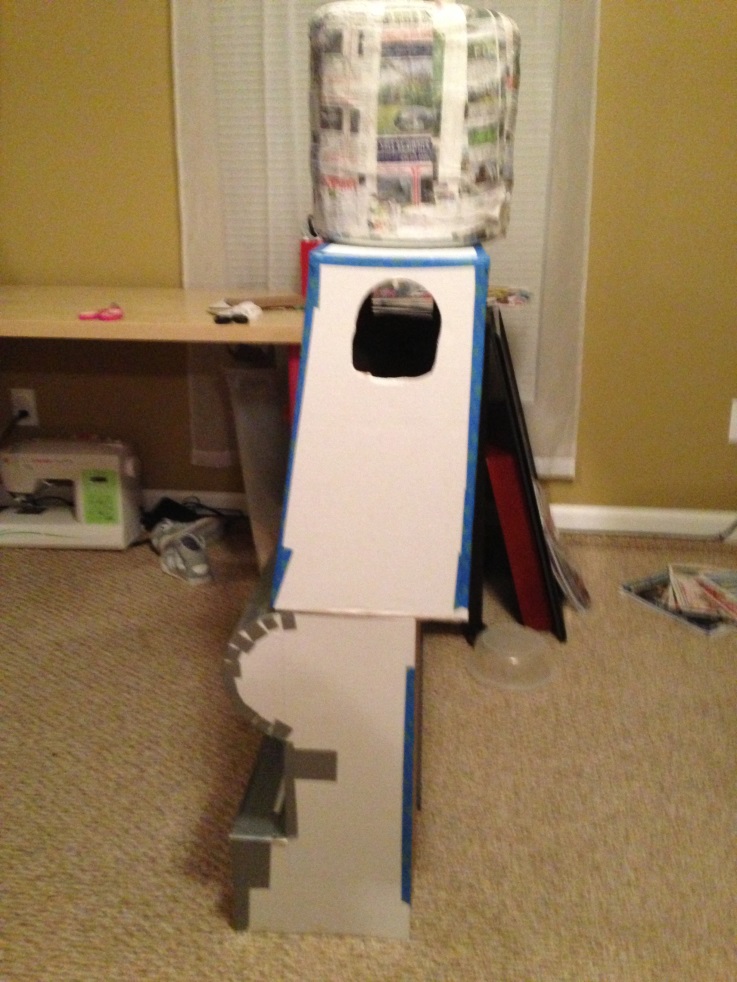
I made the arm holes in the middle and about an inch down from the top of the body.
Too wide for his body- see where the arms stick out but won’t lay down.
Much better size and allows for more arm movement.
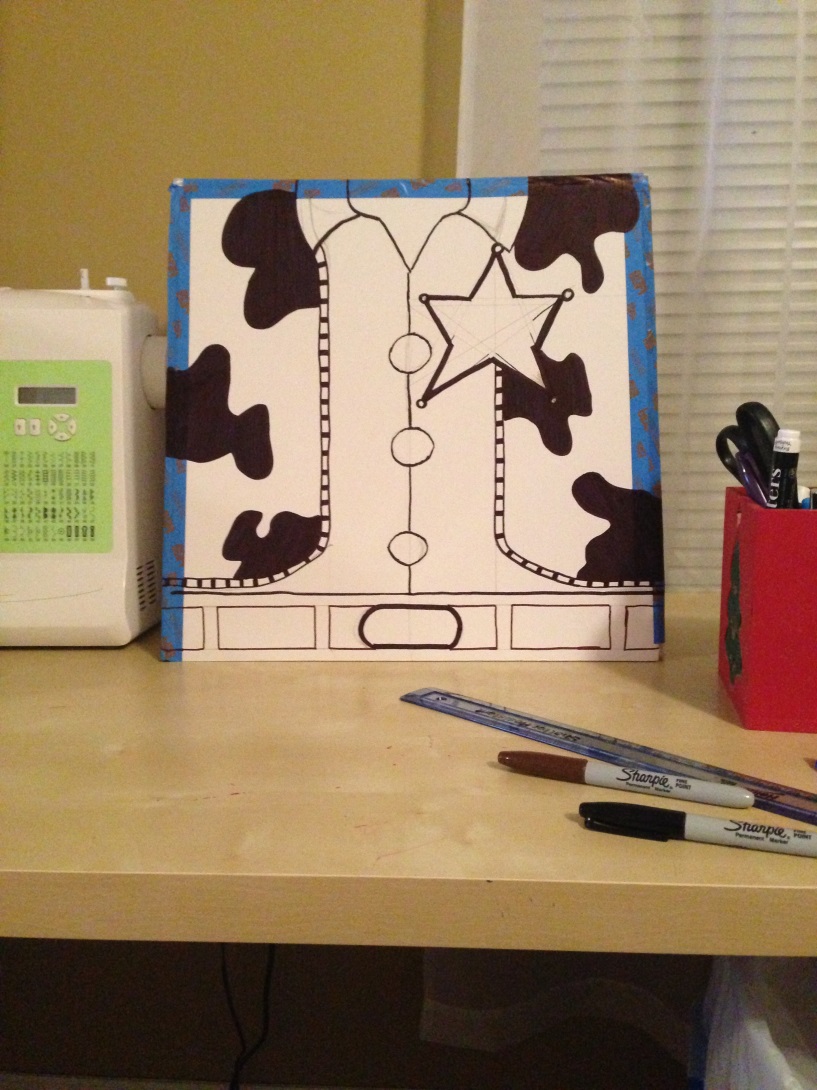
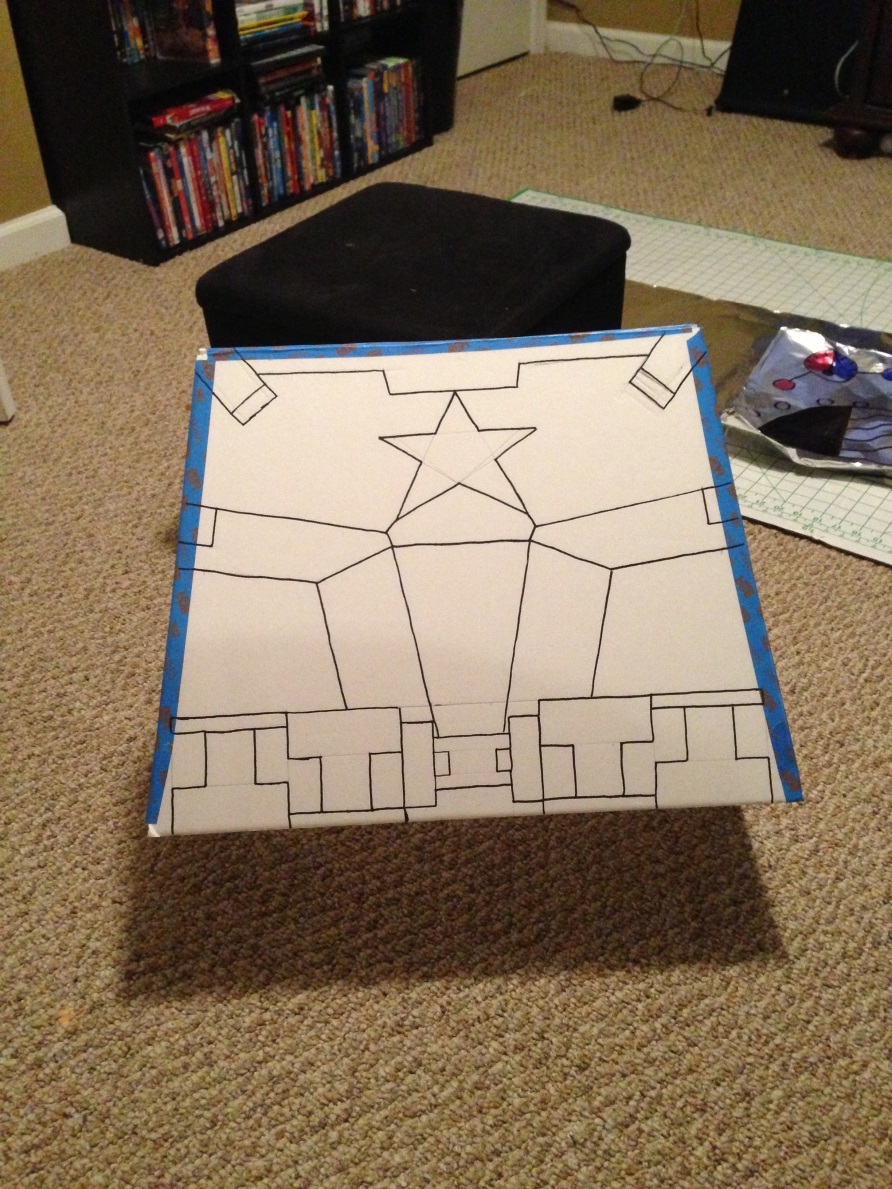
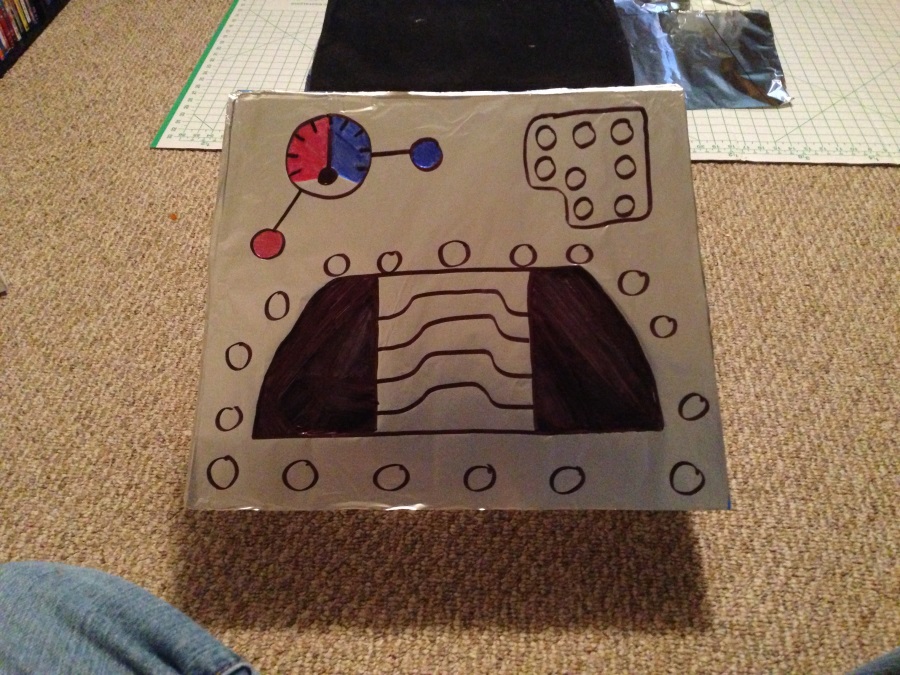
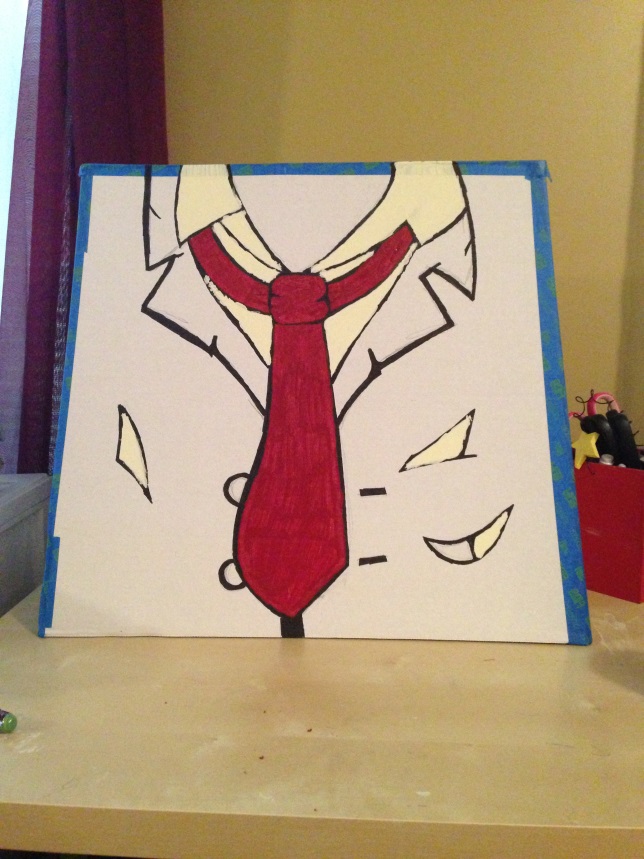
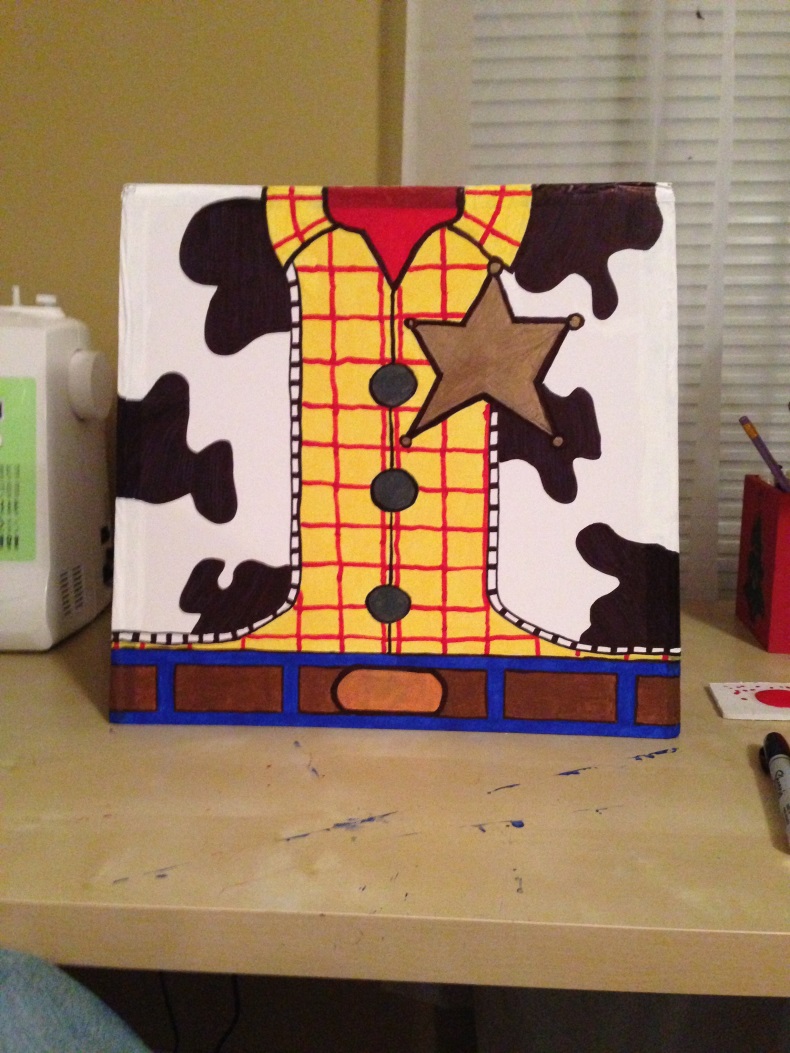
7. Draw the desired body style on the front and back of the body. I drew the starter pattern on with pencil until I was happy and then finalized the design with sharpie marker.
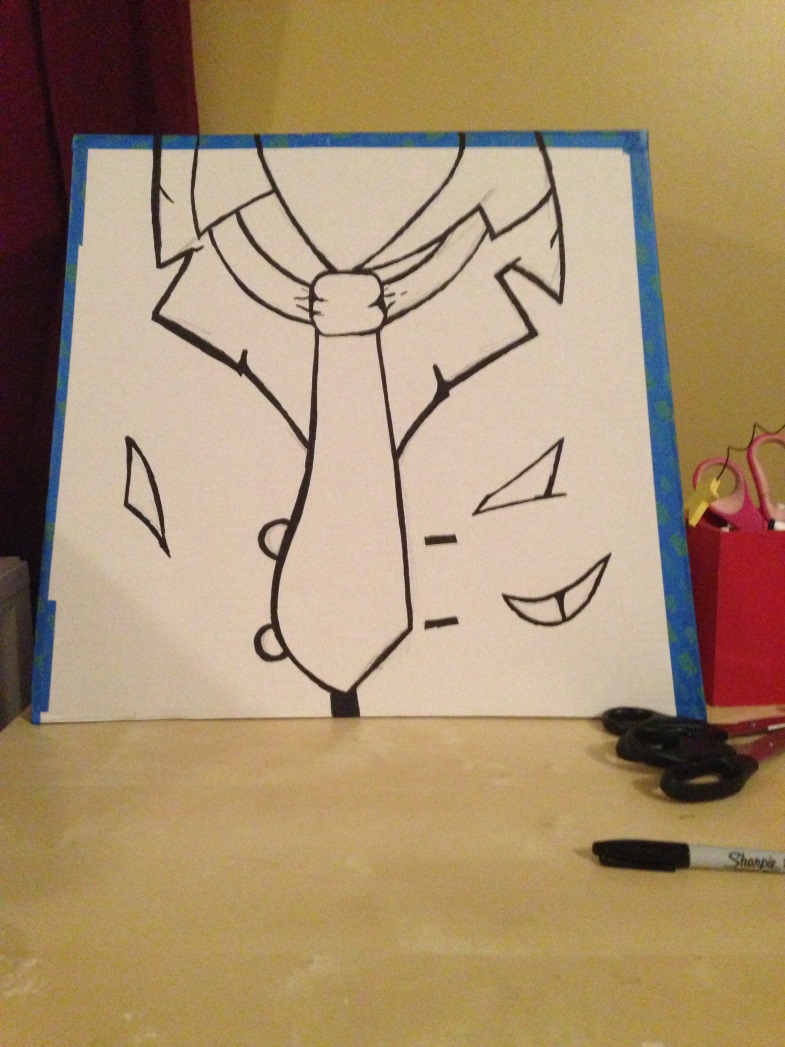
I had a few trial and errors as well.
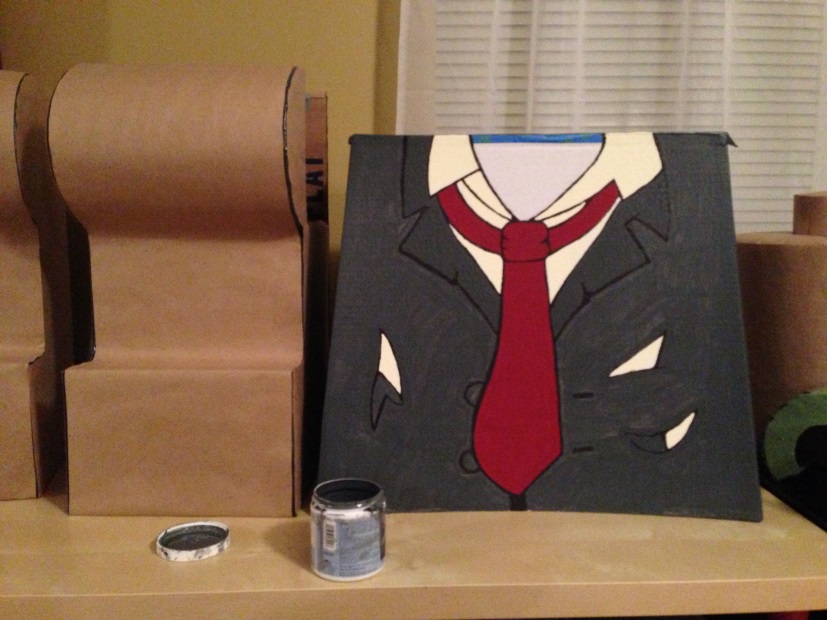
8. Paint in your design. It took several coats to fill in over the paint if I just did the desired color. I found that painting my painters tape white before I colored gave me a move even color throughout.

9. Once your paint is on, retrace the edges with a sharpie marker. This just gives your project a crisp line and more polished look.
Enjoy and check back soon for my hands and legs tutorial!