
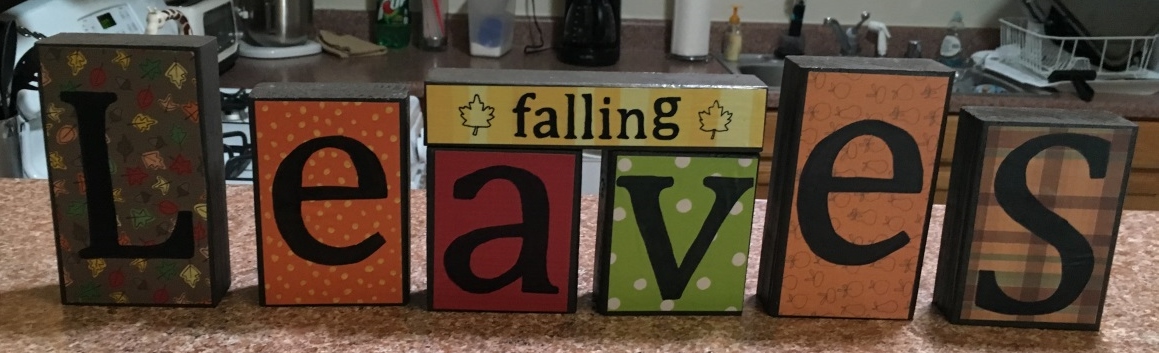
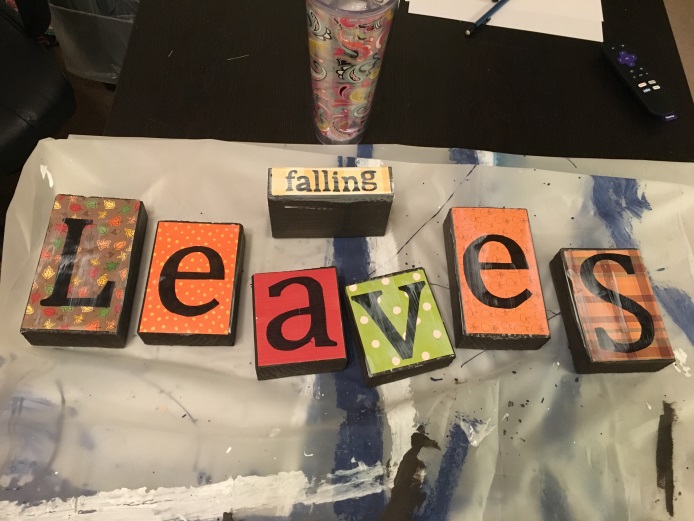
Falling Leaves Wooden Blocks
Materials:
-1- 2×4 Wood
-1- 2×2 Wood
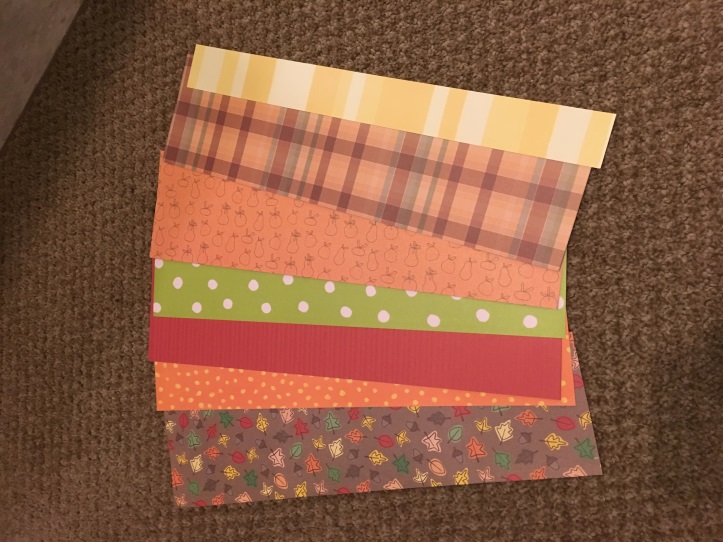
-Scrapbooking Paper (7 patterns)
-Matte Mod Podge
-Paint Brush or Sponge
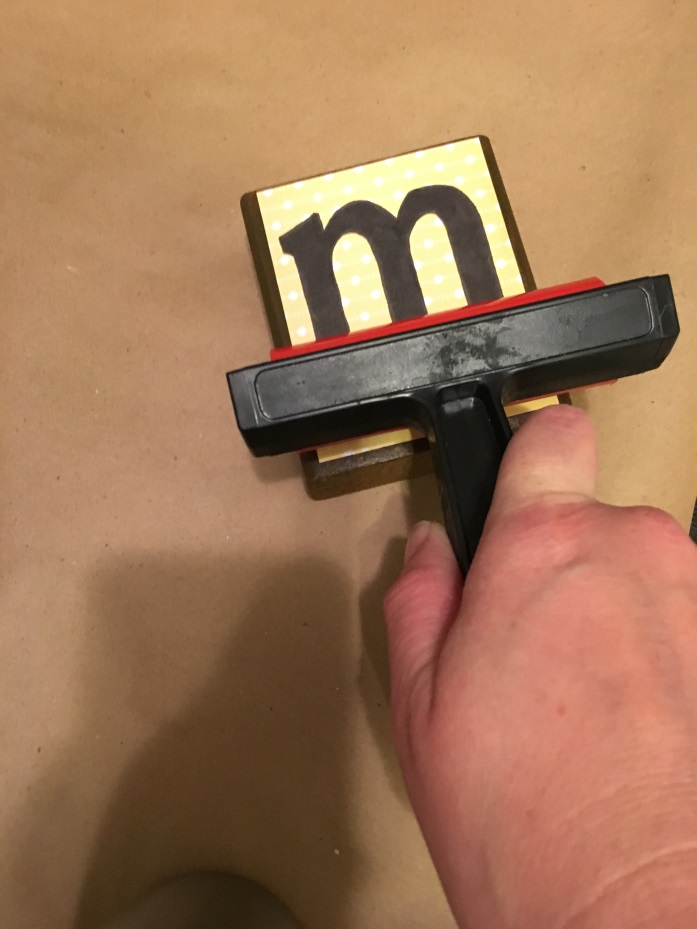
-Brayer
-Scissors or Paper Cutter
-Ruler
-Pencil
-Miter Saw or Jigsaw
-Sand paper or Sander
-Letter Template
1. Measure out cuts on 2×4. You will need 2 pieces of each of the following measurements- 4, 5 and 6 inches.
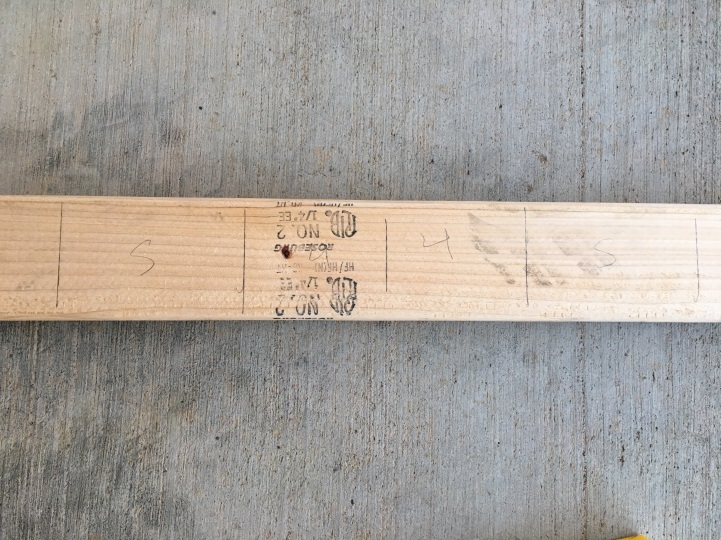
2. Measure out 7 ½” on the 2×2 piece of wood.
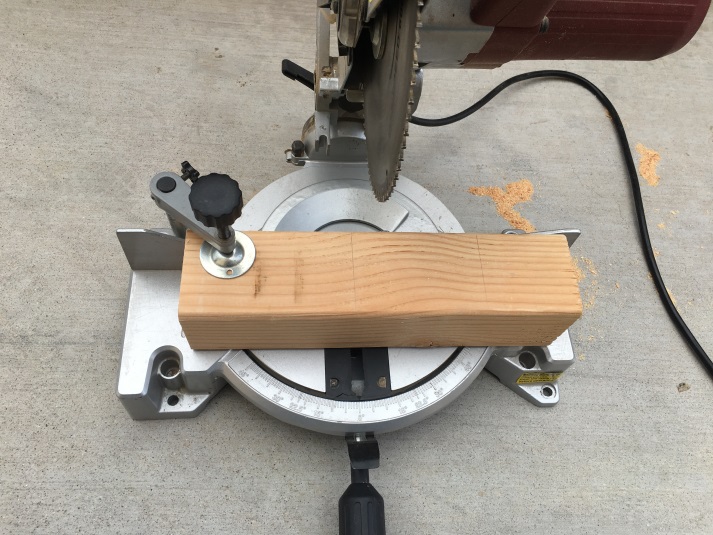
3. Cut on your marks either using a jigsaw or miter saw. I found that my miter saw did a better job of giving me straight, consistent cuts. However, a jigsaw is usually a cheaper investment if you do not already own the tools to complete the project. A table saw could produce the same results.

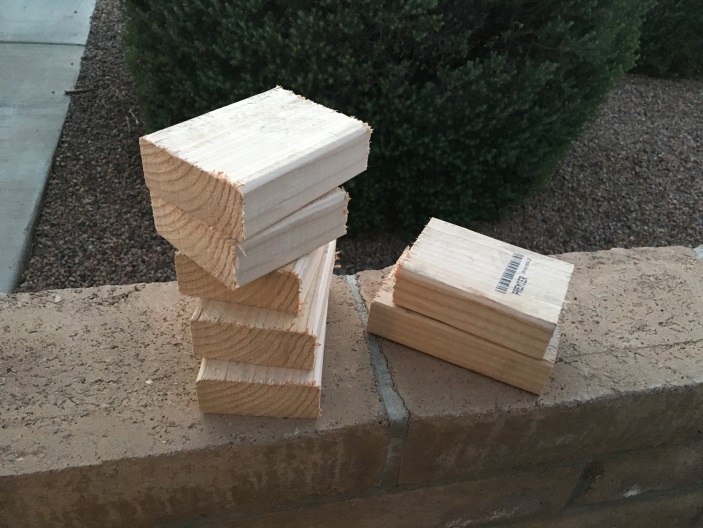
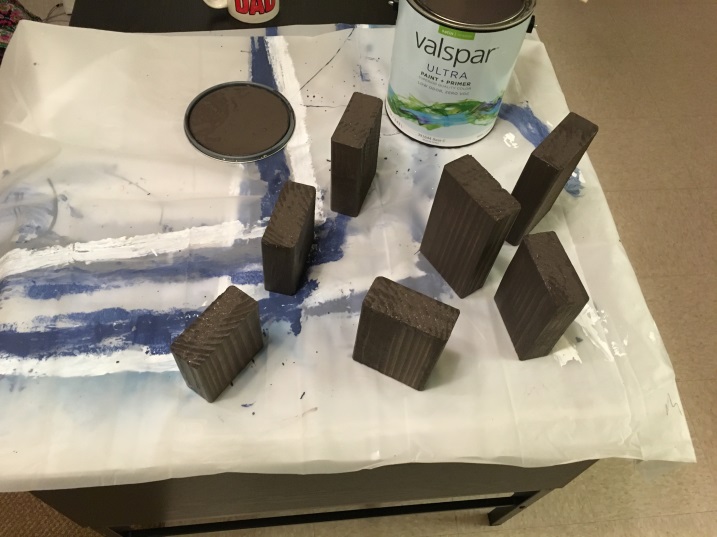
4. Sand each piece to remove rough edges. Sand fronts to smooth out for paper application.
5. Paint each piece of wood. I used a matte paint to get better adherence from the mod podge. I chose brown for this project.
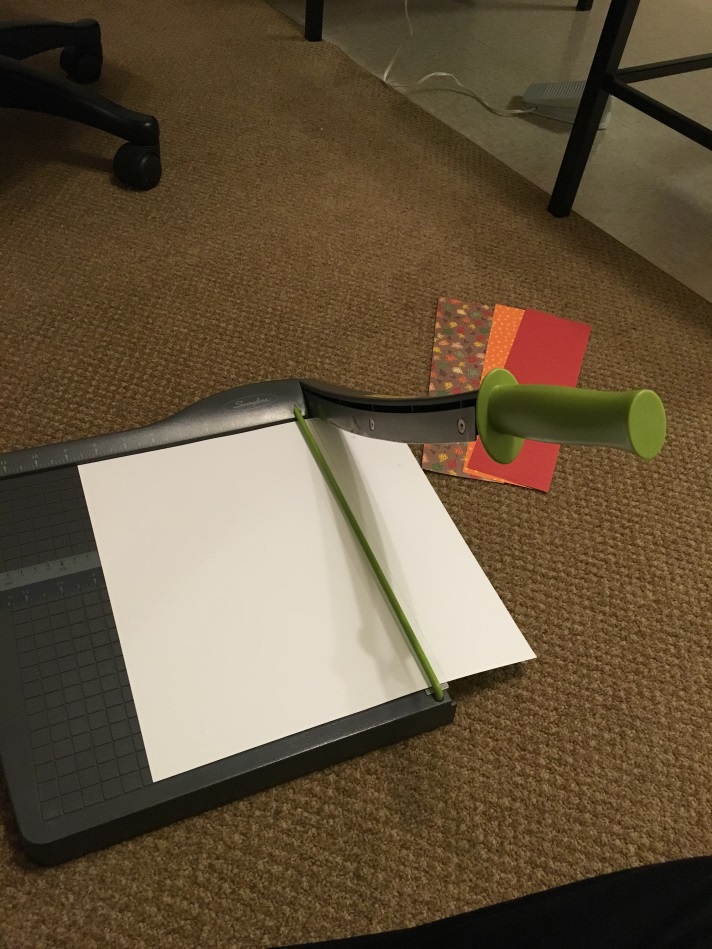
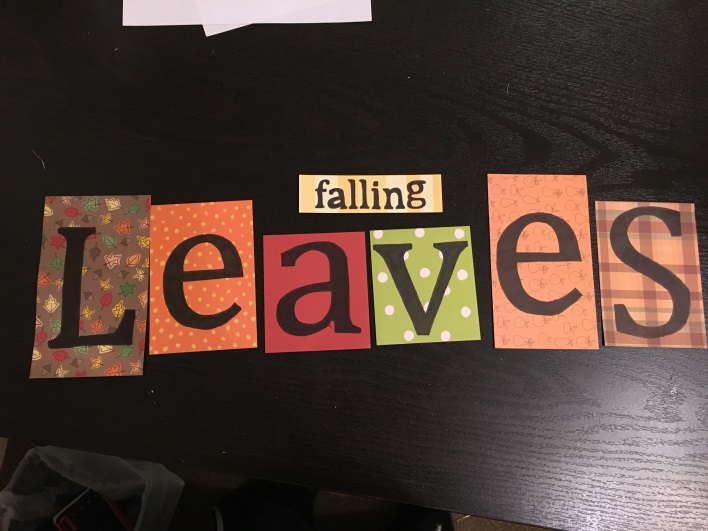
6. Pick your paper, you will need 7 different patterns unless you plan on repeating. I laid out my paper until I was satisfied with the order and patterns. Cut the paper for the large letter blocks into 3” strips. Cut the paper for the longer wood saying into a 1 ¼” strip.
7. Cut the first and fifth pieces of paper to a length of 5 ¾ inches. Cut the second and sixth pieces of paper to a length of 4 ¾ inches. Cut the third and fourth pieces of paper to a length of 3 ¾ inches. Cut the long wood piece of paper to a length of 7 ¼ inches.
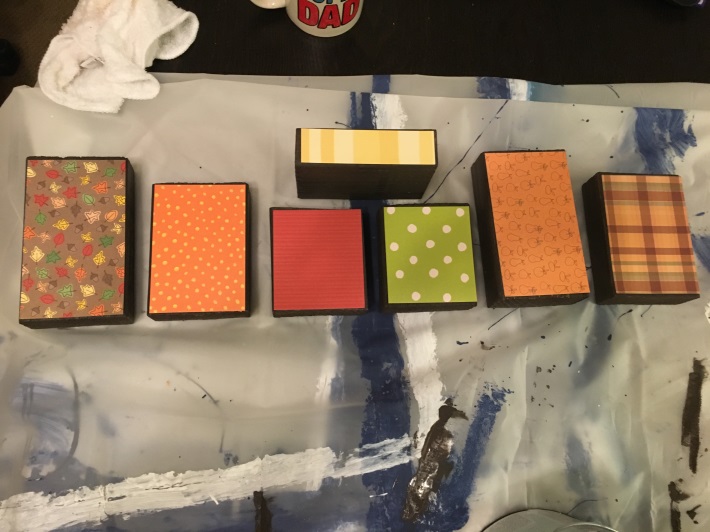
Your piece for the “falling” wood will be longer; this was an earlier trial that did not look as nice.
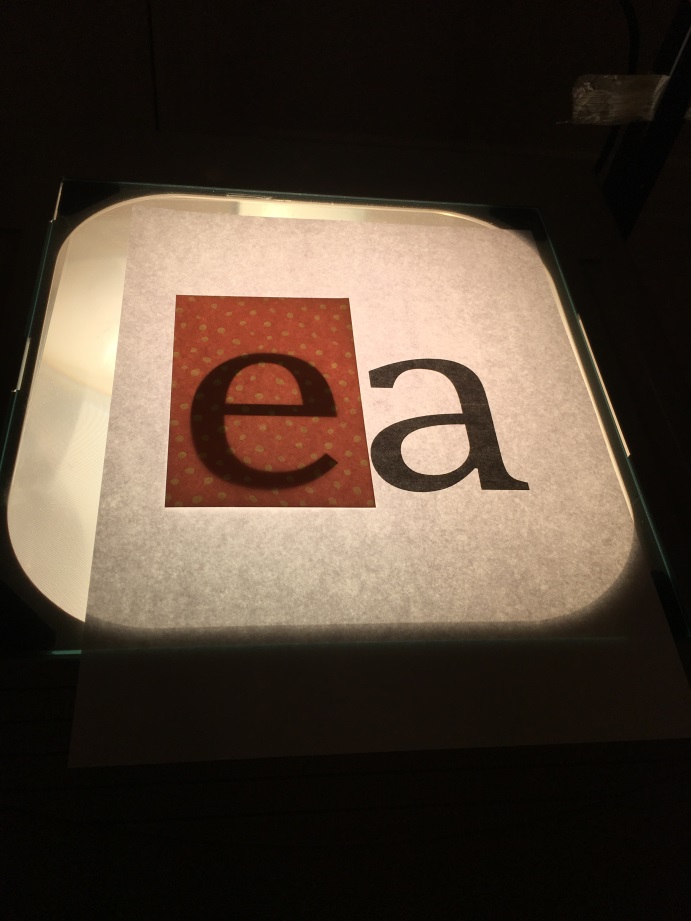
8. Using the template provided in this post, trace the letters and word onto your pieces of paper. The paper is thin enough that if you place it on the template then onto a window, you can easily see the letters to trace them. I use my trusty best friend- a 1990s overhead projector. If you have a light box, the same result can be achieved. If you have a silhouette or other vinyl cutter, your project will go much quicker. (I’m still working on my husband to purchase one.)
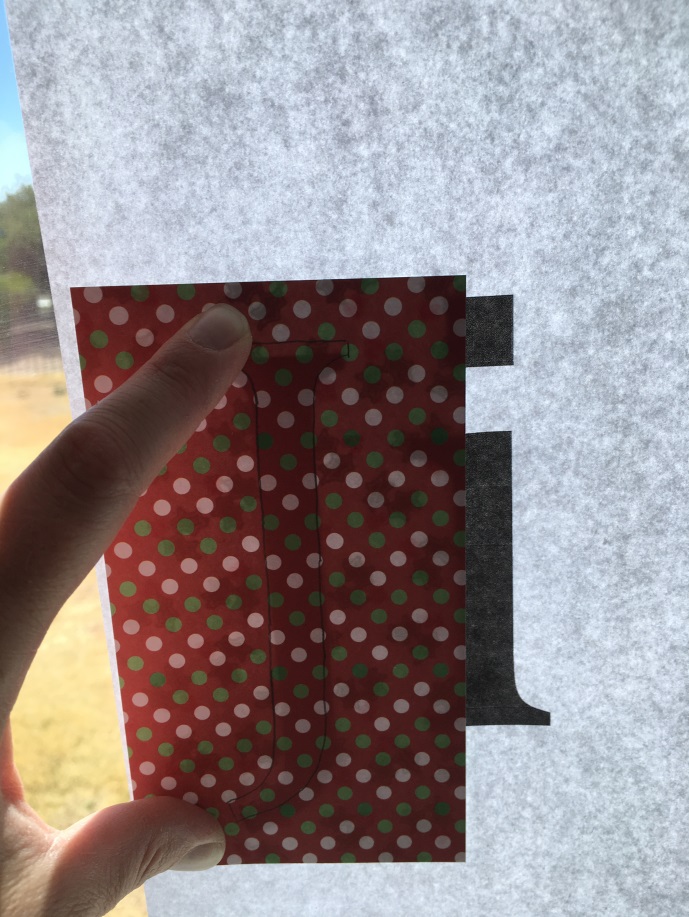
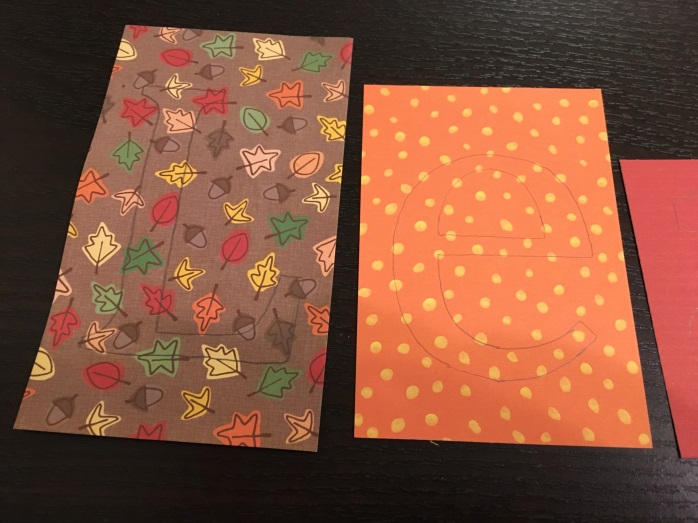
9. Color in each letter with a sharpie marker. I found that paint crinkled my paper. If you want to use paint, I suggest adhering the paper to the wood block first and then painting in the letter.
10. Paint a thin layer of matte Mod Podge onto the wood block. Then paint another think layer onto the back of the paper letter, make sure to get all the corners and edges. Align onto the wood block and then use your brayer to adhere it firmly and remove any wrinkles or air bubbles. Allow this to dry for 15 minutes so the paper can finish setting. Smooth out any air bubbles or wrinkles during this drying time, either with your fingers or the brayer.
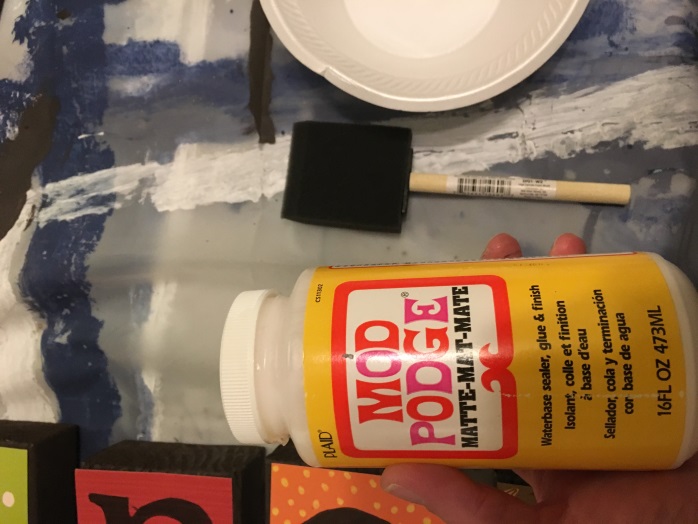
11. After the 15-minute drying period has ended, cover the paper with another thin layer of mod podge to seal it to the wood block.
12. Allow to dry and enjoy! Check back for tutorials for options for the opposite side.
Purchase your needed tool here! Crafts Action is proud to be a new Amazon Affiliate.