
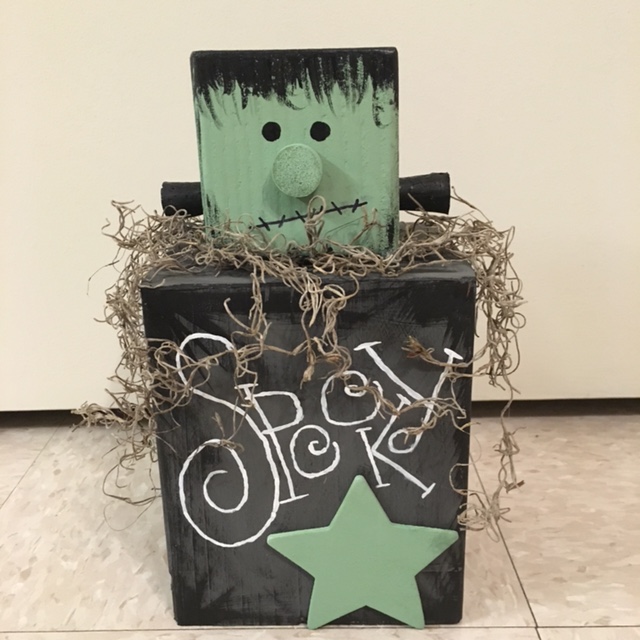
Spooky Frankenstein
Materials-
-5”x6” Timber
-4”x4” Timber
-Paint (Pale green, gray and black)
-Craft Glue
-Hot Glue
-Spanish Moss
-Wine Corks
-White Paint or Paint Marker
-Miter Saw
-Sander
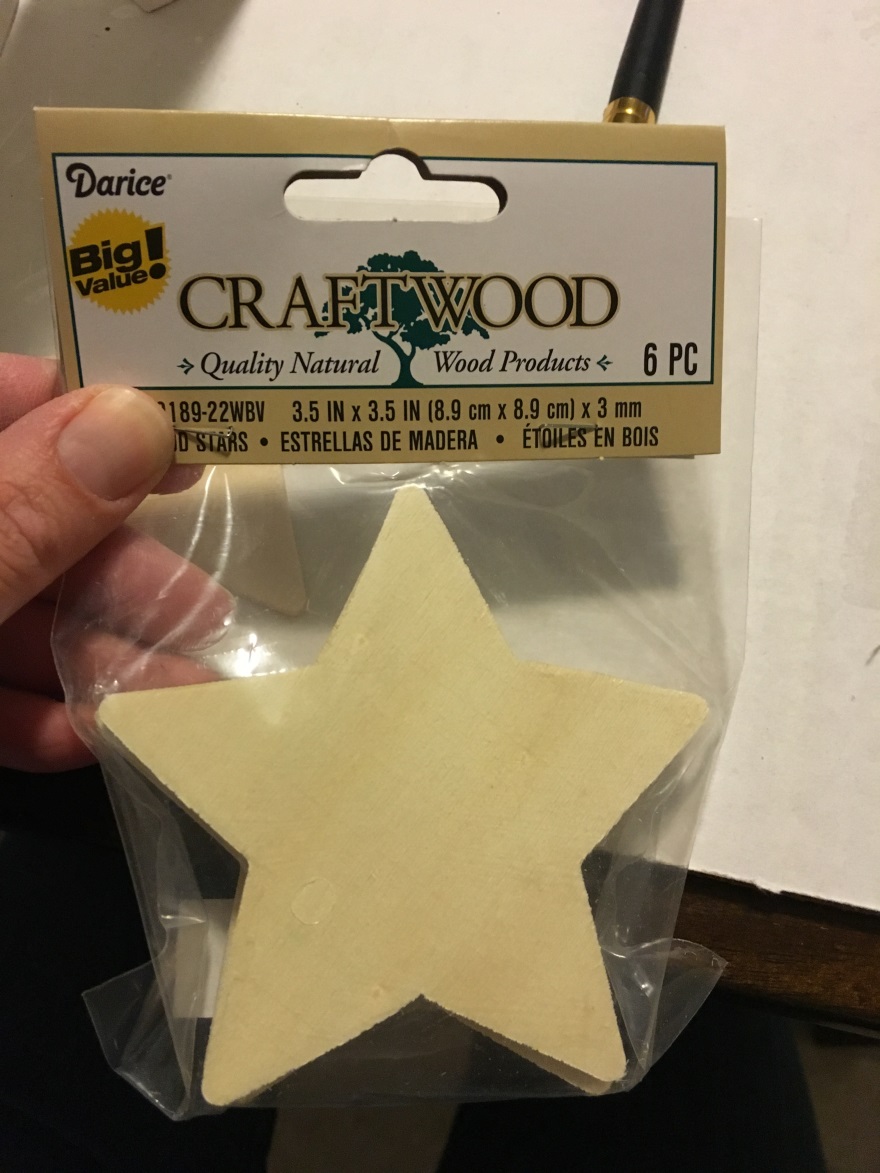
-Pre-cut Stars
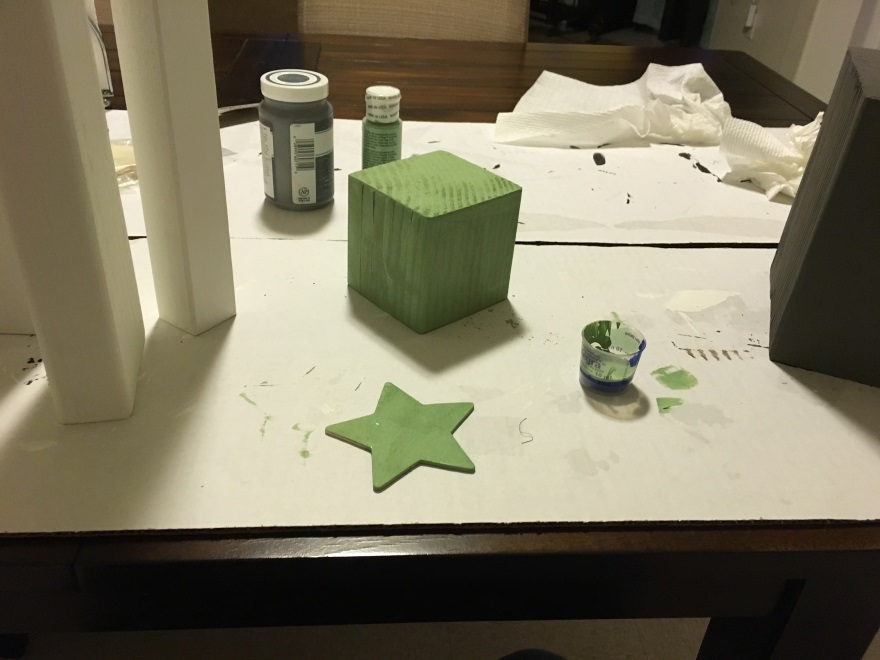
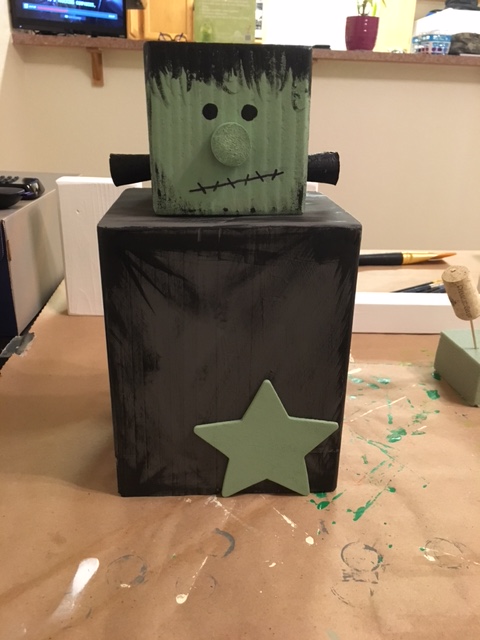
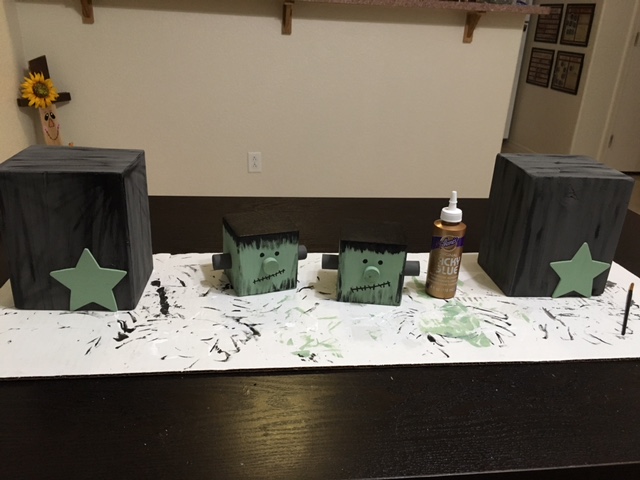
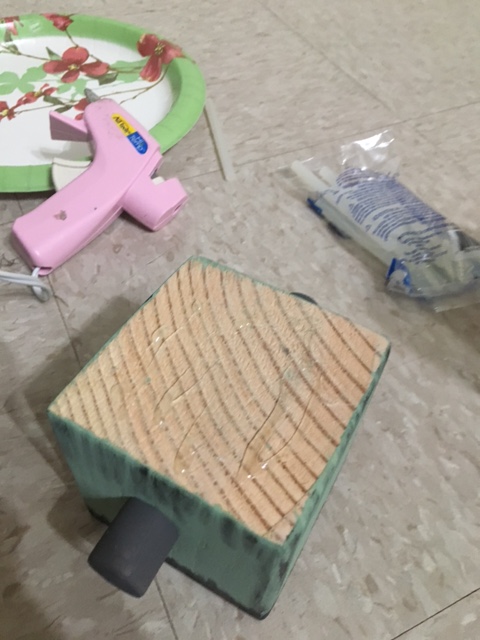
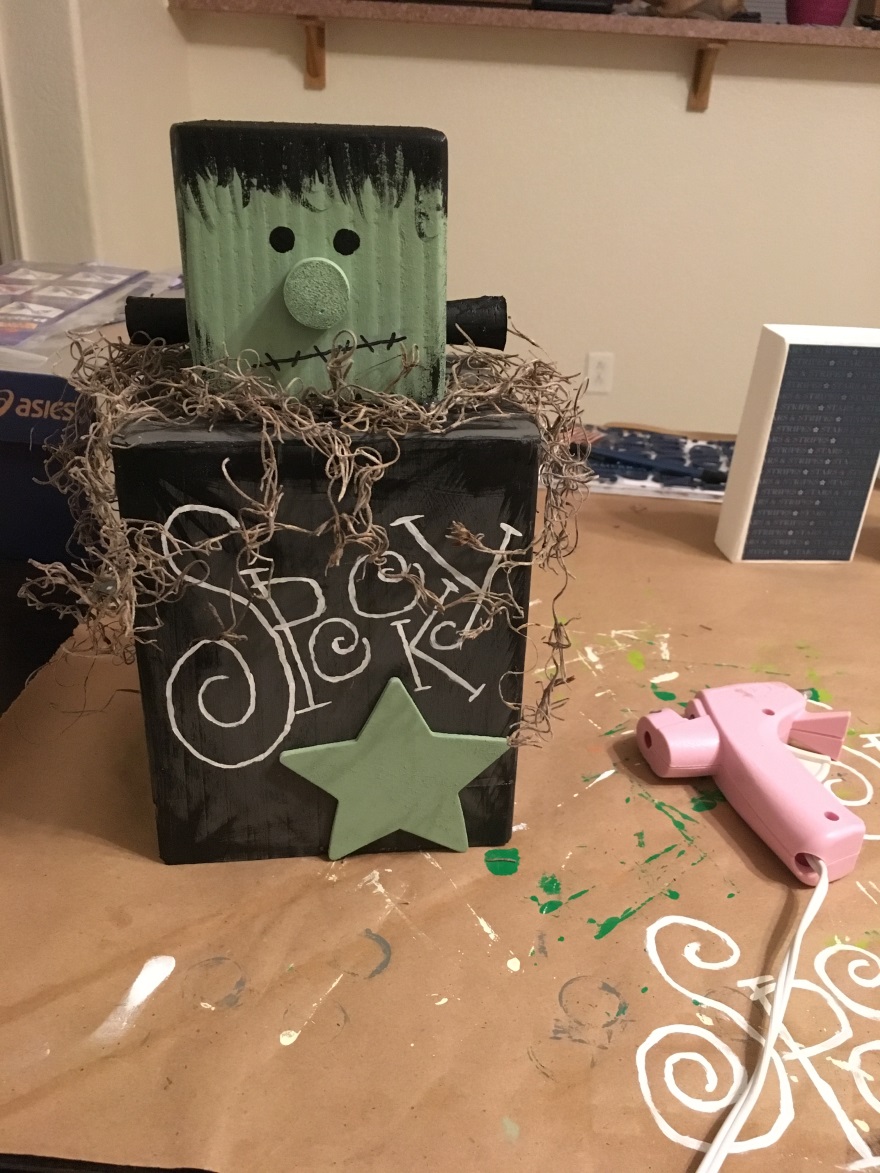
1. Cut timber pieces using your miter saw. For the large timber, my 10” miter saw does not cut all the way through on one try. I have to cut one side of the wood and then flip it over to cut the other side. I just sand the ends really thoroughly afterwards. Cut your 5×6 to 7” and your 4×4 to 3 ½”. Sand both pieces thoroughly; assuring the base especially sits flat and wash off all saw dust.
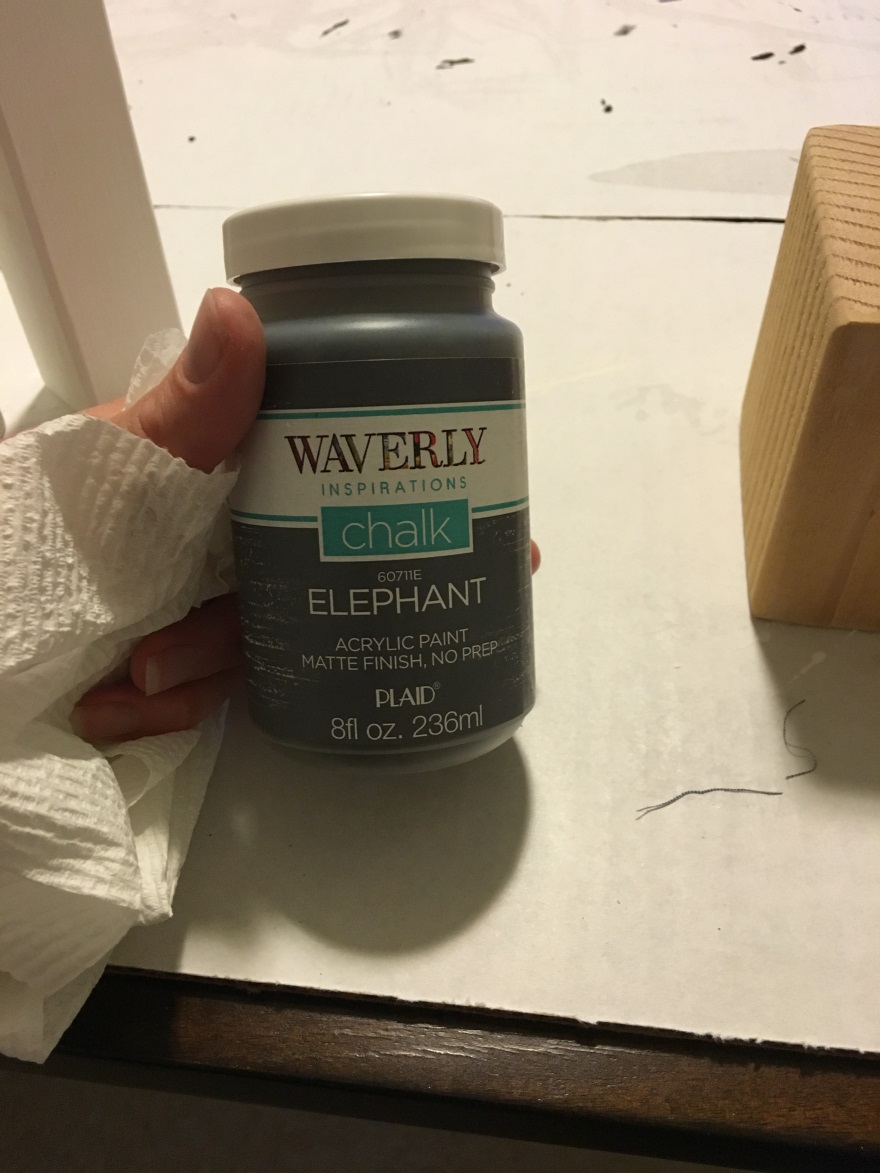
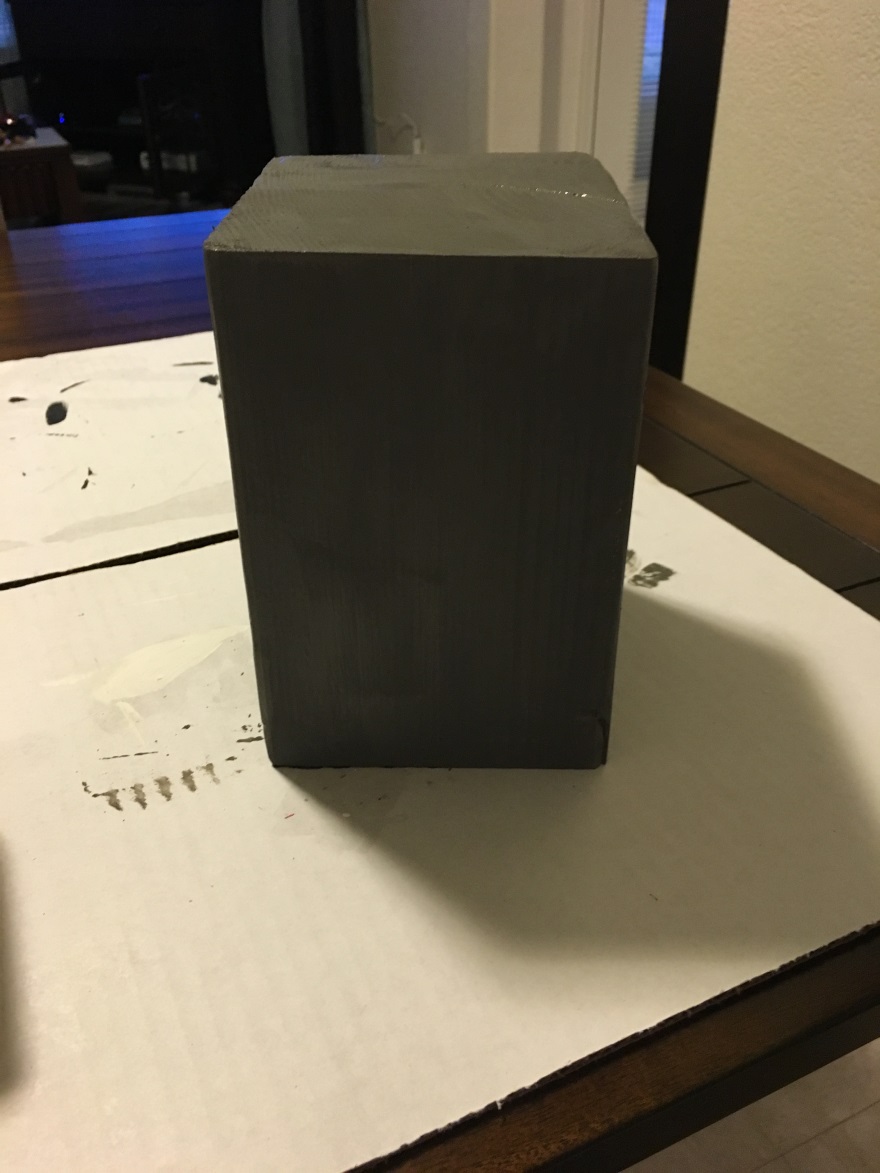
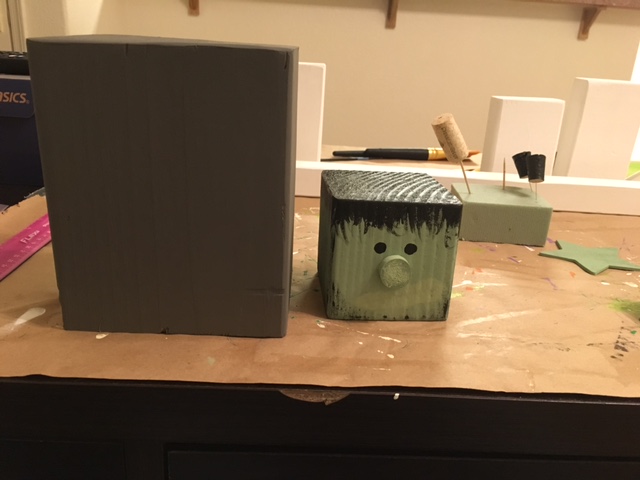
2. Paint your base coats on both pieces and the star. For the body of Frankenstein I used a chalk paint called elephant gray, for the star and head I used pale green.
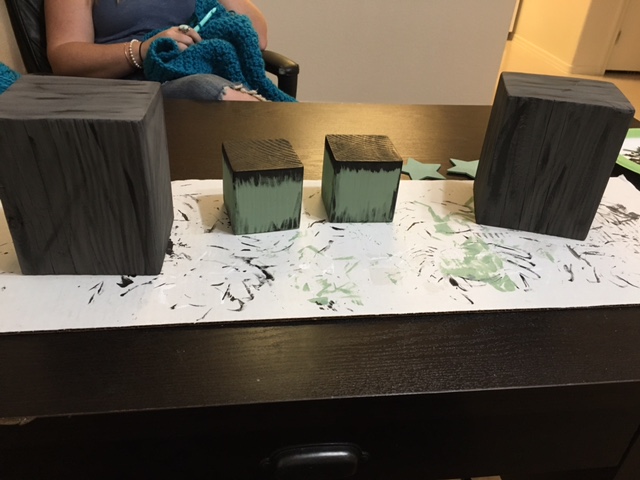
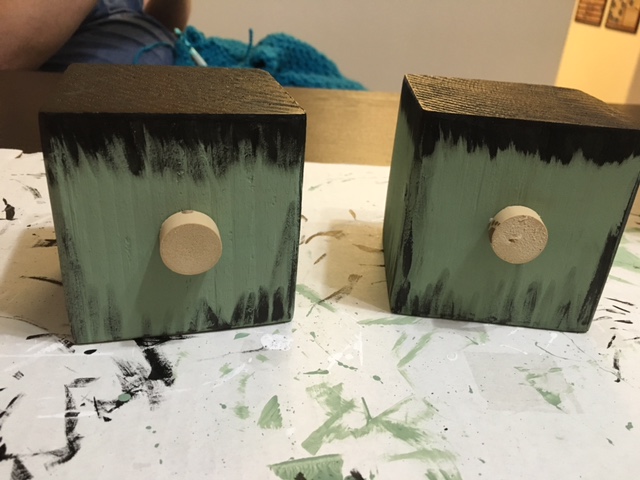
3. After base coats have dried, apply black paint in streaks to the gray body. Clean most of the paint off your paint brush first and then lightly brush on to edges of block and lightly through the main parts.


Apply paint to the brush and then brush most of it off. This will make the lines of paint thin accent lines instead of big blobs of black paint.
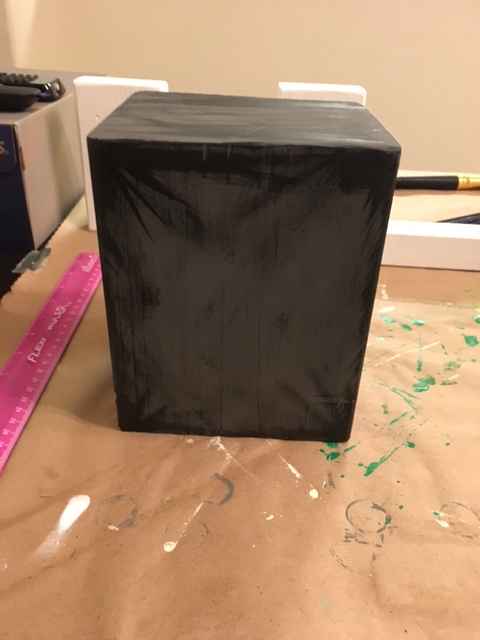
4. Paint the top of the smaller block black and then carefully paint straight lines down with just a little paint on the brush to create his hair. You can also clean off the brush like shown in the step above so paint goes on in wisps and not blobs. You can also go down the sides of the block and up from the bottom with little wisps of paint.
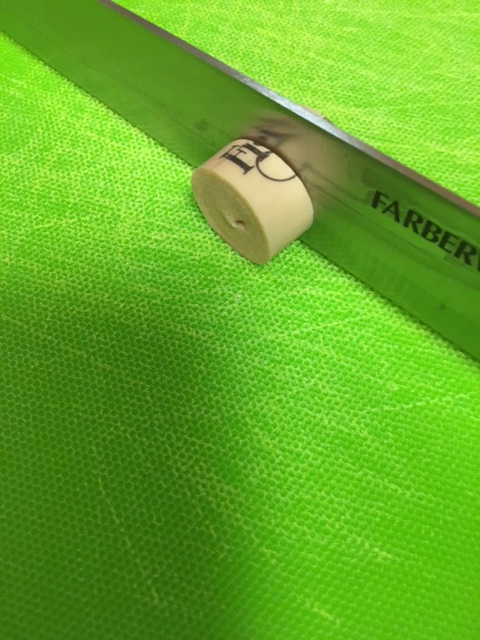
5. Cut a wine cork into a small ¼” sliver. Glue to center of Frankenstein face. Allow glue to dry and paint the nose with the pale green paint.
6. Paint two small dots above the nose and a straight, diagonal line for the mouth. Add small black, slanted lines with the stitches in his mouth.
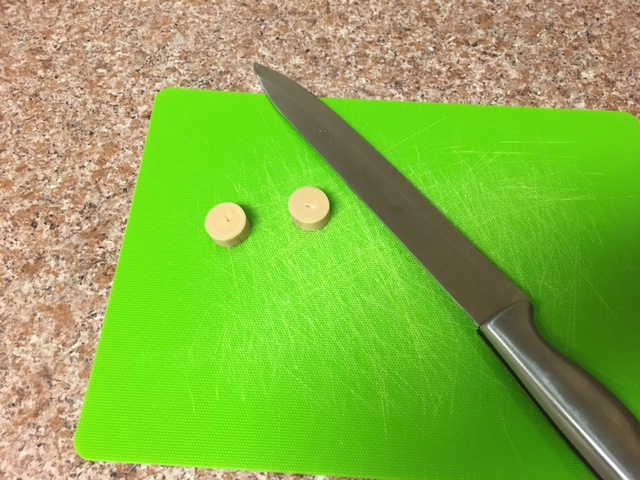
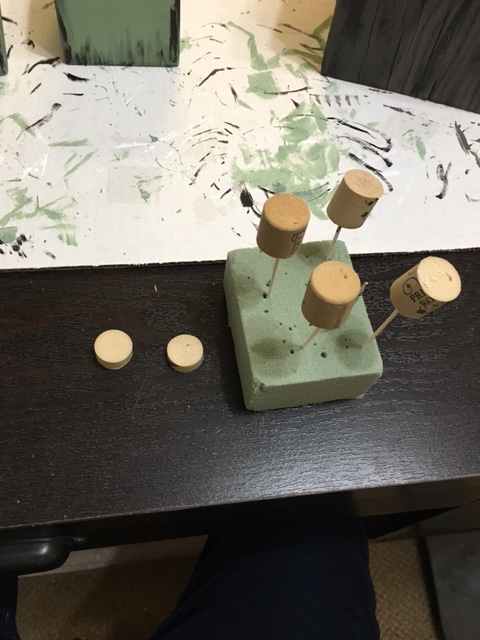
7. Cut a wine cord in half or you can purchase small flanged ones for the Frankenstein bolts. Paint them with the Elephant Gray paint.
7. Glue star to the front, bottom, right side of the Frankenstein body. Stack and make sure everything is looking coordinated together and lining up correctly. You can choose to add little black accents to star or leave a solid pale green.
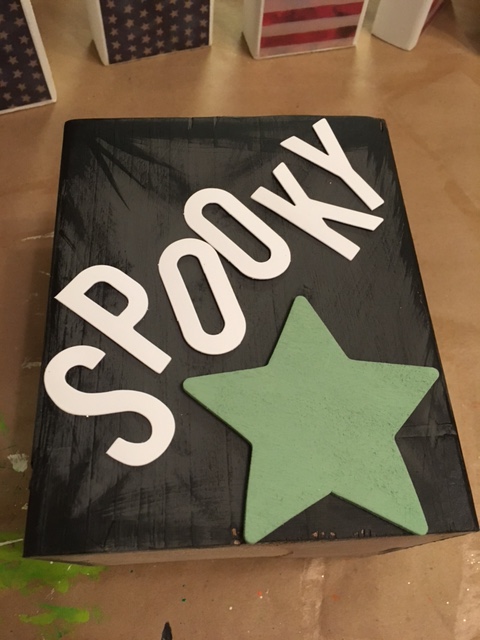
8. Using a white paint marker, or a thin bristled brush and paint, add the spooky to the front of your Frankenstein. The first time I made the Frankenstein I used a paint brush. The second time I found it much easier just to write on the spooky with the paint marker. You can also get small sticker letters and apply it to the front. If you are worried about free handing the spooky, you can print out letters to the appropriate size and transfer to the front of the Frankenstein by tracing over it with white transfer paper. After the transfer is complete, you simply paint over the transfer. If you are going to freehand the letters, be sure to practice first.
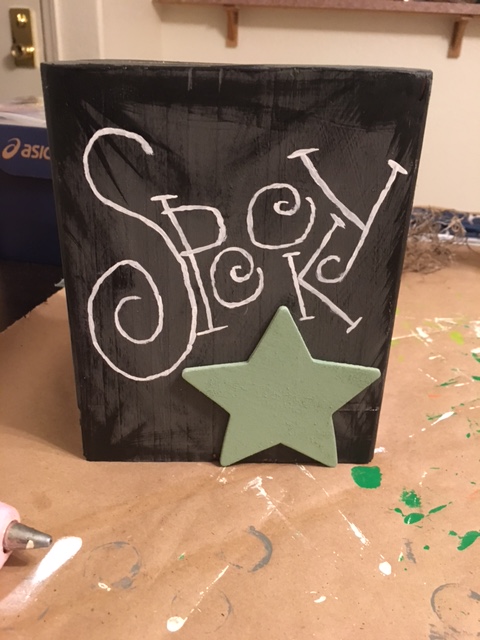
Painted on spooky
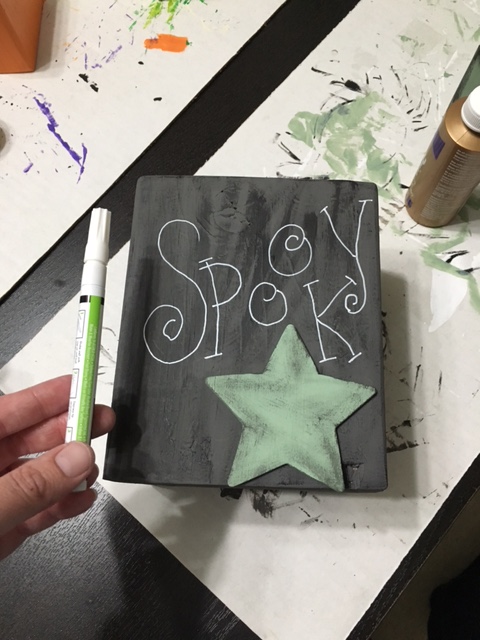
Paint marker spooky
Sticker letter spooky
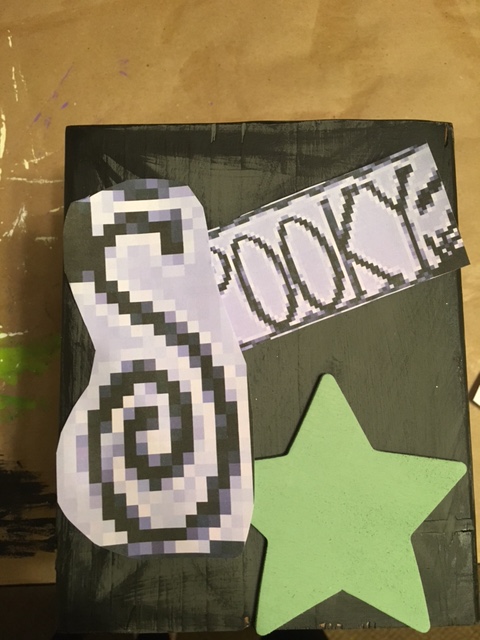
Printed off spooky to be traced over with transfer paper.
9. Glue down Spanish moss and Frankenstein’s head to the top of the body piece. I laid down generous blobs of hot glue to the bottom of the head, after adding my desired amount of Spanish moss to the body and then quickly got his head into place. Apply pressure to the top of the head to close down on the Spanish moss and to get good adherence to the body. If the head still feels shaky on the body, add additional hot glue under the loose parts and again press down to adhere. The head should be glued well enough that he can be carried by the head only and not fall apart.
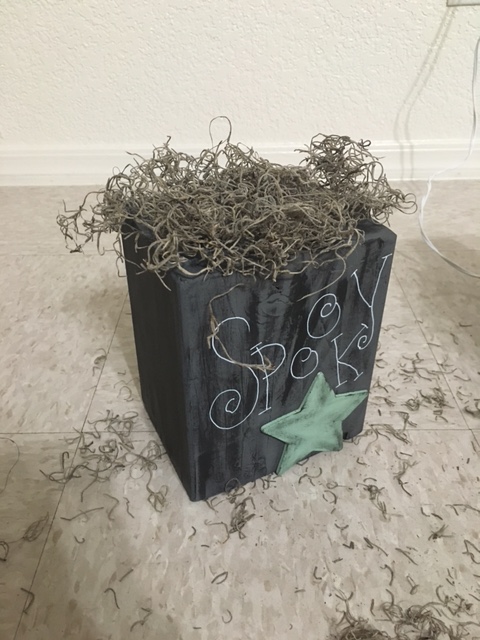
Check Spanish moss amount first before gluing to insure you haven’t added too much or too little.
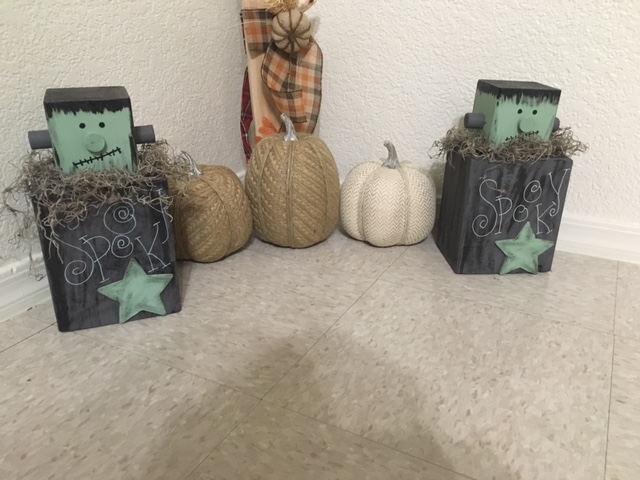
Enjoy and Happy Crafting!