Materials needed:
-Paint of choice (1 wall color, then various polka dot colors)
-Primer (unless the wall is white)
-Paint roller
-Paint tray
-Small edging paint brush
-Painter’s tape
-Spare cardboard of various flat sizes
-Drop cloth for floor, if desired
-Chalkboard paint, if desired
- To start, go along the edge of your walls and tape off what you do not want to paint. Lay your drop cloth on the floor, I like to tape my drop cloth to the tape on the edging of the wall. Don’t forget baseboards and outlet covers!
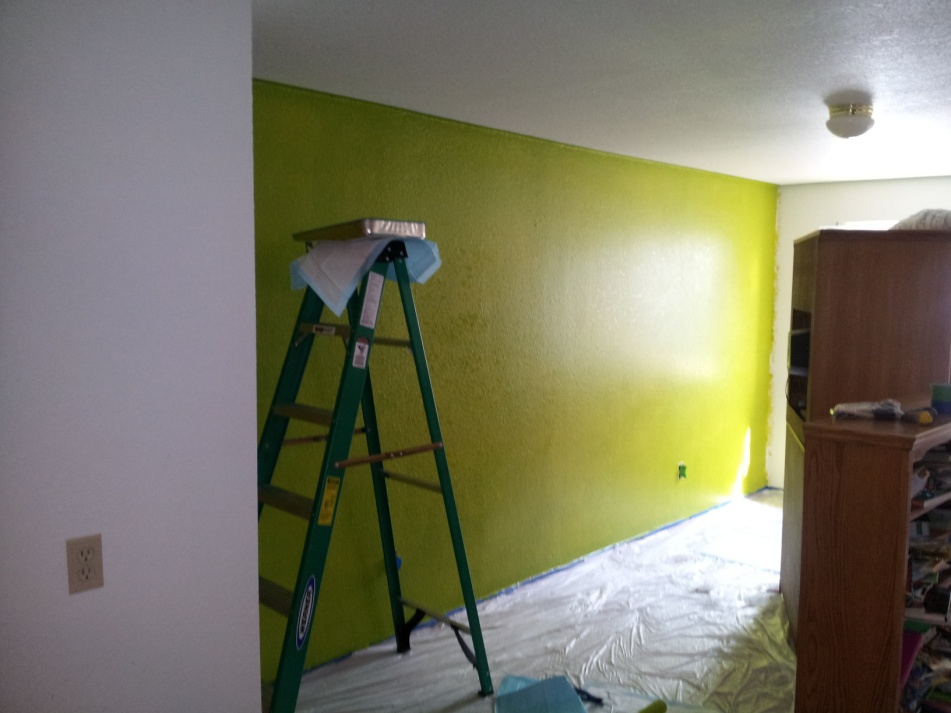
- Prime the wall(s) that are going to be painted. If they are white, you can skip this step.
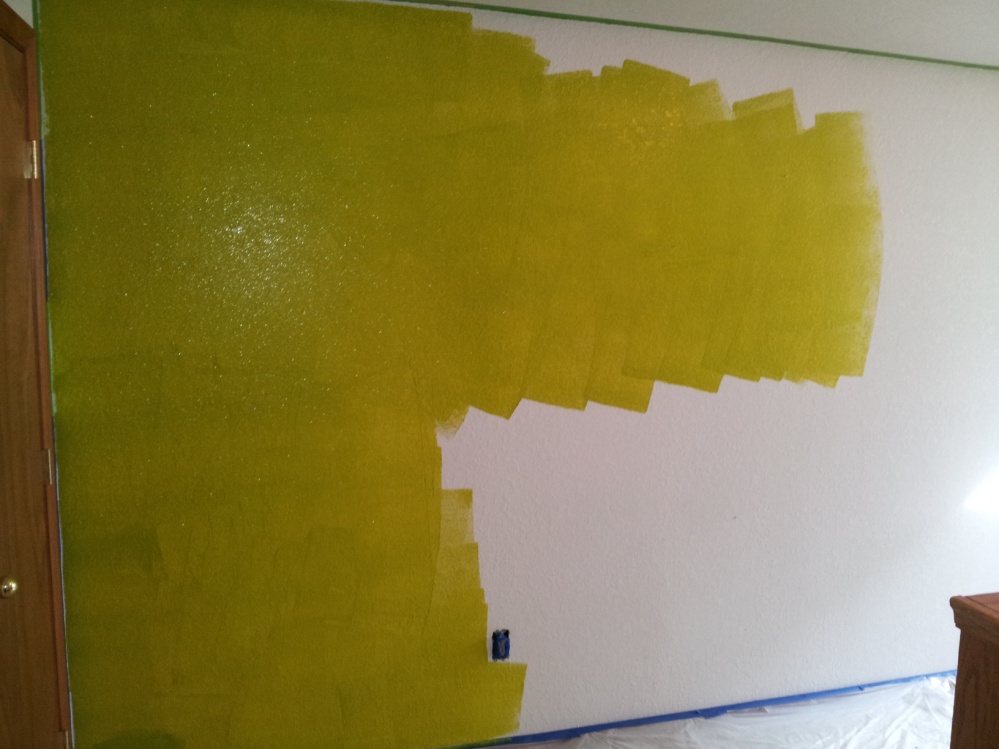
- Paint the wall(s) the desired color, ensuring that there are even coats covering the entire wall. Let completely dry (48 hours) before continuing on.
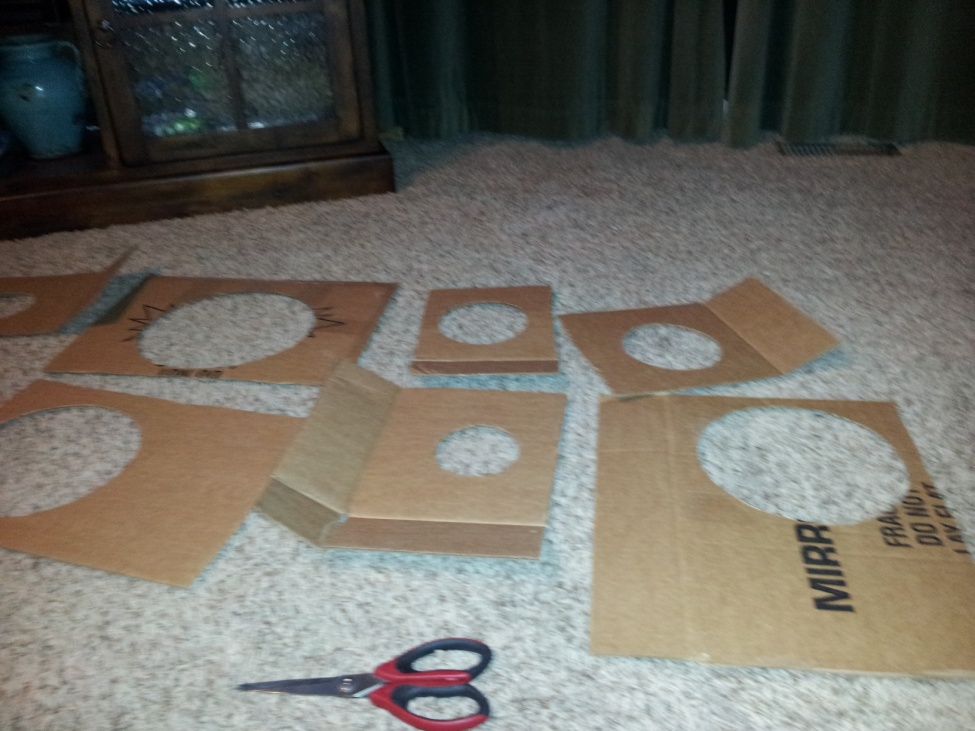
- While the wall is drying, grab your cardboard and being to trace and cut out circles in the corresponding sizes you want for the polka dots. These are completely up to you and the type of look you want to achieve. As you can see below, mine are different sizes.
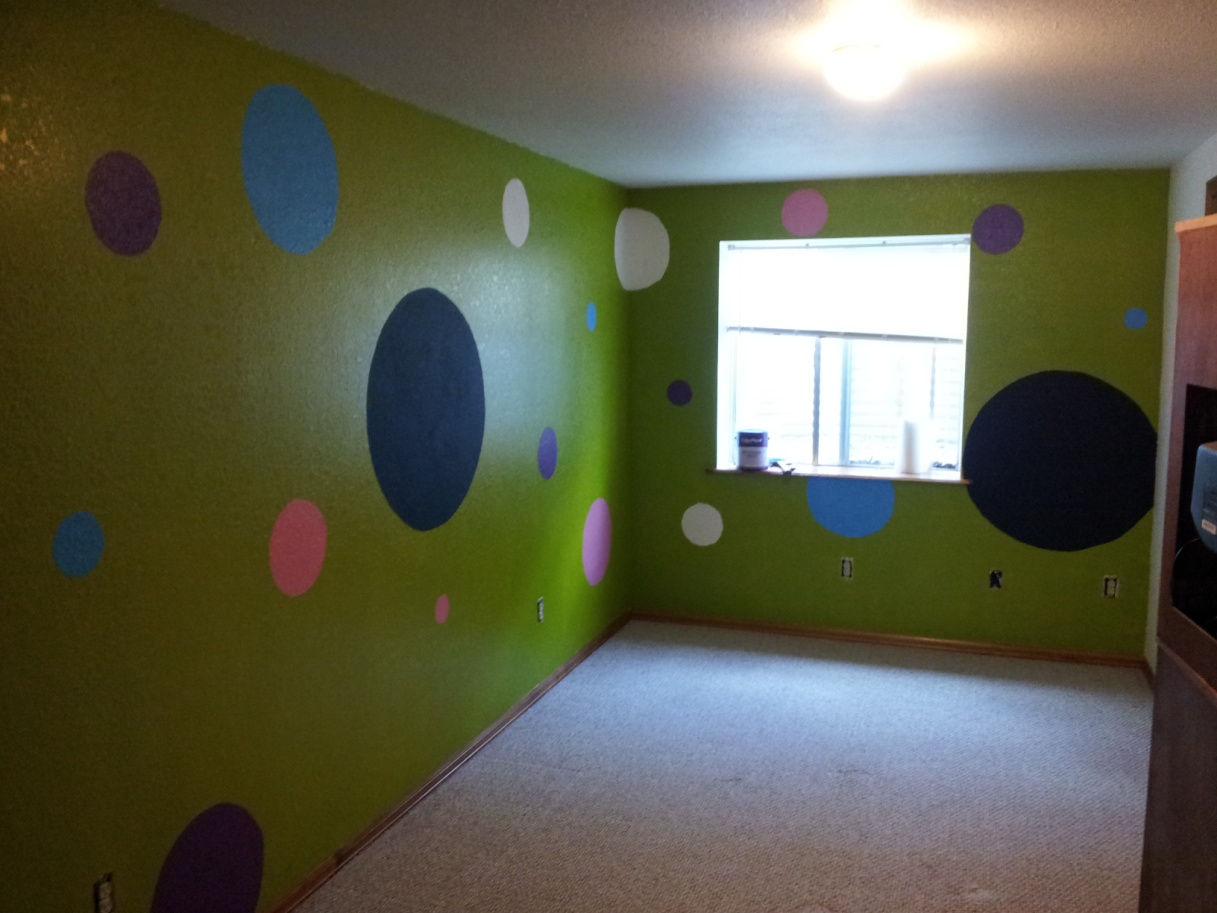
- Once the wall has had time to dry (48 hours), begin to tape the polka dots on various places of the wall. I chose to space my polka dots out, however you can do whatever look you like. Paint inside the polka dot stencil, ensuring that you hold down the stencil flat with the wall to avoid a circle that isn’t shaped correctly. Remember to take a few steps back as you are completing this step to get the bigger picture of how the walls will look.
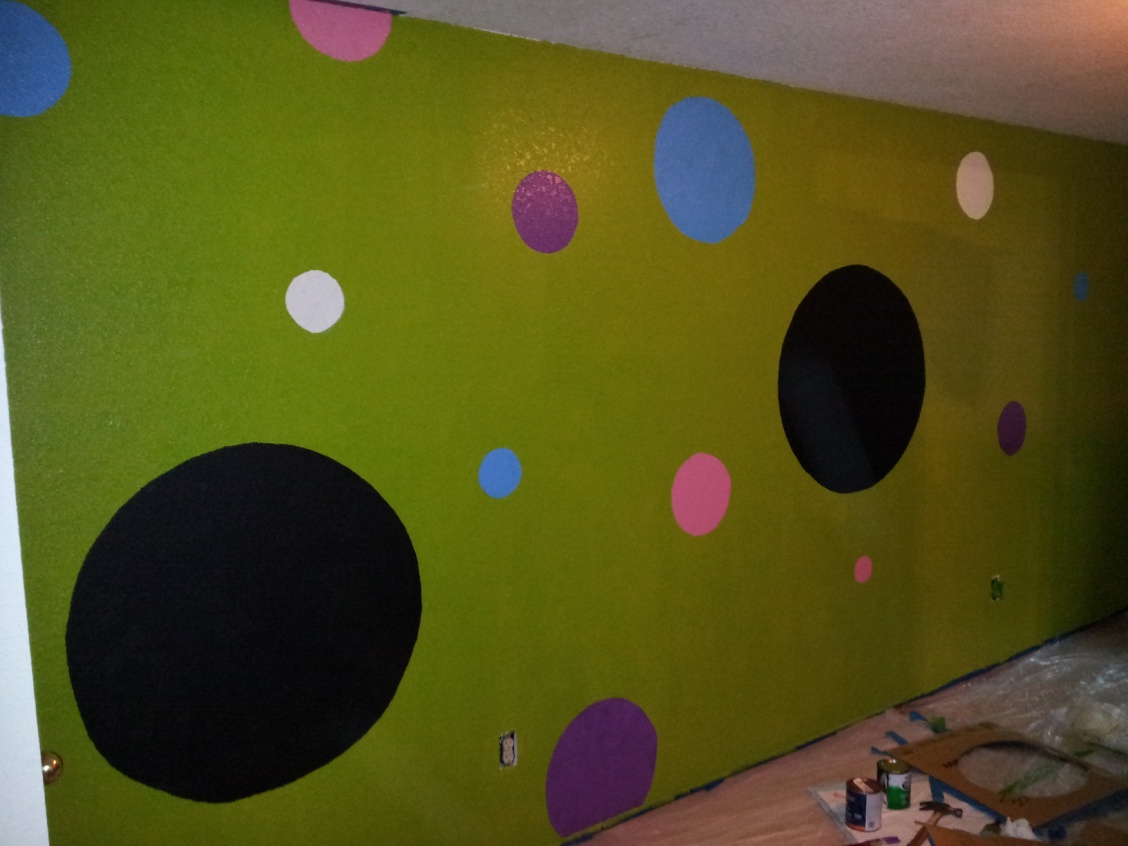
- I chose to add large circles done in chalkboard paint for my children to draw on. I used a laser pointer to make sure the circle was exactly round, placing the laser in the middle of the where I wanted the circle to be and swirled it around, drawing the circle onto the wall. I then carefully painted the circle, without using tape to tape off the shape. This was tricky and did take some time. Word to the wise, when you decide to paint over chalkboard paint, you have to completely sand it off the wall. Keep that in mind if this will be on your walls short term.
- Once the polka dots are done, step back and enjoy your work!