Materials:
-Felt (Red, White and Blue)
-Rotary Tool
-Ruler
-Cutting Mat
-Straight Pins
-Styrofoam Wreath
-ACU Fabric (If Desired)
-Wire, fishing line or ribbon for holder
-Glue
-Fabric Scissors
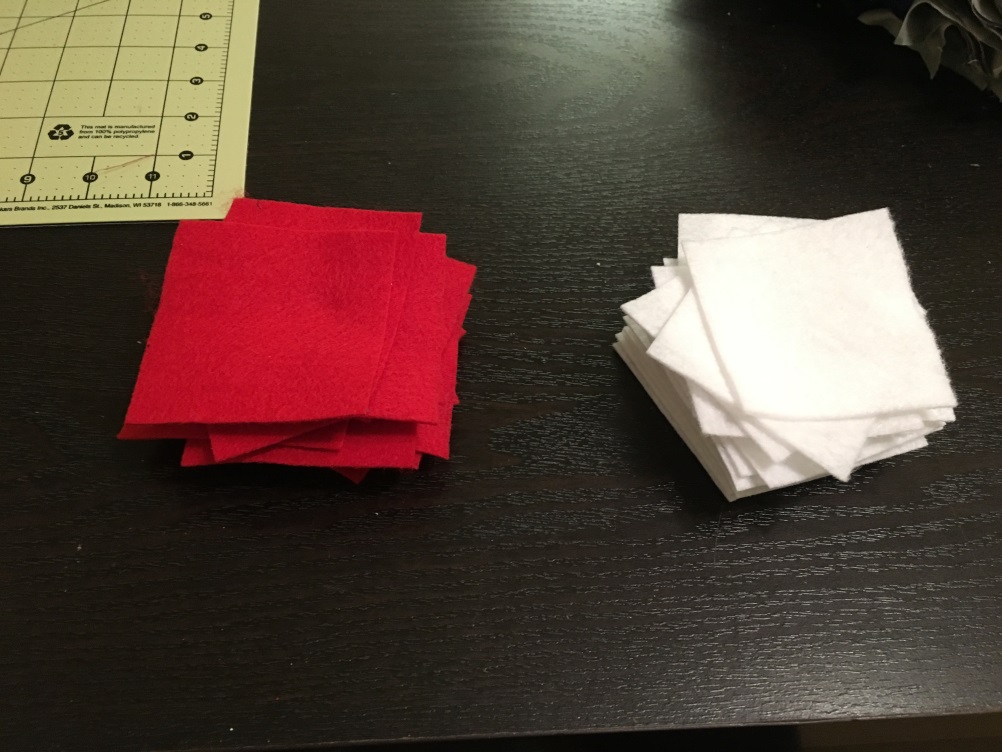
1. Start by cutting felt into 3” squares. For fastest prep time, use a rotary tool, ruler and cutting mat. If you do not have these tools, sharp fabric scissors is recommended.
**Fabric amounts vary depending on whether or not you finished the back of the wreath. When I made the one for my home I wanted it to lay flat on the door and only finished the visible side of the wreath. This style required less than ¼ yard of 72” felt each color. I’ve gone on to remake this wreath and did the entire Styrofoam form. This style requires ½ yard of 72” felt each color.
**You can also cut either your ACUs or ACU pattern fabric. I used 2 old jackets and 2 pairs of pants my husband had stopped wearing. You get more squares out of the jacket backs then anywhere. The pockets on the pants made for interesting cutting.
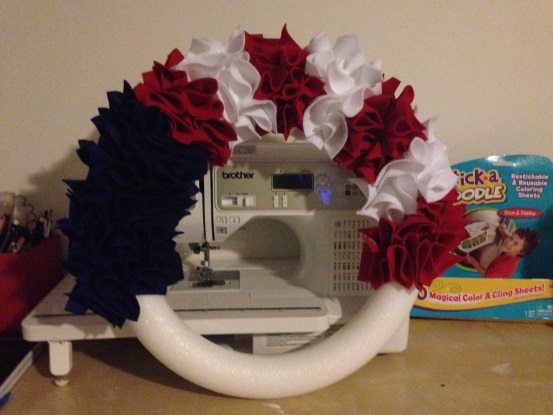
2. Attach hanger to Styrofoam wreath. Looping around the Styrofoam wreath gave it the best stability whether you’re using wire, fishing line or ribbon.

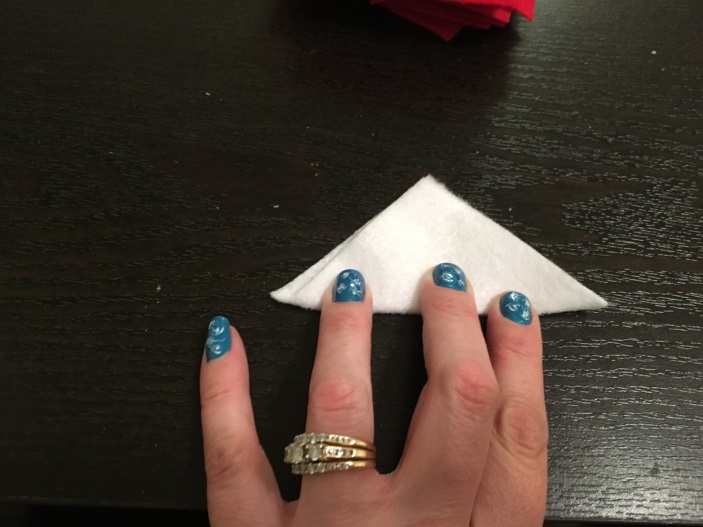
3. Take a felt square and fold diagonally, then fold again also diagonally.
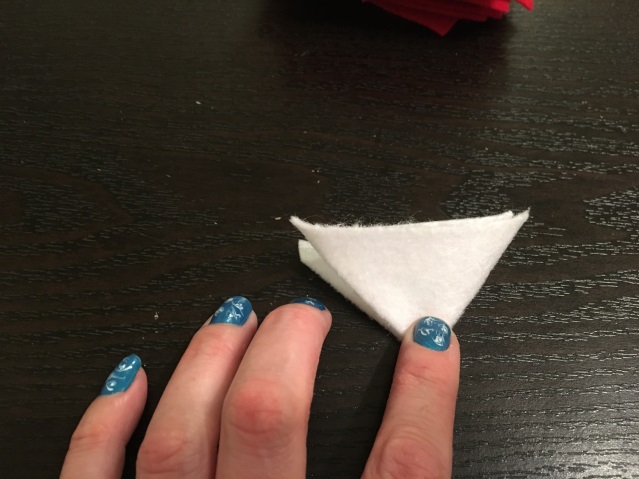
4. Put straight pin into the folded base corner.

5. Insert pin, pushing all the way down, into Styrofoam wreath. I fluffed the pieces out from the folds, opening them to look fuller.

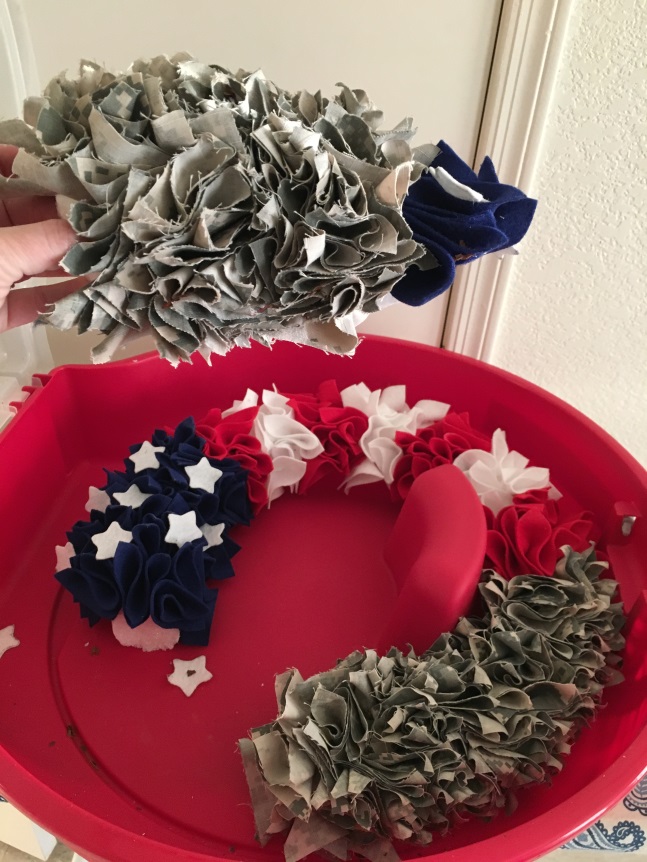
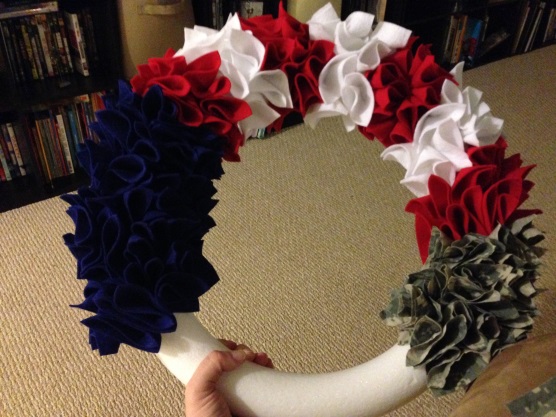
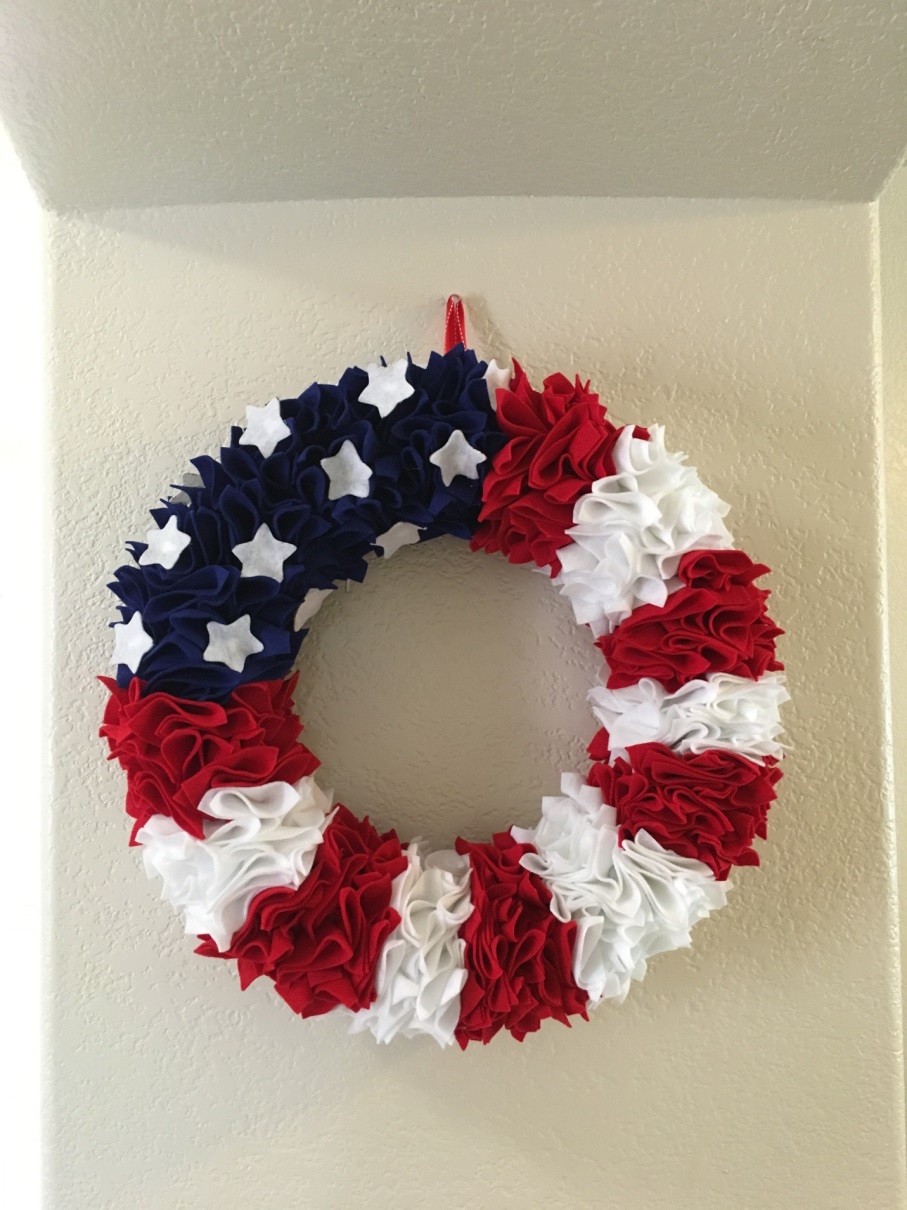
6. Keep adding squares until wreath is full and no Styrofoam is showing through. In one example, I alternated red and white stripes, a solid blue and ACU pattern sections. In a later example, I did only the solid blue section for a quarter of the wreath and then an alternating pattern of red and white.
**If you are using fabric instead of felt, you will need more pins, fabric and patience. The fabric section took far more pieces to look full.


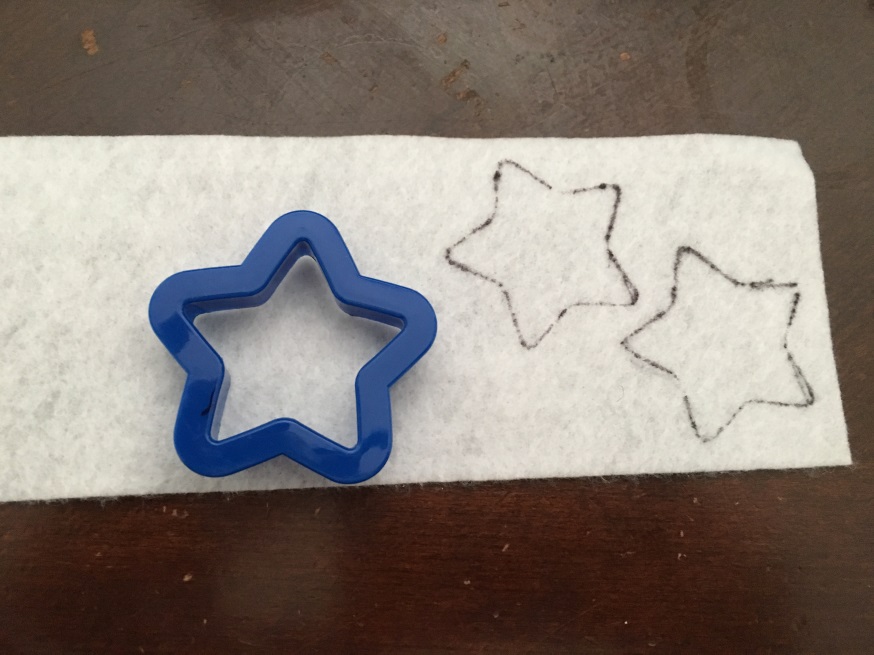
7. Finishing touches- I cut stars out of the remaining white fabric. Little tip I used a cookie cutter and traced the stars so they were consistent. If you do not have a cookie cutter no biggie, simply pull an image off of google and size it in word to get the size you want. Print the pattern sheet, cut out at least one star and trace onto the fabric that way.
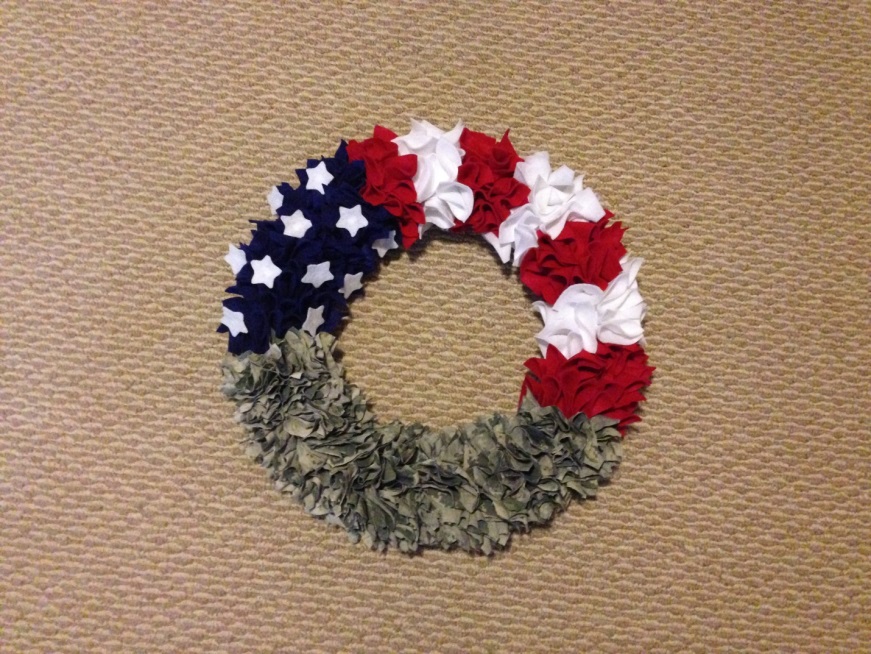
8. Adhere the stars to the wreath using craft glue.
9. I think these same instructions would look cute in other themes as well. (Examples maybe to follow)
-Red, pink, and white mixed or striped for Valentine’s Day with hearts glued on.
-Favorite sports team colors, mixed or striped
10. An advantage of this style of wreath, if careless movers break it or it is blown off the door, it is easily moved! You simply transfer the pieces to a new Styrofoam wreath.