
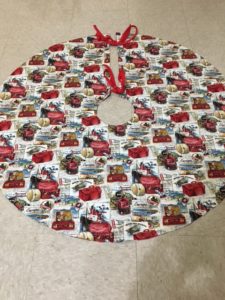
Basic Tree Skirt
Materials:
-Two Yards of Fabric (If larger than 36” fabric, see step 1)
-Rotary Tool
-Cutting Mat
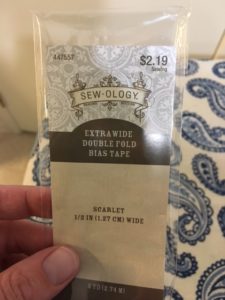
-Bias Tape
-Tissue Paper
-Pencil
-Scissors
-Straight Pins
-Thread
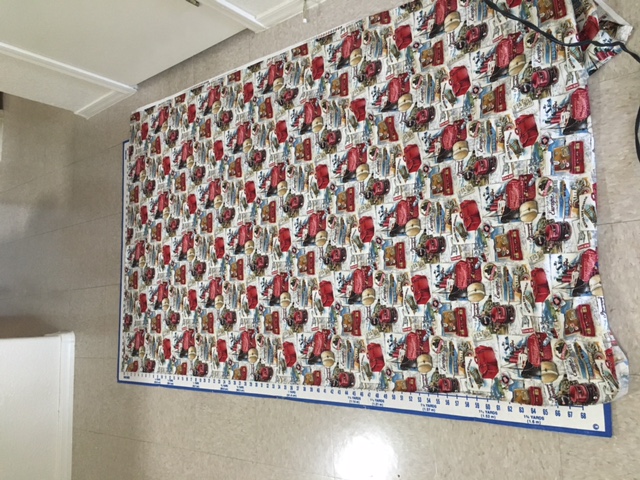
1. First thing determine what size you need to compliment your tree. Depending on how wide your fabric is determines if you need over 2 yards of fabric. If the fabric is 36” fabric, you can simply cut your 36” circle out of a yard. The fabric used in the example was 45” fabric so I used a total of 90” of length to complete the skirt. You can make it smaller if your tree doesn’t allow for a larger skirt. Most trees have measurements on the box to show the total width of the bottom of your tree. This simple skirt will work for smaller trees but not for larger trees. A 36” skirt will easily fit a tree 6 feet in diameter.
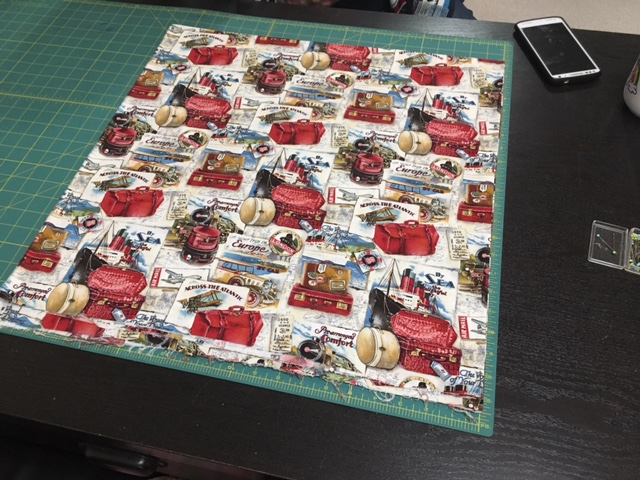
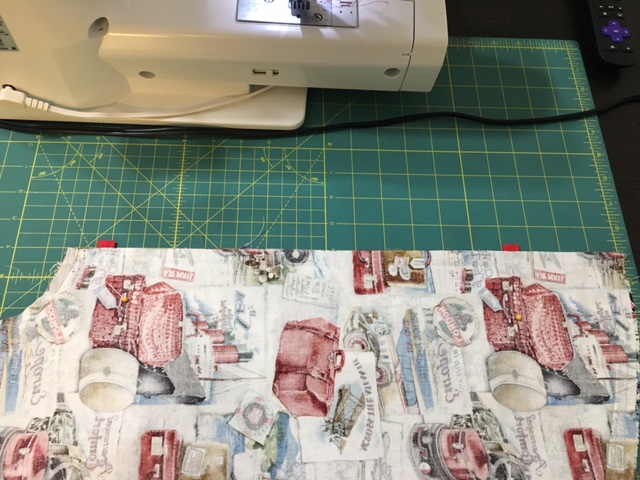
2. I cut my 45” fabric at 45” in length to form a square. First fold that in half and then half that, forming a smaller square. This allowed me to have a 22 ½” square. I account for the ½” of salvage edge and made a 22” circle pattern. If you are working with a 36” fabric, you will have an 18” square which allows for a 17 ½” circle to cut off the salvage.
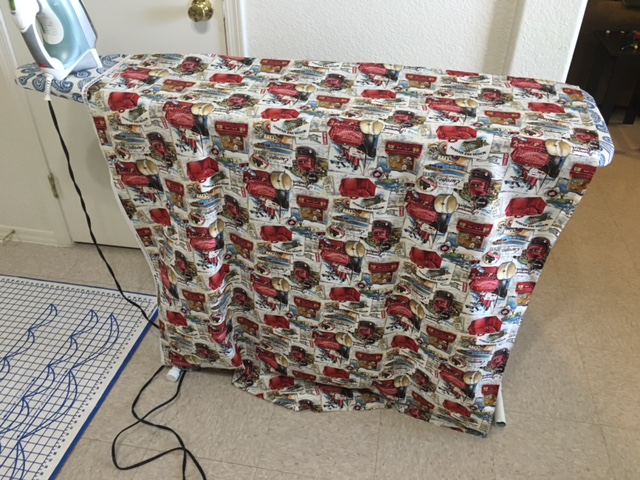
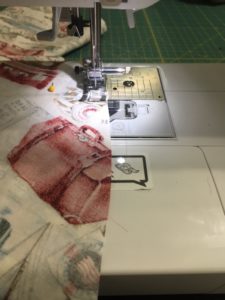
Always Iron First
Measure out length to make a square of fabric or desired size
Fold in half and iron
Fold in half again and iron to make a square.
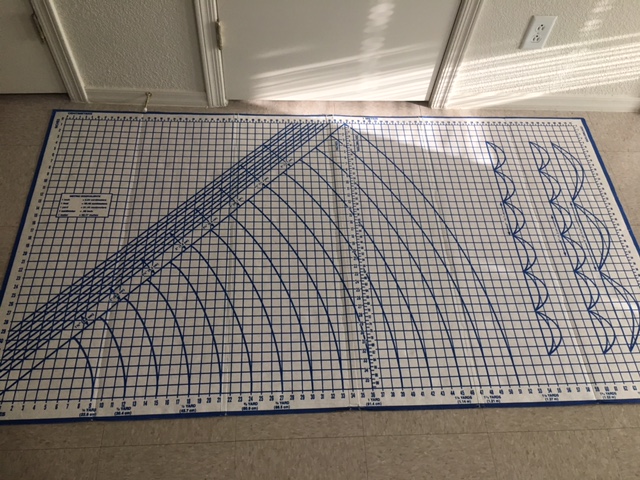
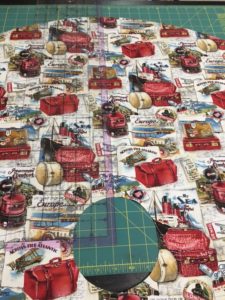
3. Making a pattern is fairly easy with the right cutting board and tissue paper. My cutting board has partial circles printed on it at different lengths which made pattern making easy. I taped 3 pieces of ironed tissue paper together until I had enough length to complete my pattern. I did fold my tissue paper an additional time too after I assured I had enough to make the complete circle and then traced the simple circle provided on my mat.

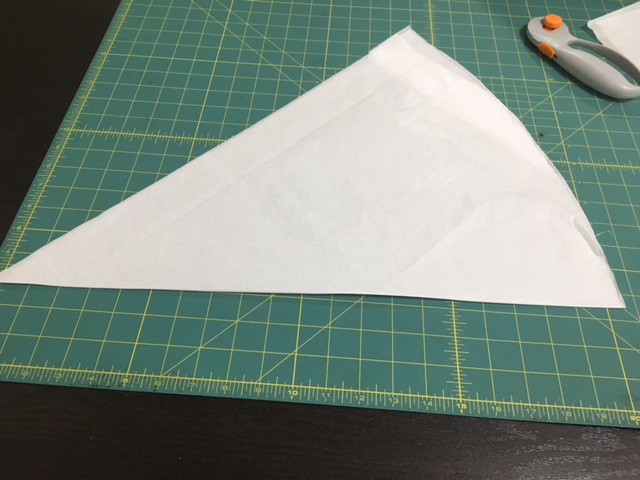
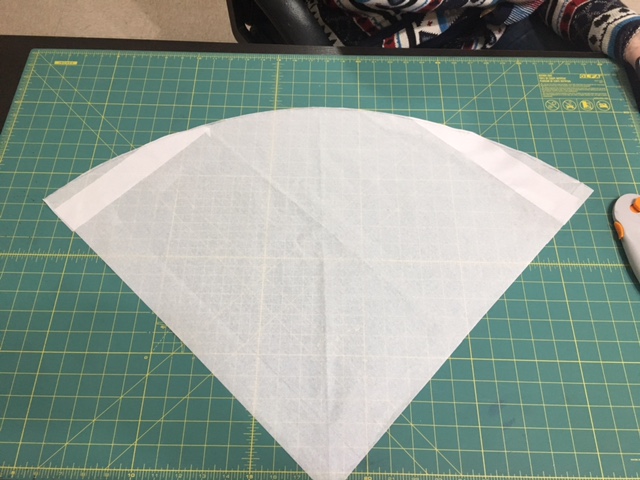
Completed Pattern
It is still achievable even without a cutting board like mine. Instead of following the instructions below, tie a string to a fabric pen. Make the string, after tied, the desired size for you circle (ex. 22” or 17 ½”). Hold the end of the string to the corner of your tissue paper and then trace with the pen to form the arc of your circle. Then follow the remaining steps above to compete your pattern.

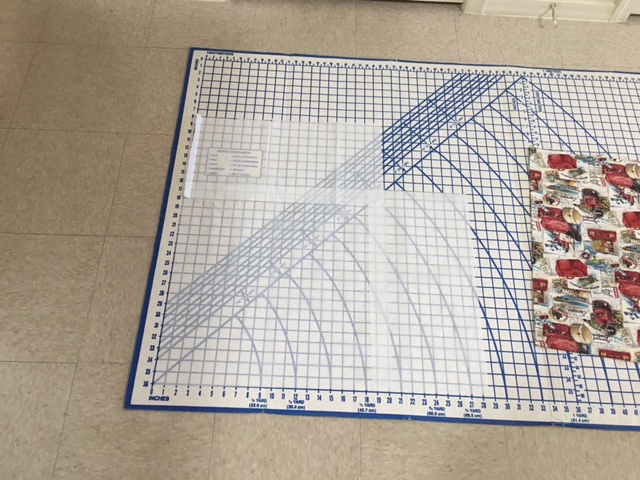
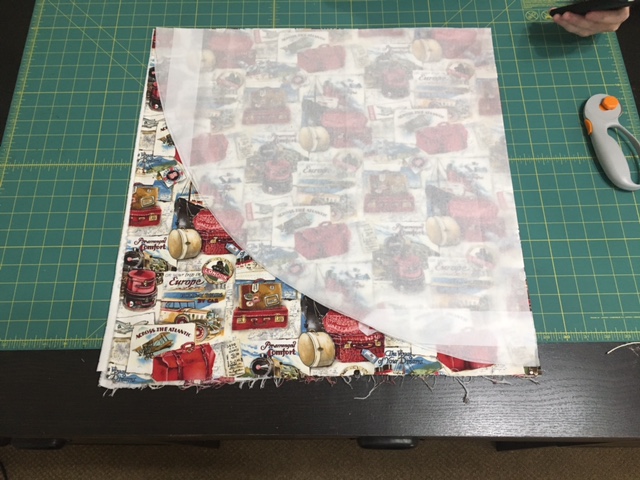
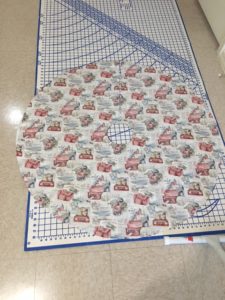
4. Pin the corner of you pattern to the folded inner side of you fabric square, this should match up to the center of larger sized fabric square before folding. Pin in place.
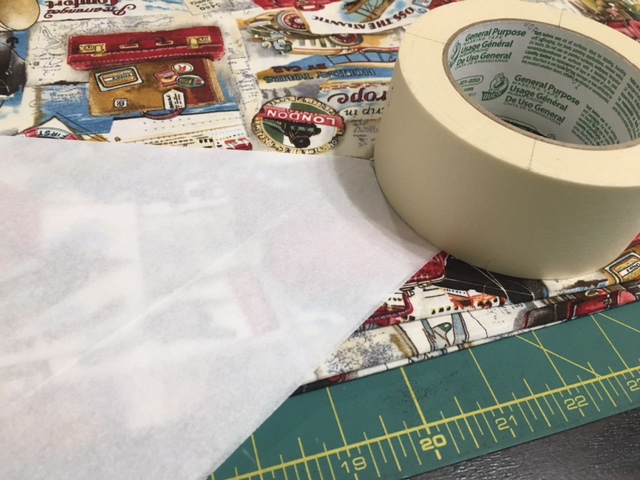
5. Using your rotary tool to cut along the pattern’s edge. Determine what size you want your inner circle. I traced a role of tape I had handy which was about the size of the average Christmas tree base pole. Cut through the pattern and the fabric below it for the inside circle as well. You can do this before the pattern is pinned to the fabric as well. I just wasn’t sure what size I wanted and wanted to look at the skirt cut out first to determine my desired size.
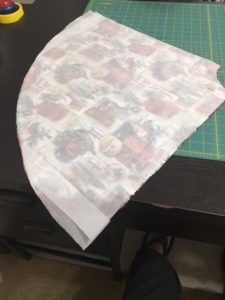
6. Measure straight up one of your ironed folds and cut from center circle to edge of the outer circle to make the tree skirt opening.
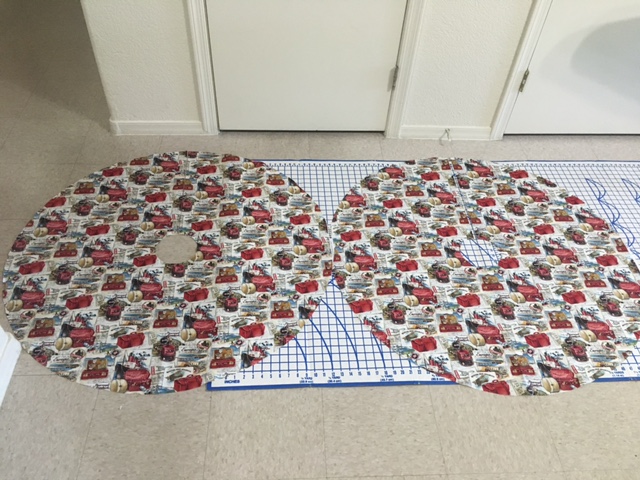
Use the same pattern and repeat the steps above to make the backing of your tree skirt. It can be the same fabric or another fabric of your choice.
7. Layer fabric face to face, lining up the tree skirt opening. Pin together. This way you can sew your tree skirt inside out and hide away all your stitching.
8. Sew a quarter inch seam along the entire outer and inner ring of the tree skit. Leave the tree skirt opening unstitched for now.


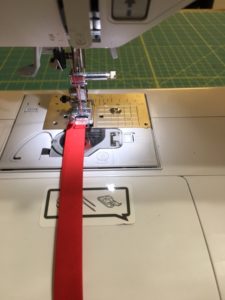
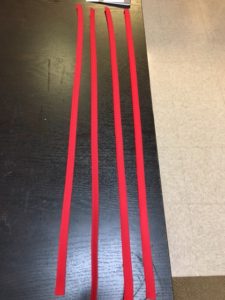
9. Take your biased tape and measure out no more than 12” in length. Depending on the desired size of bows on the finished product. Sew the biased tape closed with a scant ¼” seam after folding in the exposed end to seal all the edges.
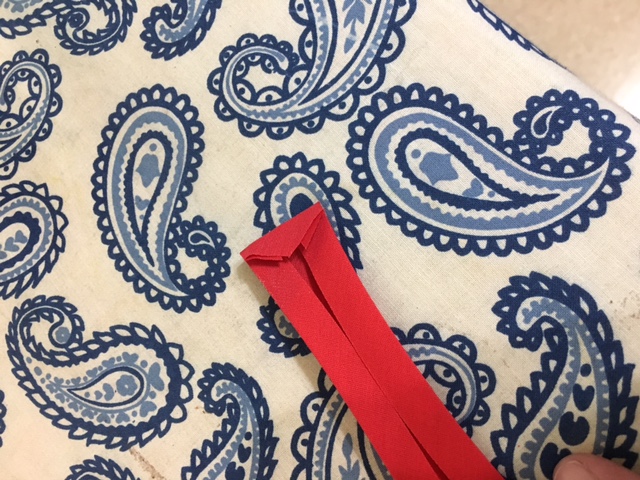
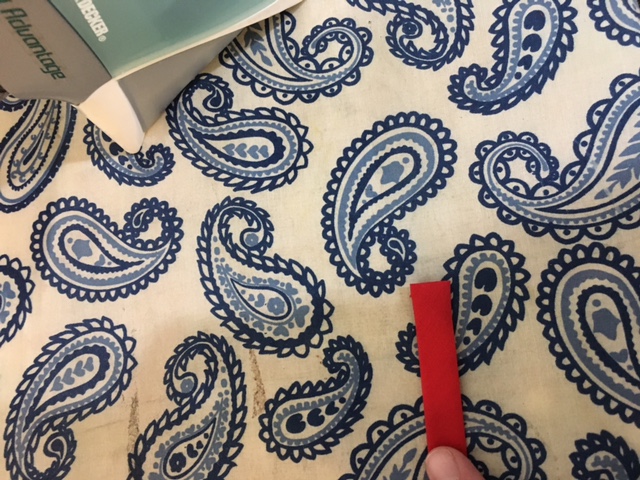
Fold the edges in and iron bias tape flat.
Another option to folding in the ends is to sew a straight seam across the bias tape and use pinking shears to cut the tape just past the seam. The pinking shears will insure there is no fraying.
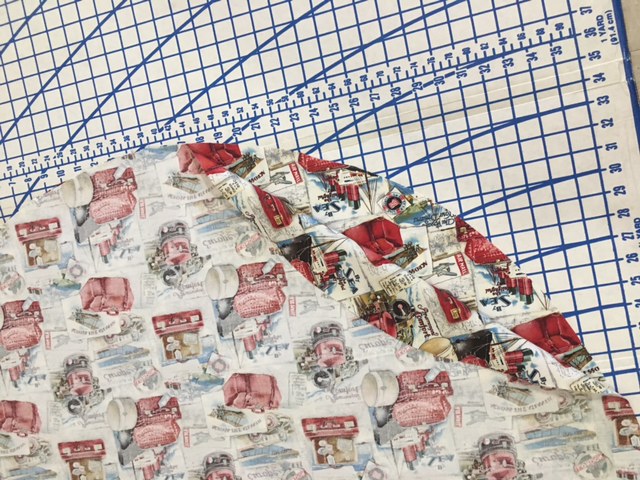
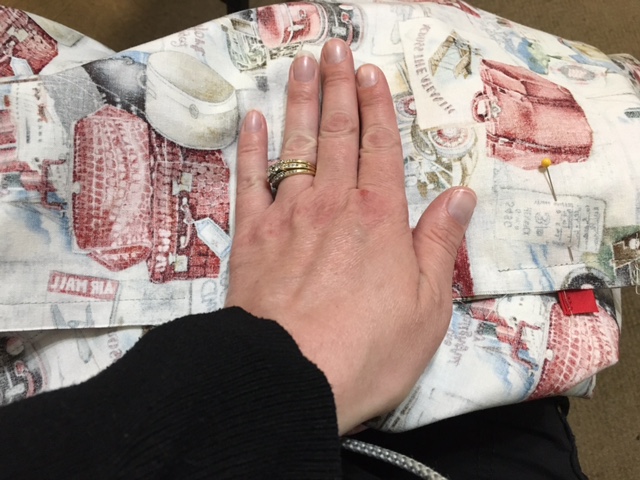
10. On your tree skirt, tuck the bias tape into the openings you left after sewing the inner and outer rings of your tree skirt. Start on one side and after placing the bias tape, sew that opening completely with a ¼” seam. You can sew the bias tape to the tree skirt first before sewing the outer rings as well. Just sew it in the desired spot on only a single side of your tree skirt to insure proper placement. I just tucked it in after to insure it didn’t get caught in my outer seams and pinned it in place, well away from where I was stitching.
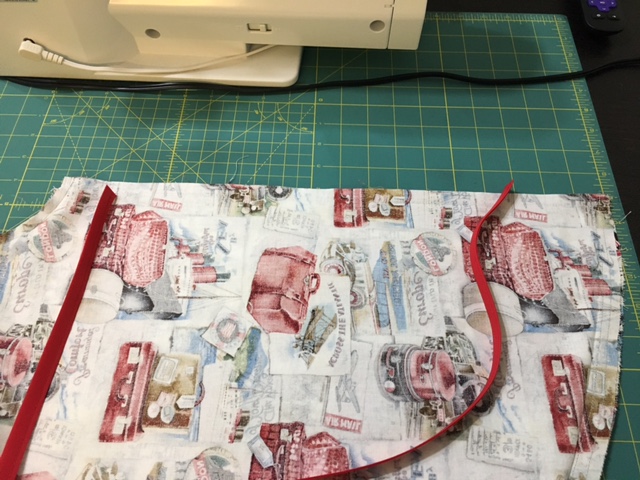
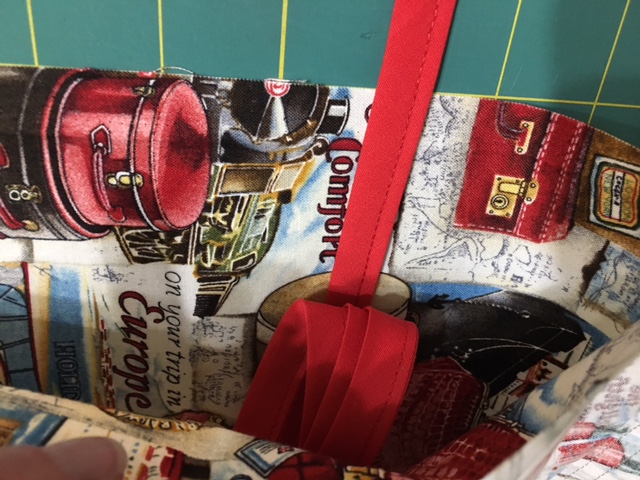
My bias tape is inside my tree skirt with about a ¼” sticking out so I can makes sure I complete sew the bias tape in place and so I can insure that my ties line up on the other side of the tree skirt opening.
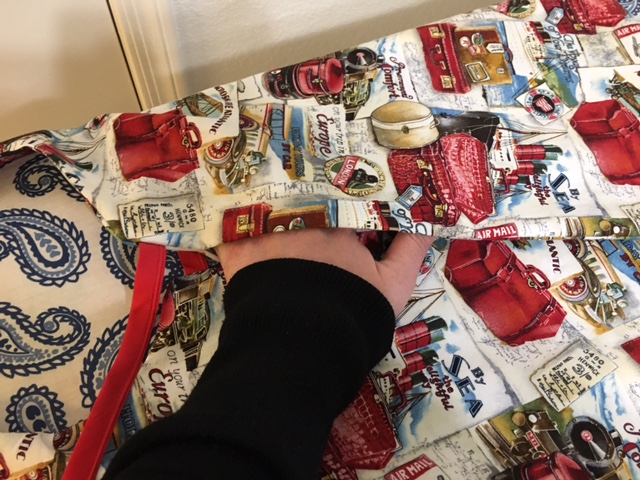
11. On the other side, place bias tape so it lines up with your completed side. Sew a ¼ inch seam on that side of the opening until about a ½” inch just past the bias tape in either direction. Leave the middle of the bias tape placements open from your seam. I left an opening only large enough for my hand to reach in and turn the tree skirt right side out.
12. Flip your tree skirt inside out, after trimming the corners just slightly so they are still crisp and not rounded from the excess fabric. You can also trim any excess fabric from around the outer and inner ring seams to insure everything lays flat if desired. Make sure to leave at least 1/8” of fabric still remaining if you choose to cut away from the seam.
You will still flip it all through the hand sized opening on the side of your tree skirt opening.
13. Iron your opening in at a ¼” seam inside so that your opening side is flat and lines up with the rest of your stitching. Stitch the opening closed just along the edge with a complimenting string color so that it virtually disappears in the pattern. If you decided to do a reversible tree skirt with two different fabrics, load your top thread in one color and your bobbin in another. That way the sealing seam is invisible on both sides.

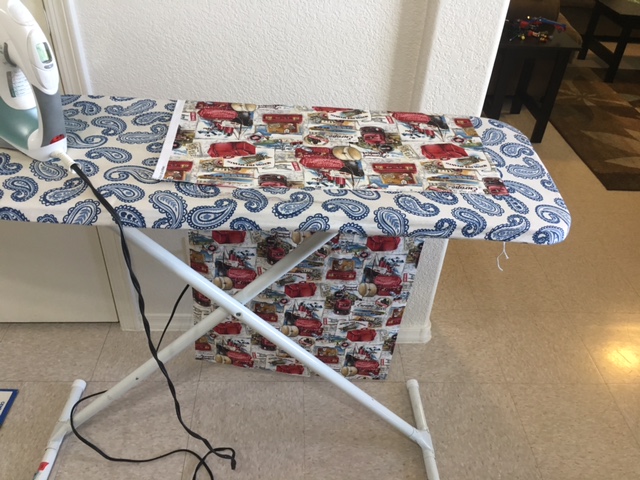
14. Iron your tree skirt on all the edges and all the way around the inner and outer edges. Using an iron with steam on will help press your edges and give your tree a crisp edge.
Tie in place around your tree bottom and voila you are done! Enjoy and happy crafting!
The woman who picked this beautiful fabric was part of a tour of homes in the community that I live in. She put together a gorgeous Christmas tree that showcased her collection of ornaments gathered around the world. The fabric fit perfectly with her “Around the World” Tree. I also thought her globe tree topper was a fantastic touch. Don’t be afraid to pick a fabric that perfectly fits your theme.