
Chore Charts and Menu Planner Part 1
Chore Charts and Menu Boards Part 2
Chore Charts and Menu Boards Part 3
Chore Charts and Menu Boards Templates
Materials
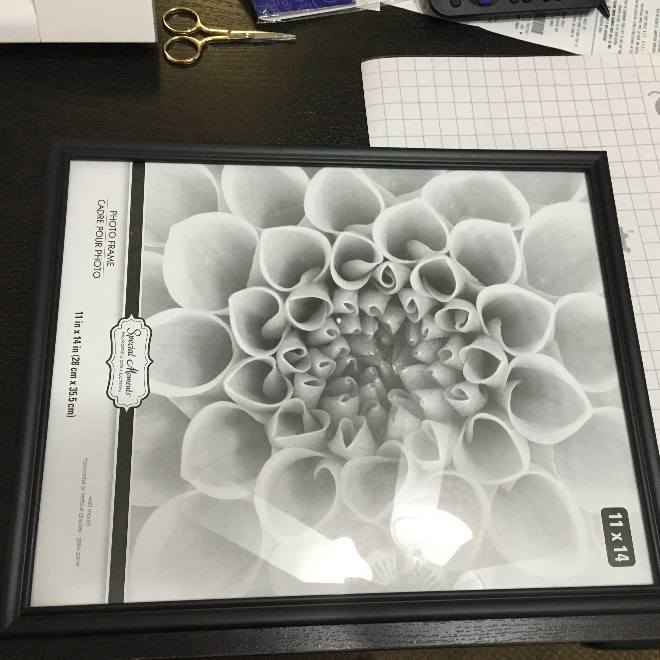
-Frames
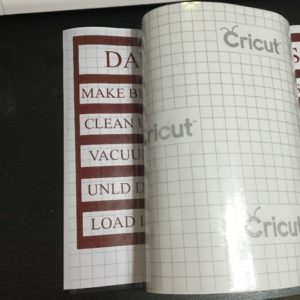
-Vinyl
-Magnets
-Paper and printer
-Self laminating sheets or laminator
-Clothes pins
-Backing paper (I chose a wood grain)
-Scrapbooking mounting squares
-Large command strips
-Shingle flashing
1. I will start with discussing where I got each supply for this project that I found. I wanted to be as economical as possible and there for did some bargain hunting. The six 11×14 frames, command strips and clothes pins that I used were purchased at Dollar Tree. The vinyl, magnets and wood grain paper are from Hobby Lobby. I went several times to finish this project and made sure to use coupons for each item. The shingle flashing I found at my local hardware store. I try to find as many pieces and parts for projects on sale, at the dollar store or use a coupon. If you do not follow these steps, this project cost could easily rise.
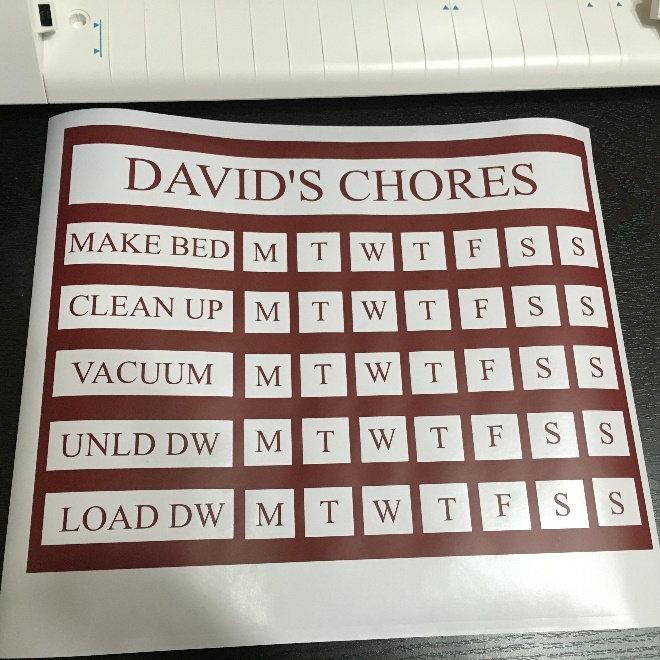
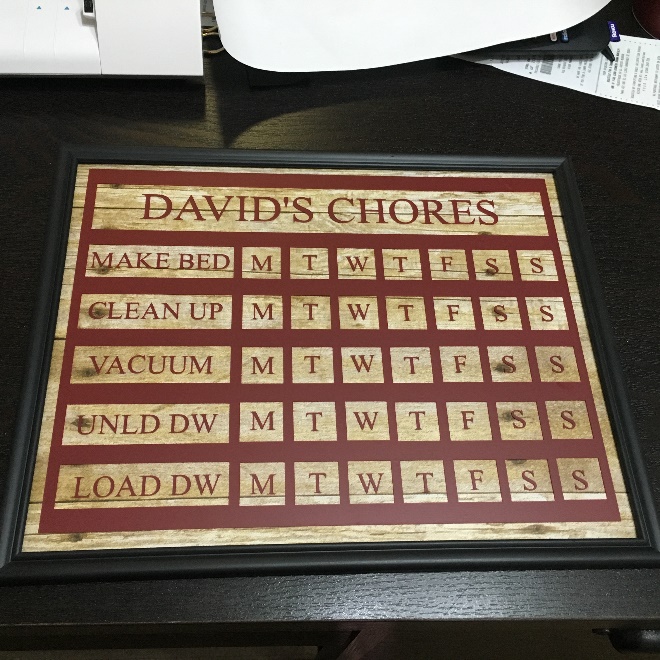
2. I have provided the templates that I created for the chore charts in this post. Feel free to use these, I have a Silhouette brand machine and the chore names and children’s names can be easily edited to fit your needs.
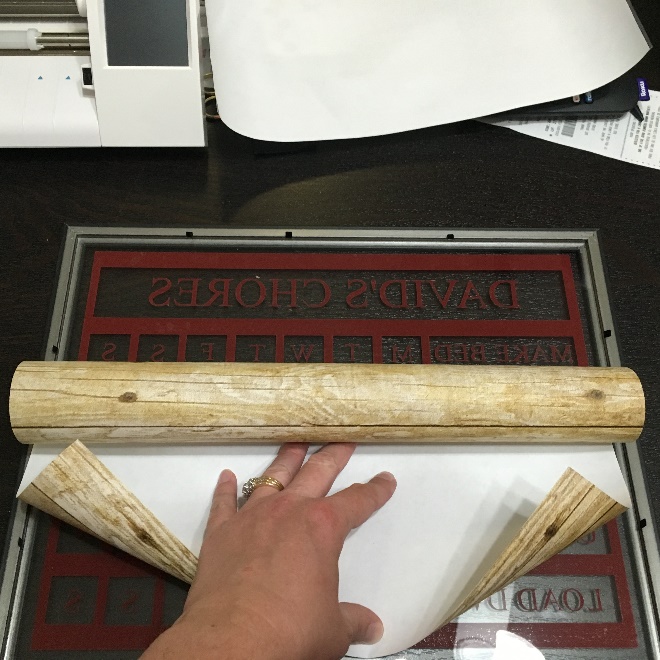
3. After editing the templates to fit your needs, cut your vinyl on your machine’s normal settings. Pick and remove extra vinyl.
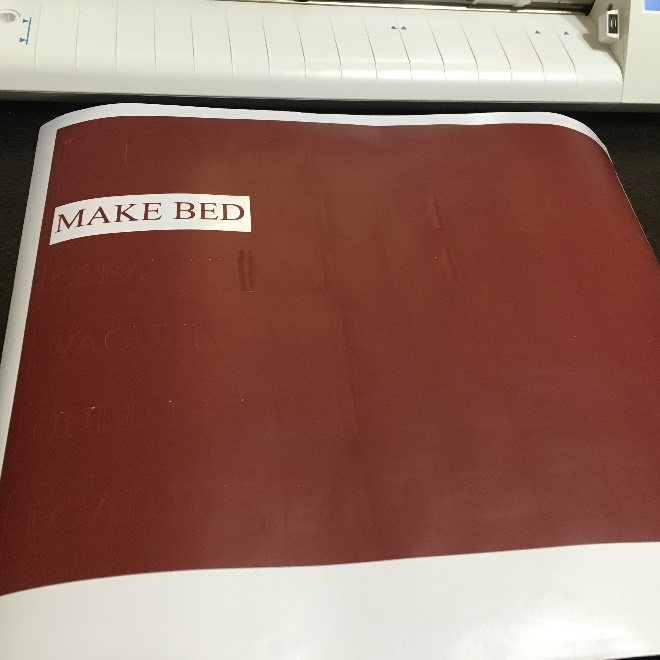
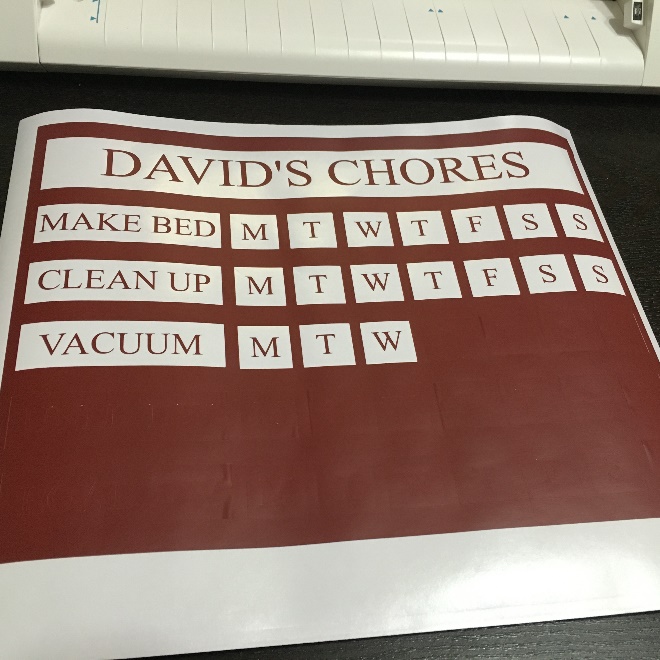
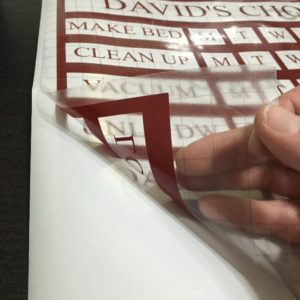
4. Apply transfer paper to design, be careful to start at one edge and smooth the transfer paper completely.
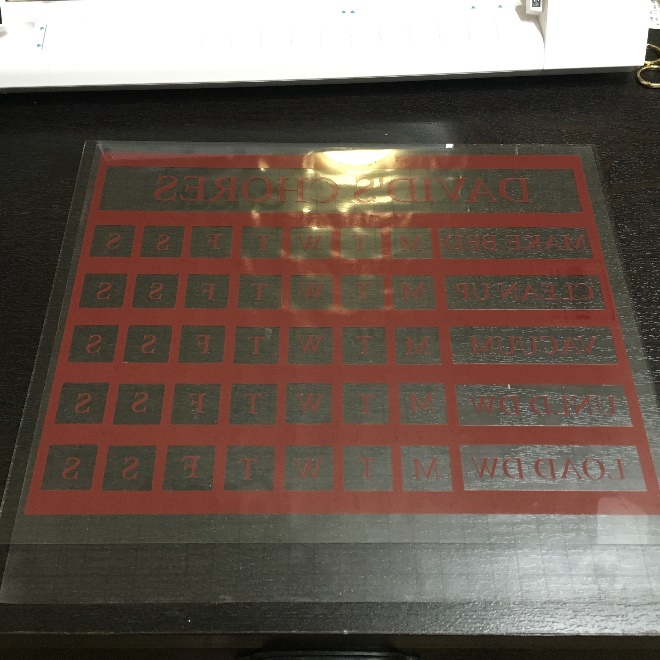
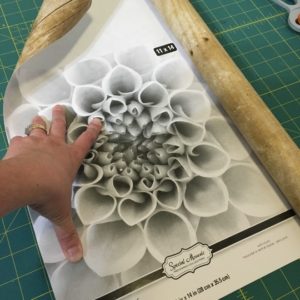
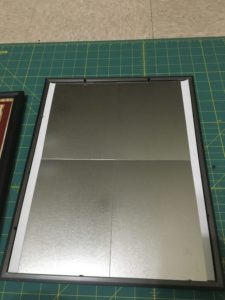
5. Remove glass from your frame and wash thoroughly.

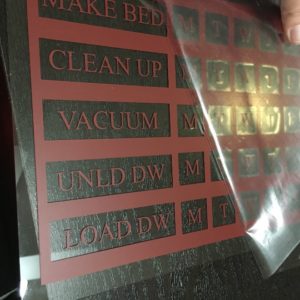
6. Peel back transfer paper with attached vinyl from the vinyl backing paper.
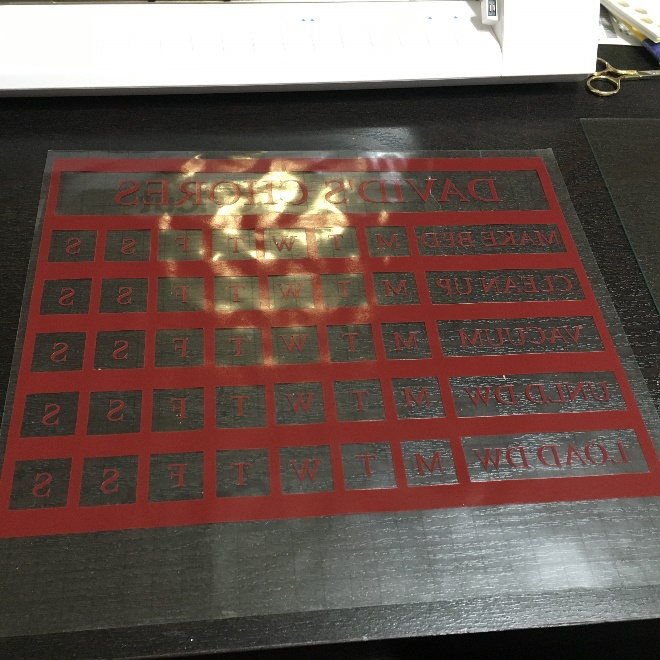
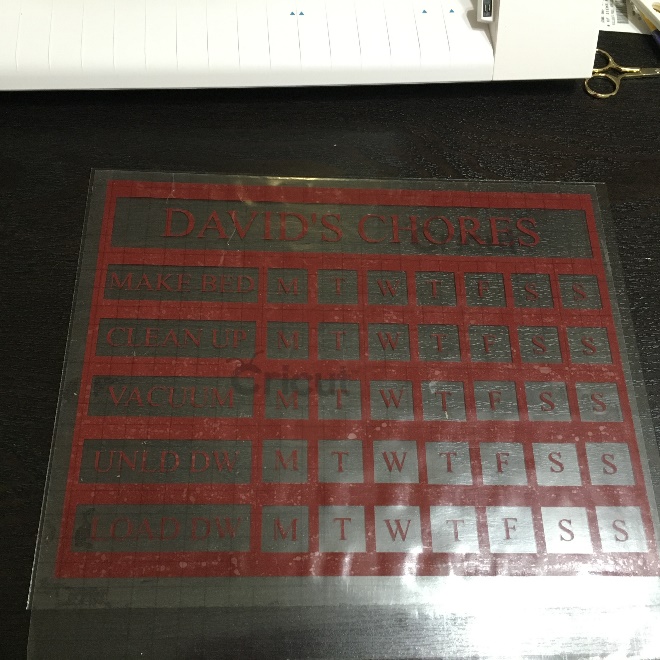
7. Carefully align over glass and then apply. Make sure to smooth vinyl completely onto glass. Remove transfer paper by carefully peeling back.
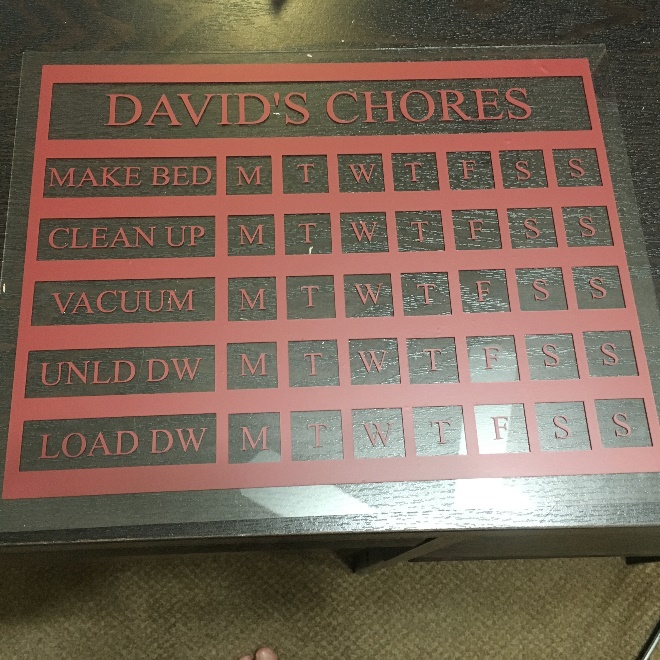
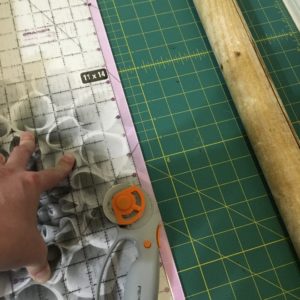
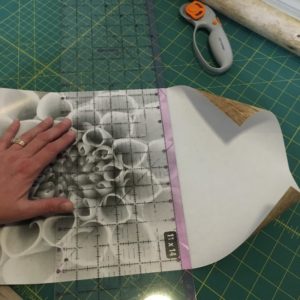
8. Measure paper that was included in frame and cut your backing paper to the appropriate size.

9. Reinsert glass into frame and put backing paper on top of that. Layer in 4 shingle flashing sheets and then insert frame backing and seal frame back shut.

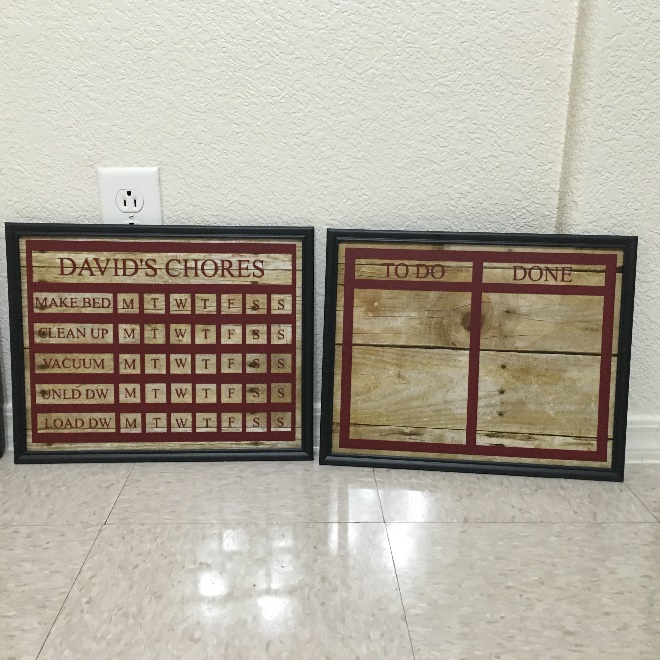
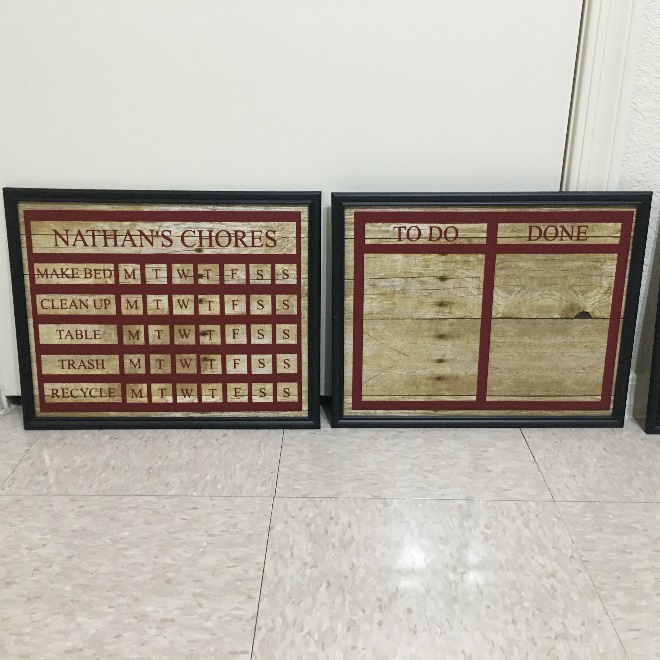
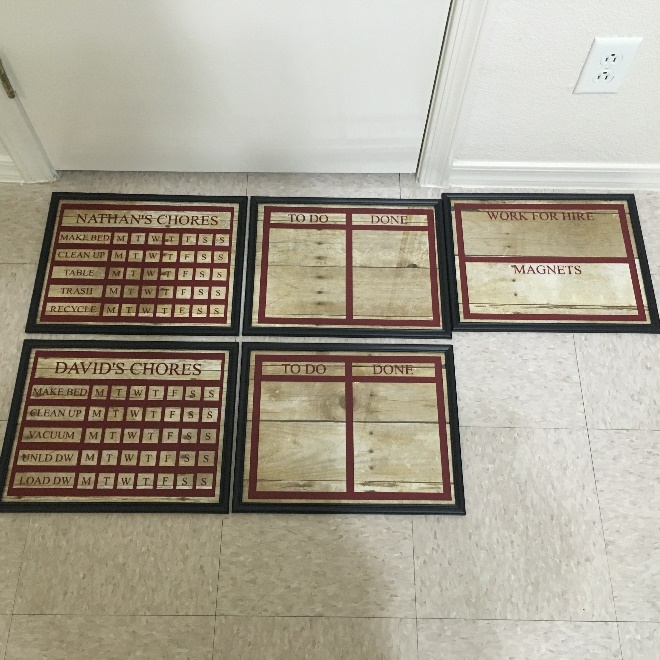
10. Repeat for each child’s chore chart, to do/done list and chores for hire and magnet frames.
Check back for the continuation of this series where magnets and the menu board will be covered. I will also be doing a post for people without a vinyl cutting machine. Enjoy and happy crafting!
2 thoughts on “Chore Chart and Menu Board Part 1”