
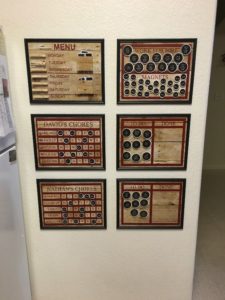
Chore Chart and Menu Board Part 2
Chore Charts and Menu Boards Part 1
Chore Charts and Menu Boards Part 3
Chore Charts and Menu Boards Templates
Materials
-Frames
-Vinyl
-Magnets
-Paper and printer
-Self laminating sheets or laminator
-Clothes pins
-Backing paper (I chose a wood grain)
-Scrapbooking mounting squares
-Large command strips
-Shingle flashing
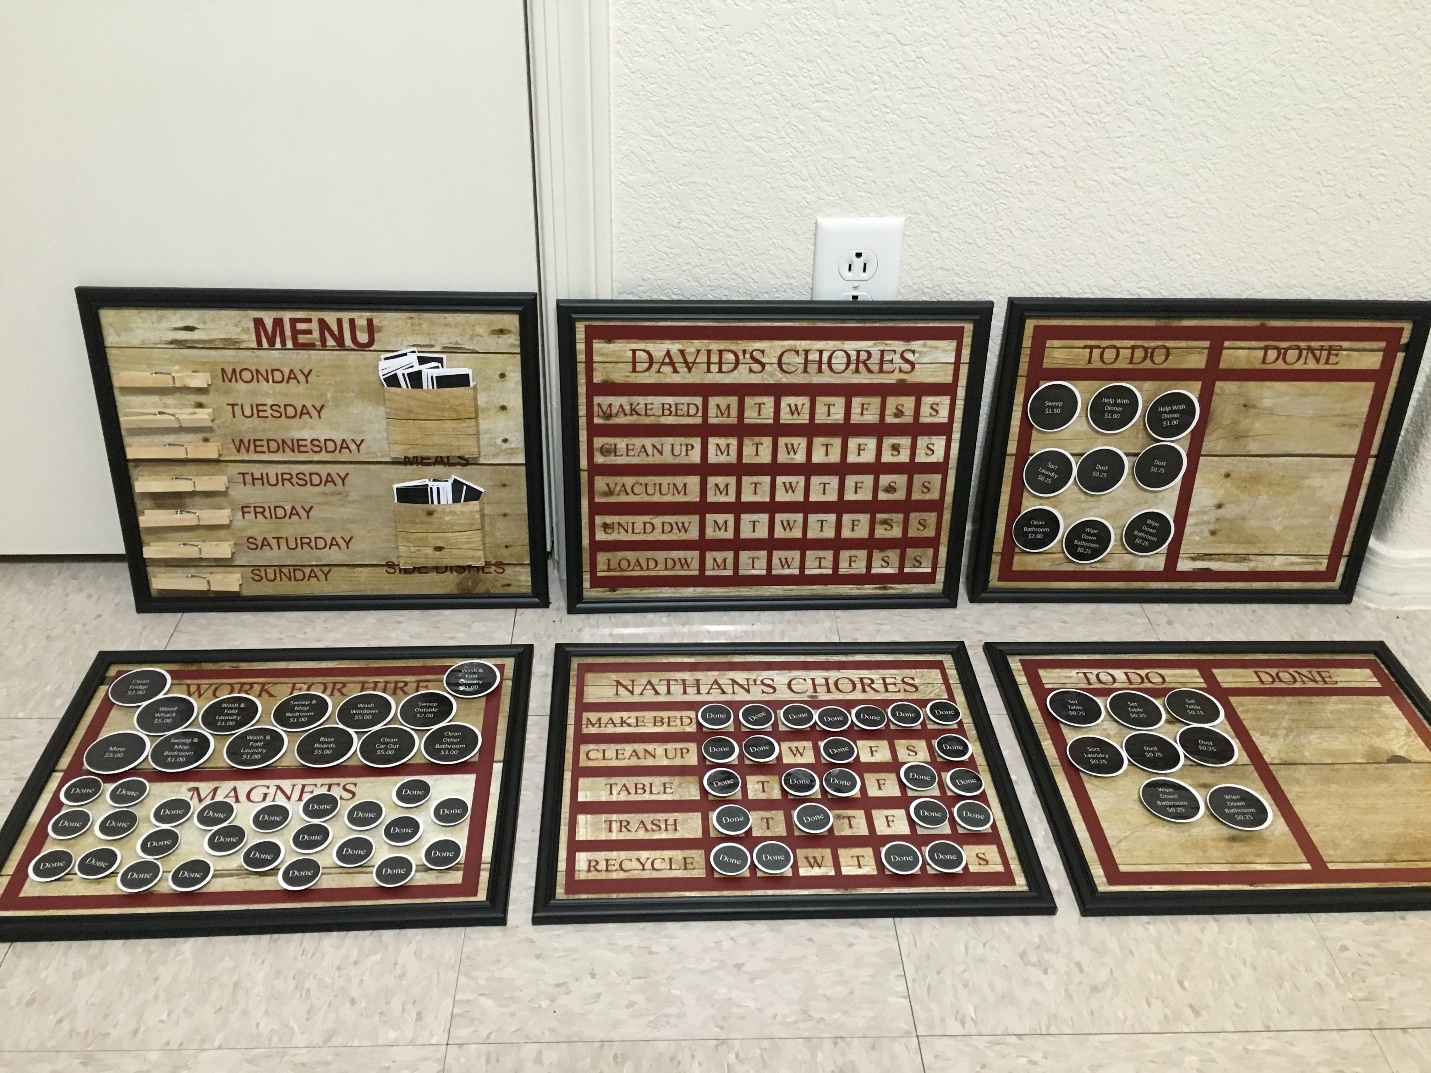
Look for Chore Charts and Menu Board Part 1 for additional instructions. In this part I will be covering the menu board. I want to note that I know that my menu board is a different font than my other boards. It drives me a little crazy but not enough for me to redo my vinyl. In the template posting, there is a link to our Google Docs account. I have changed the font on the file to match the other boards.
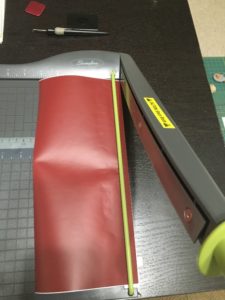
1. Select the menu board tutorial and cut the vinyl on your vinyl cutting machine. Pick out excess vinyl. I cut the words apart so I could properly measure the pockets and use the least amount of vinyl possible for the project. I consolidated the words from the template to just the smallest section of vinyl. If you do not have a vinyl cutter you can purchase pre-cut letters at most craft stores and follow the remainder of these steps with your stick on letters.
2. Mark glass while still in frame so you don’t put vinyl where it will be covered by the frame. Remove glass from frame.
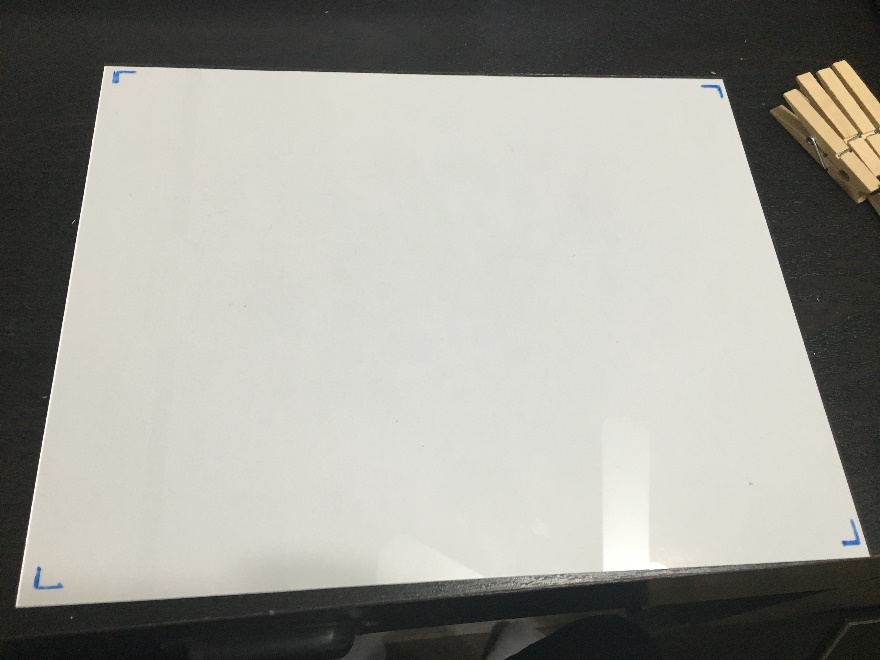
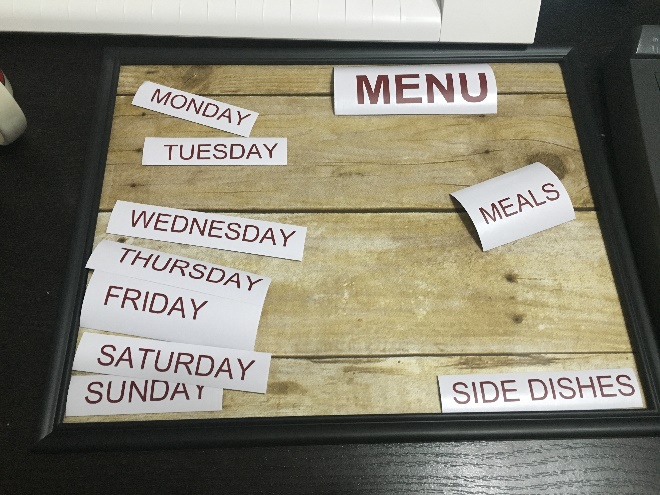
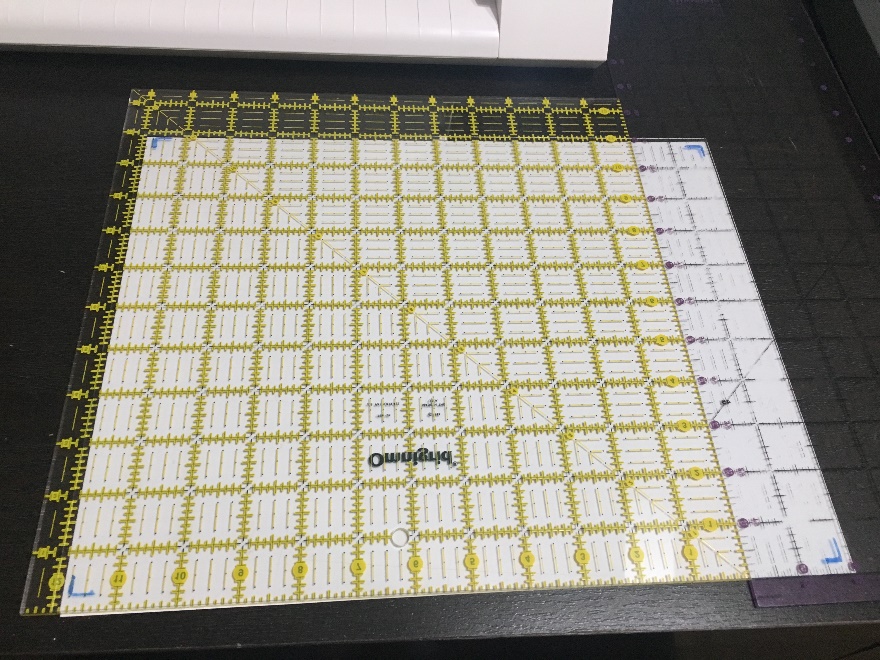
3. I used my acrylic rulers to give me a grid pattern to follow when aligning my menu board pieces. I did not make a firm template to give you the change to customize your clips and placement on any size frame you choose. If you do not own acrylic rulers you can also arrange the words in Silhouette Studio to fit your project and apply to the frame at one time. You can also use graphing paper as a substitute.
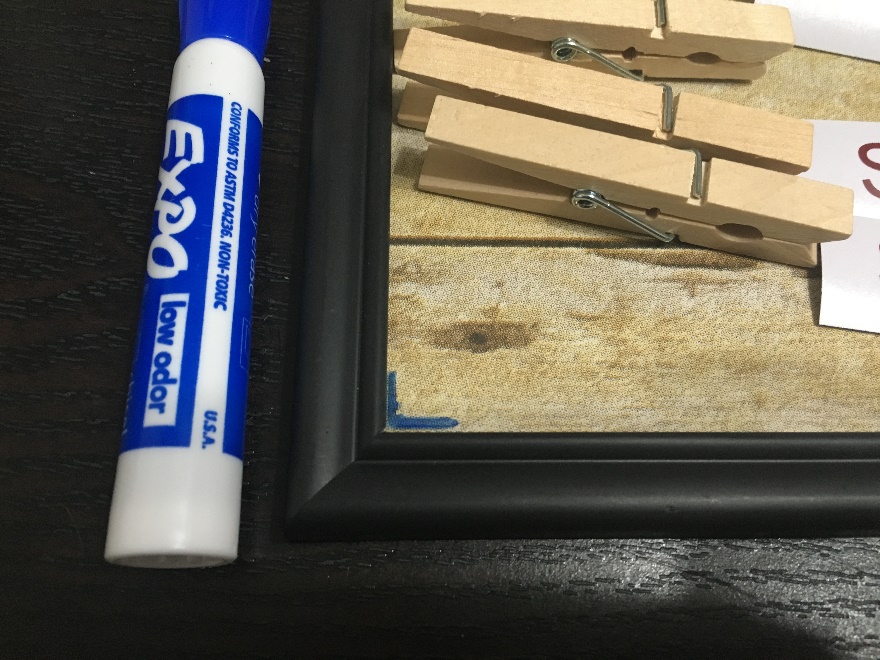
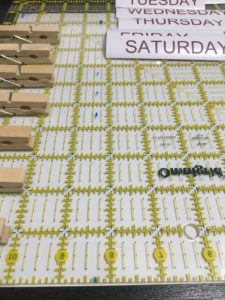
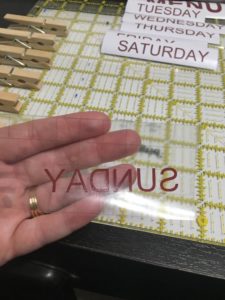
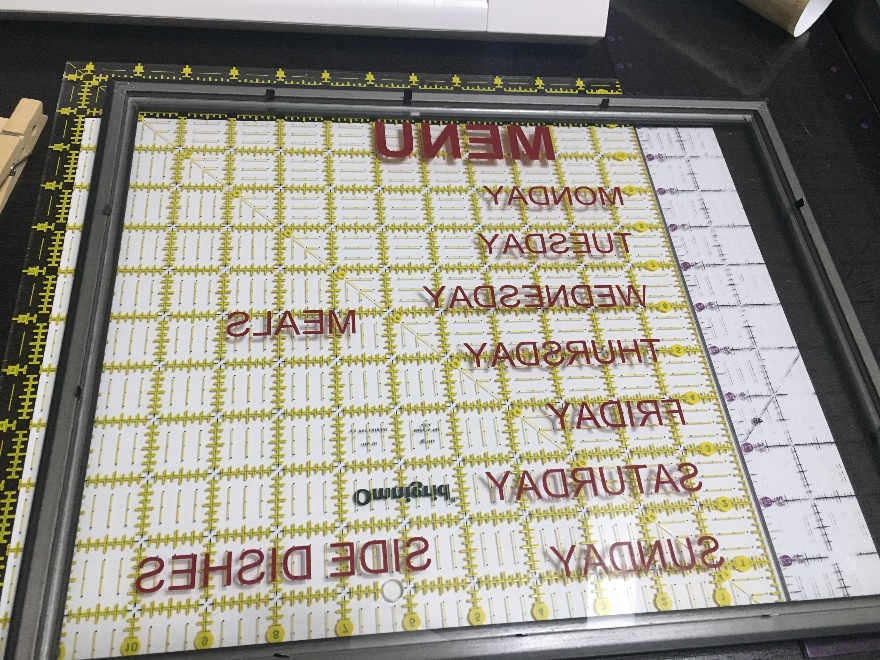
4. Lay out the clothes pins and day of the weeks on your glass. Mark placement with your dry erase marker. This is the time to really set up how you want your menu board to look, move things around until you’re happy.
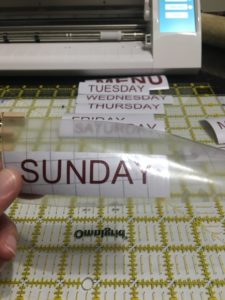
5. Transfer your days of the week onto transfer paper and then transfer onto frame glass. My days of the week started 4” in from the edge of my glass. The “Menu” word is centered on the glass. My “meals” and “side dishes are centered in the remaining part of my glass with 4 ½” of room between them to save room for the card pockets. Double check with frame occasionally to make sure nothing is covered.
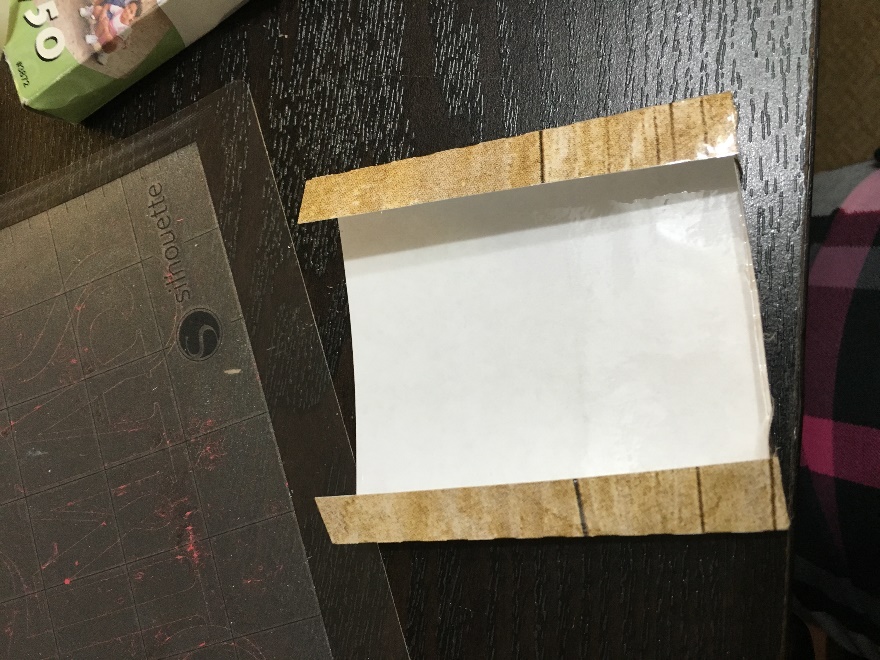
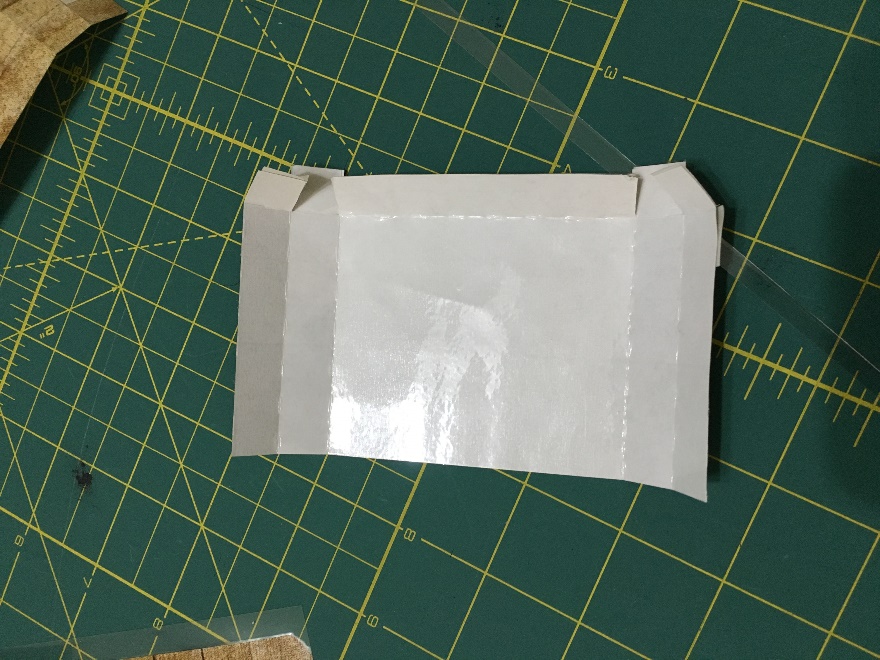
6. Make your meal pockets. I used the same backing paper and laminated it for durability reasons. You can get self-laminating sheets if you do not have a laminating machine. The dotted lines on the template show a perforated cut just to ease in folding the pockets. If you do not have a cutting machine, trace the pocket template and cut small perforations with an X-acto knife to get the same effect.
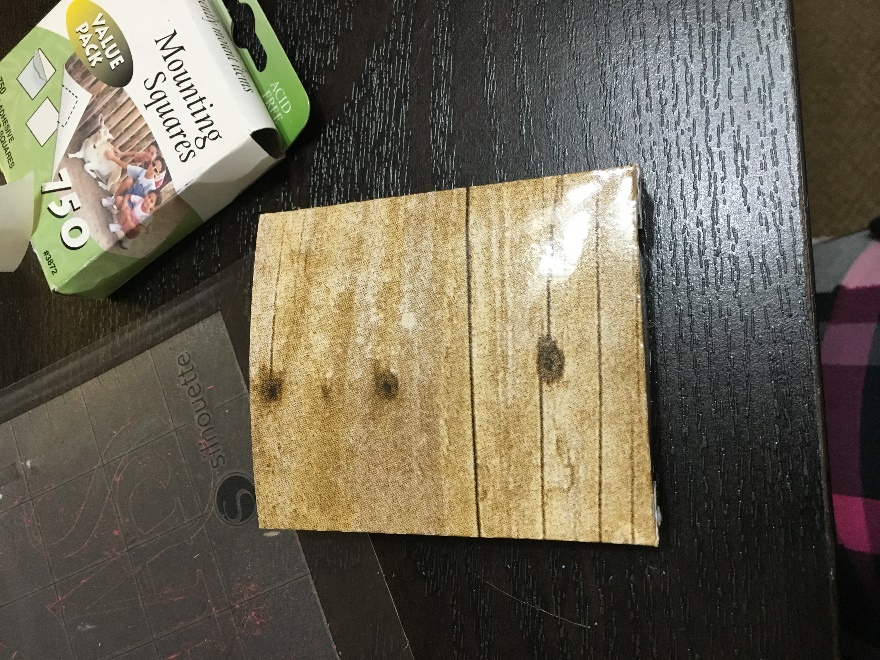

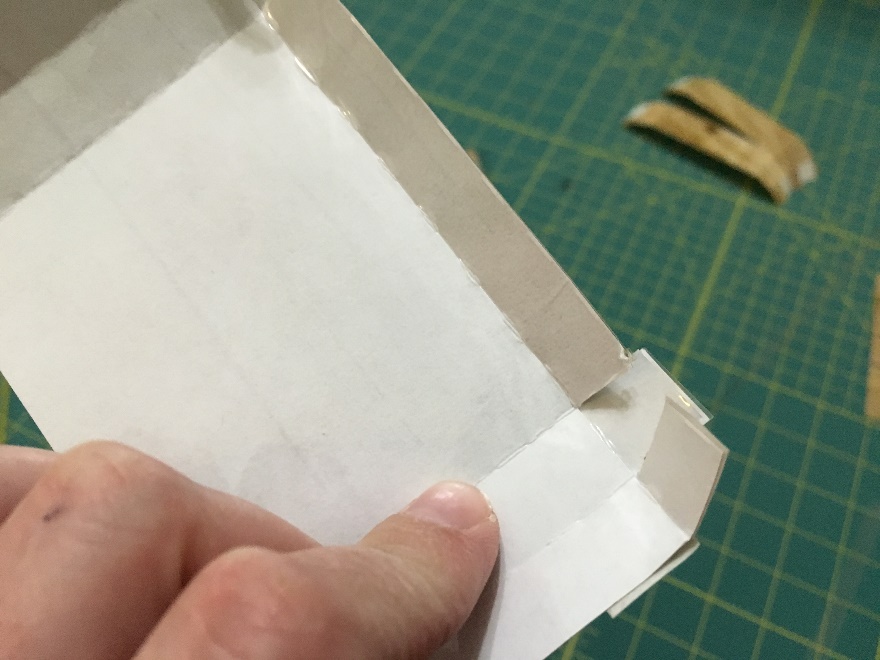
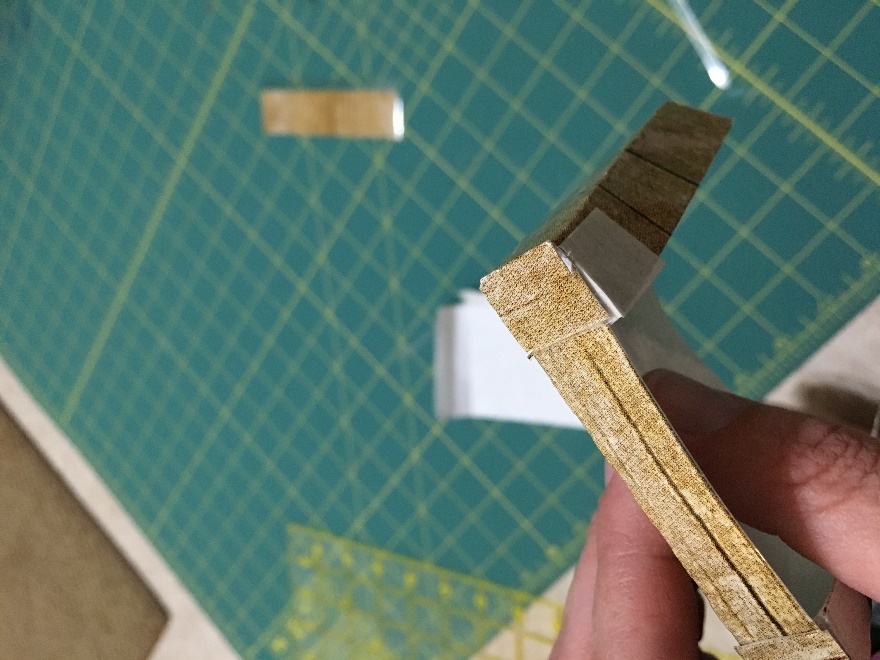
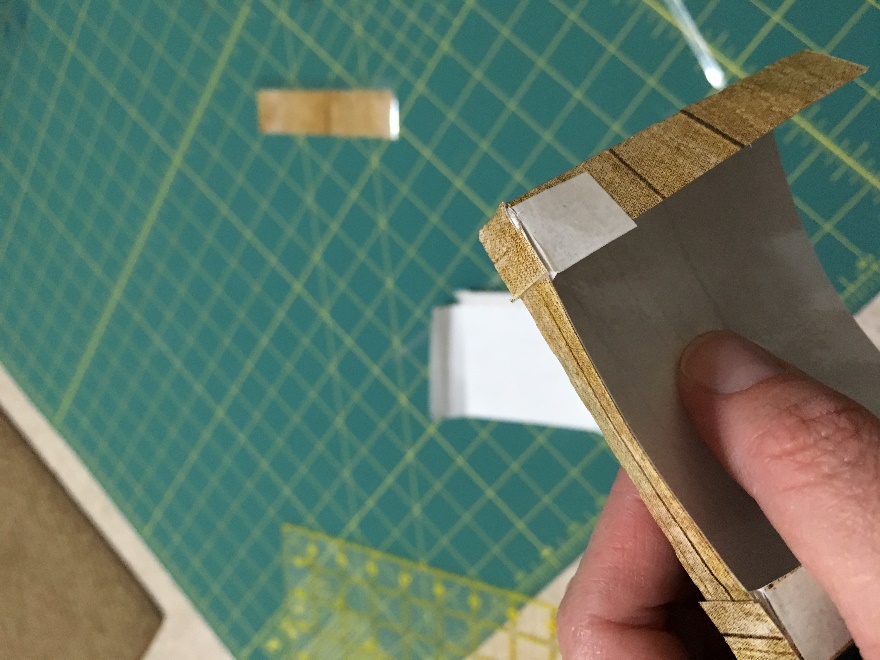
Adhere corners to form pockets with scrapbook mounting squares
7. The pockets and the clothes pins can be adhered with command strips. I tried to use the scrapbooking squares and the weight of the meal pockets especially made this unrealistic. I just cut up command strips to put on the pocket sides and bottom. The clothes pins seem to adhere well with 4 scrapbook squares but you could also use command strips.
Enjoy and check back for part 3 that will cover the recipe and side dish cards and magnets for your boards! Enjoy and happy crafting!
2 thoughts on “Menu Board and Chore Charts Part 2”