
Chore Charts and Menu Board Part 3
Chore Charts and Menu Board Part 1
Chore Charts and Menu Board Part 2
Chore Charts and Menu Board Templates
Materials
-Printer and Paper
-Laminating Sheets
-Laminator (Or self-laminating sheets)
-Magnet and Menu Templates
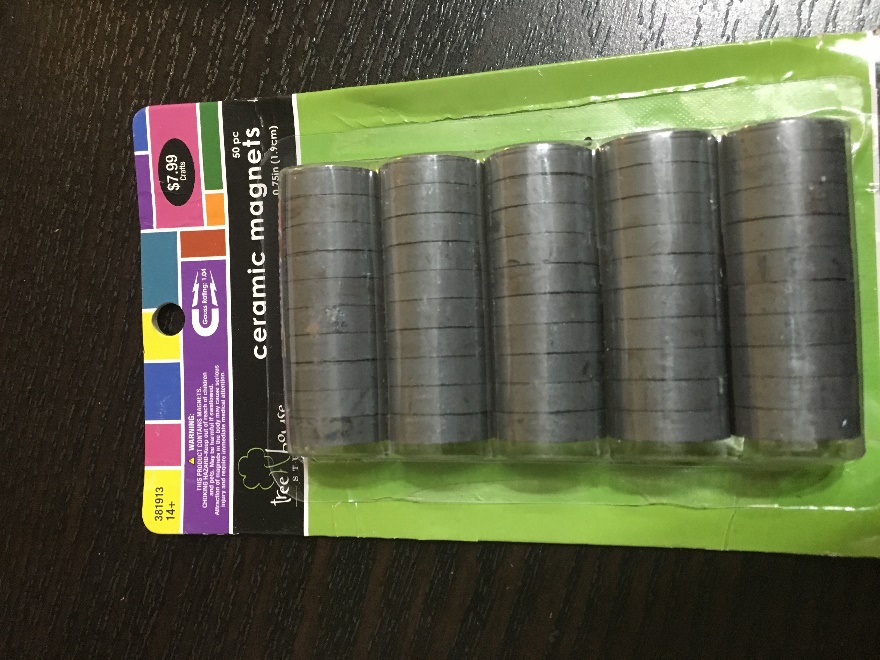
-Magnets
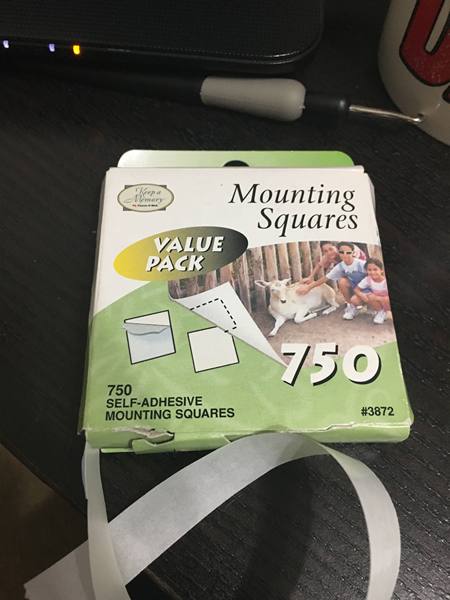
-Scrapbooking Mounting Squares
1. Upload templates from Google drive. You can edit the chores and menu items to fit your individual needs. If you have edited the template you will need to save them as a JPG before importing them into the Silhouette Studio. If you are not using a cutting machine then simply edit and then print your options. Laminate the printed sheet and cut out your shapes.
____________________________________________________________________________________________________________
Silhouette Instructions
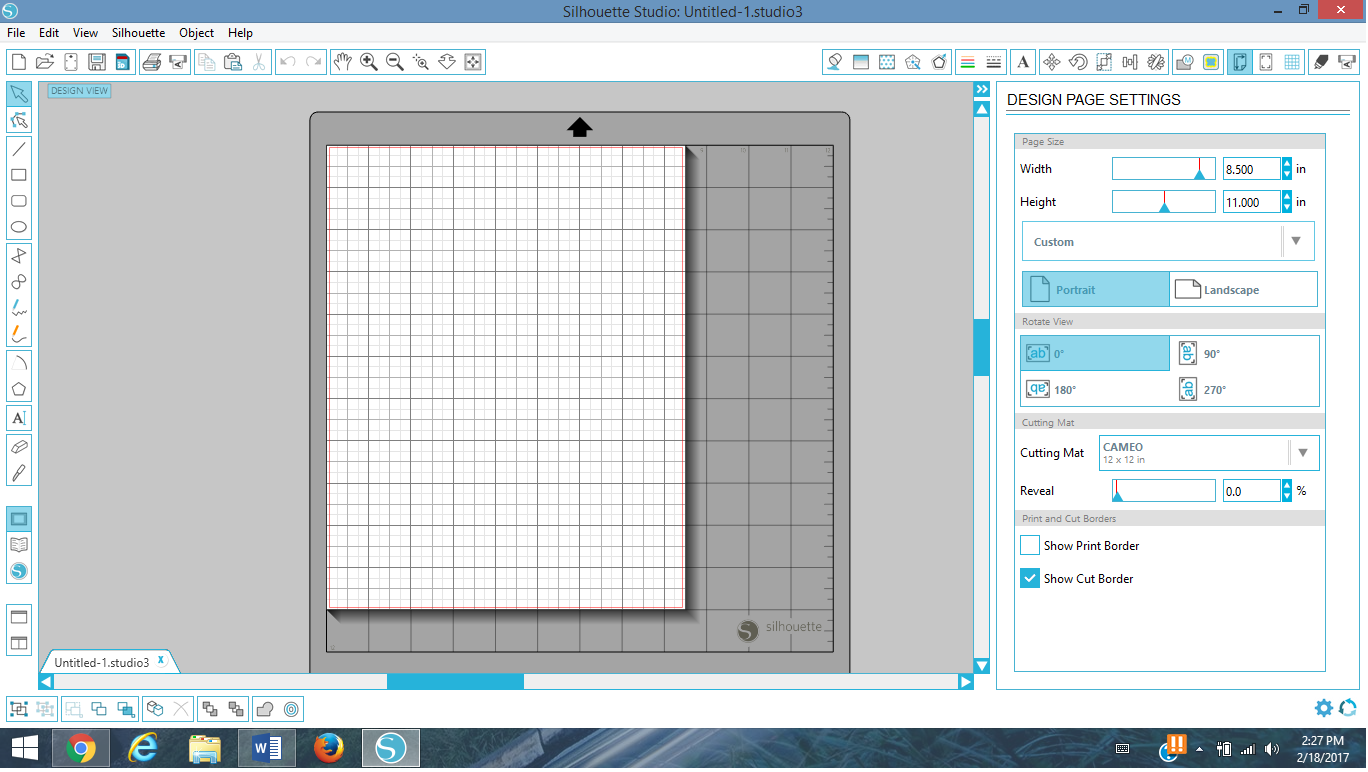
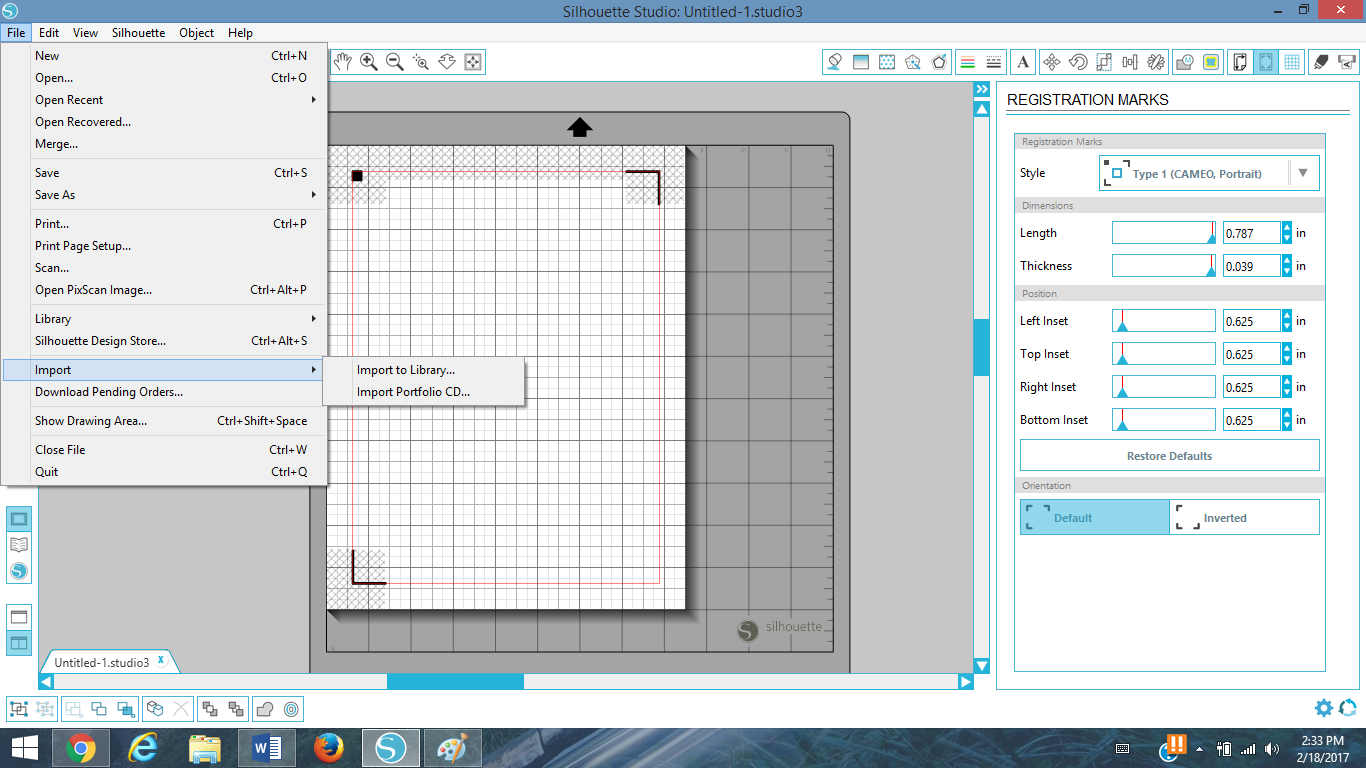
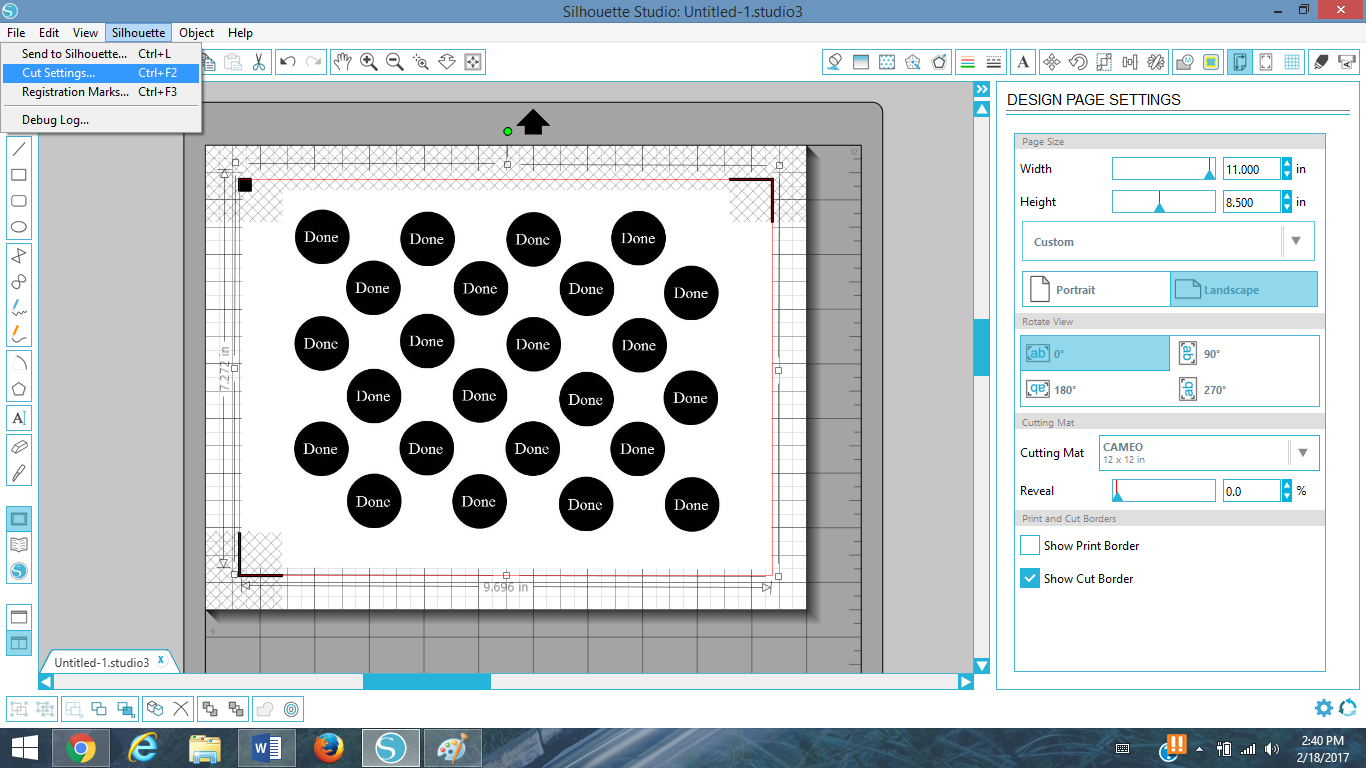
1. After saving your edited menu cards and chore magnets, save as a JPG file. Open your Silhouette Studio and set page size to 11” x 8 ½” in your design page setting menu, opposite of what I have on the screen shot size option. Be sure to select a cutting mat as part of your page set-up option.
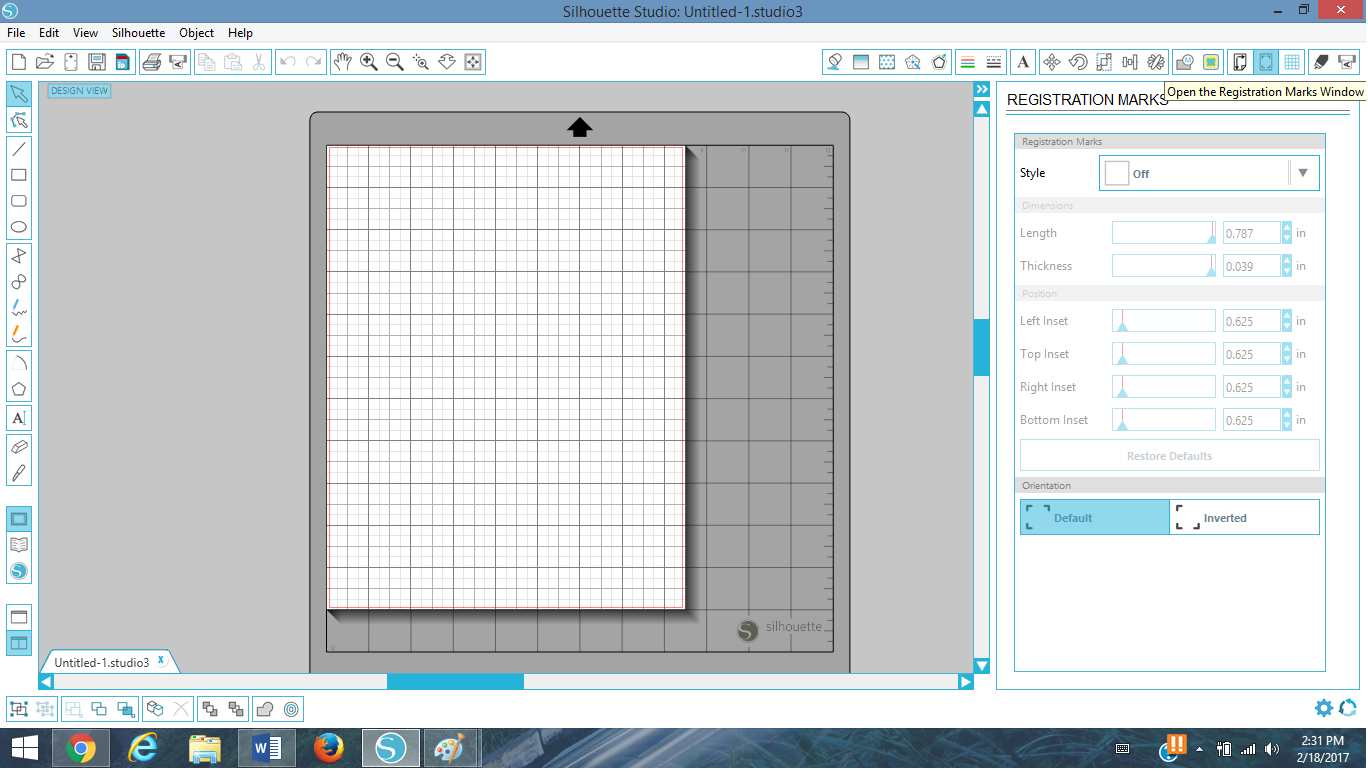
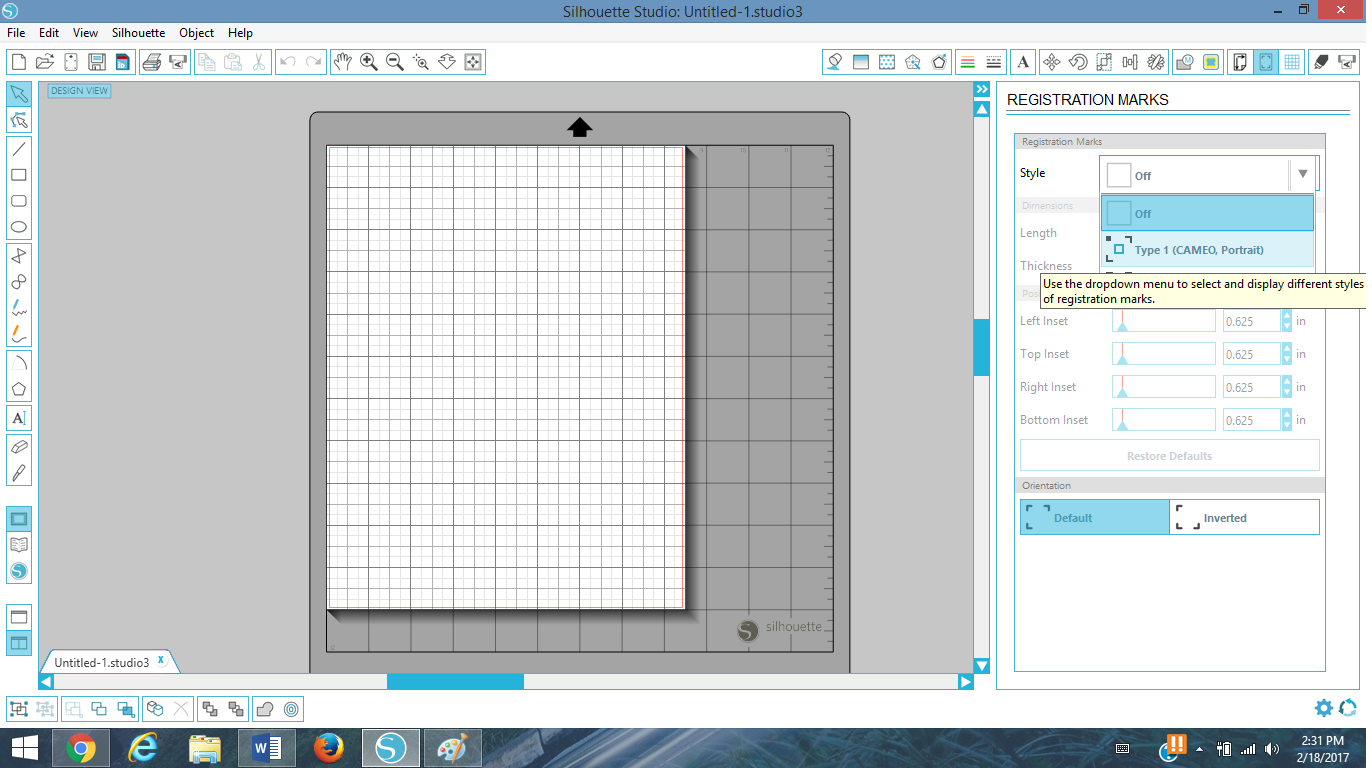
2. Turn on registration markings so that the print and cut option will work properly.

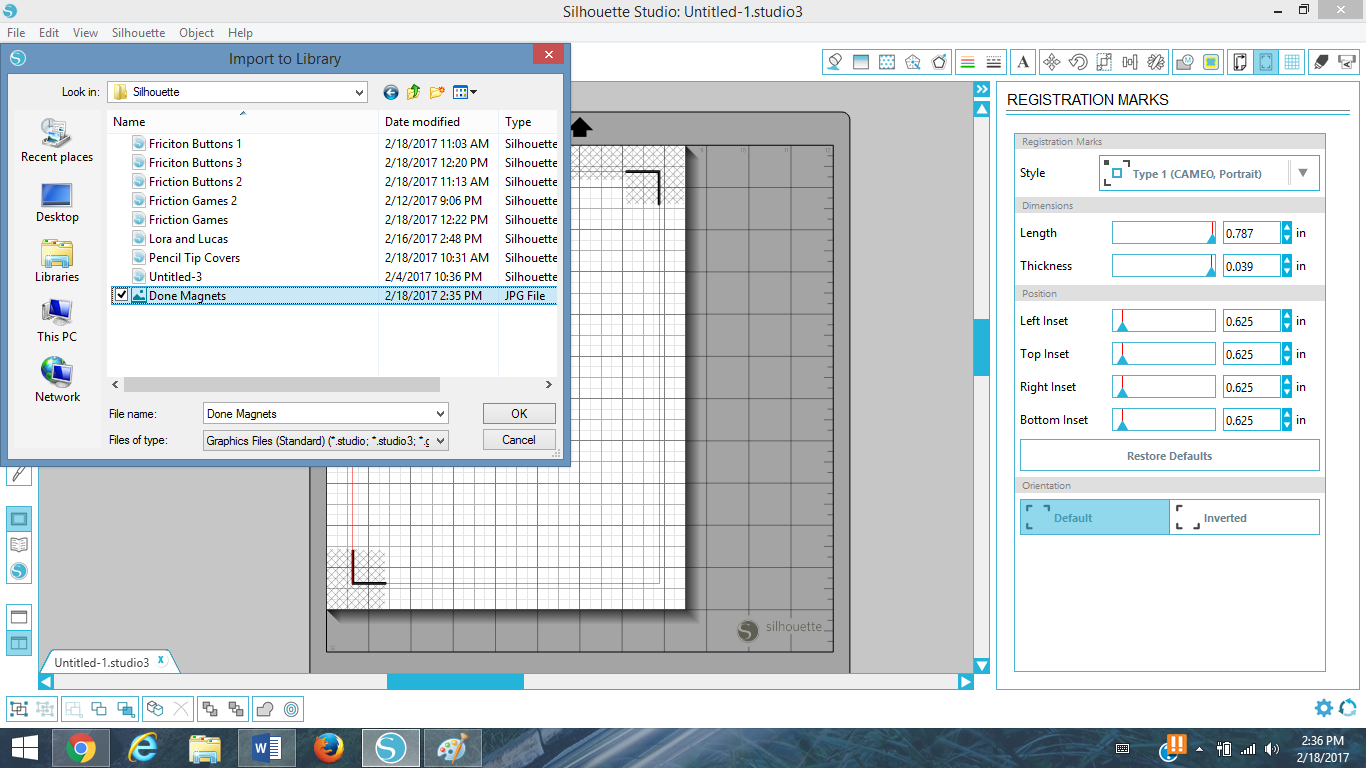
3. Import your JPG file into your Silhouette library.
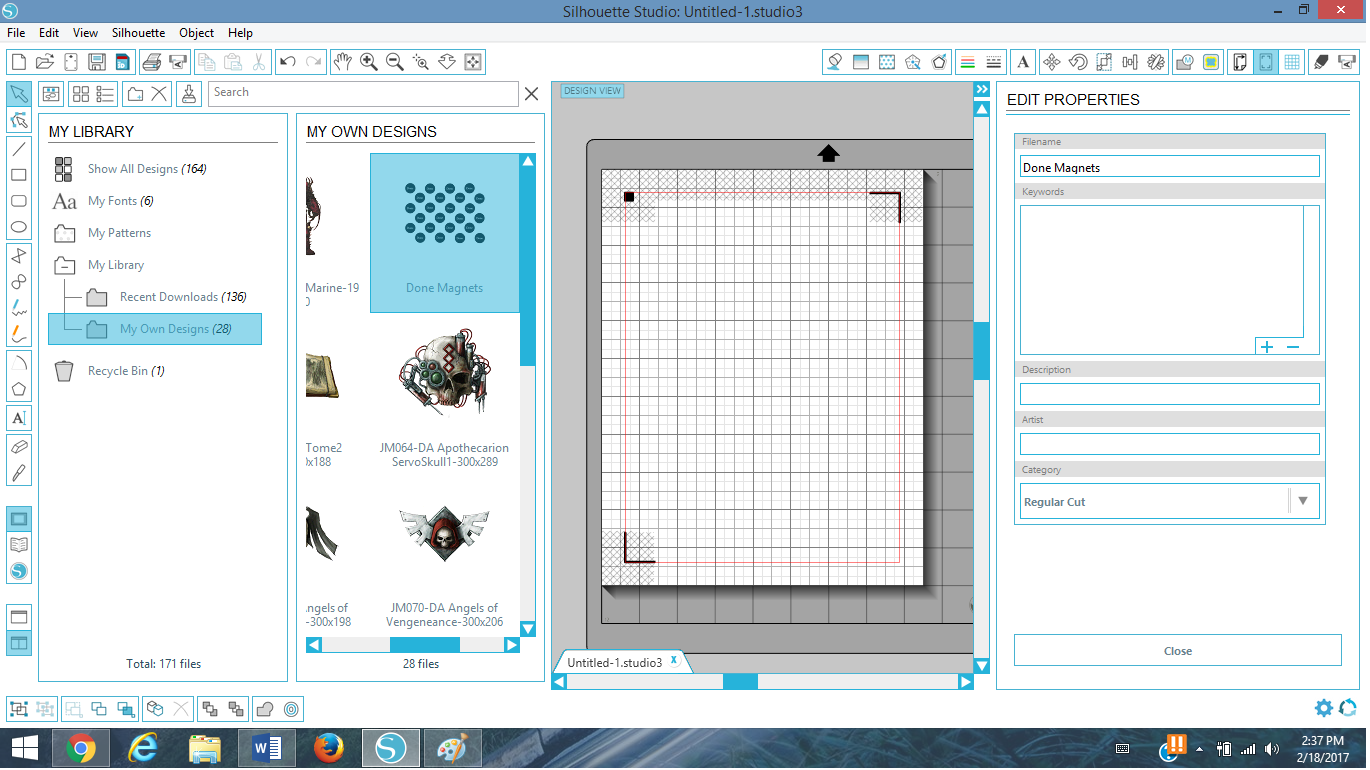
3. Double click on the image and it’s added your page.
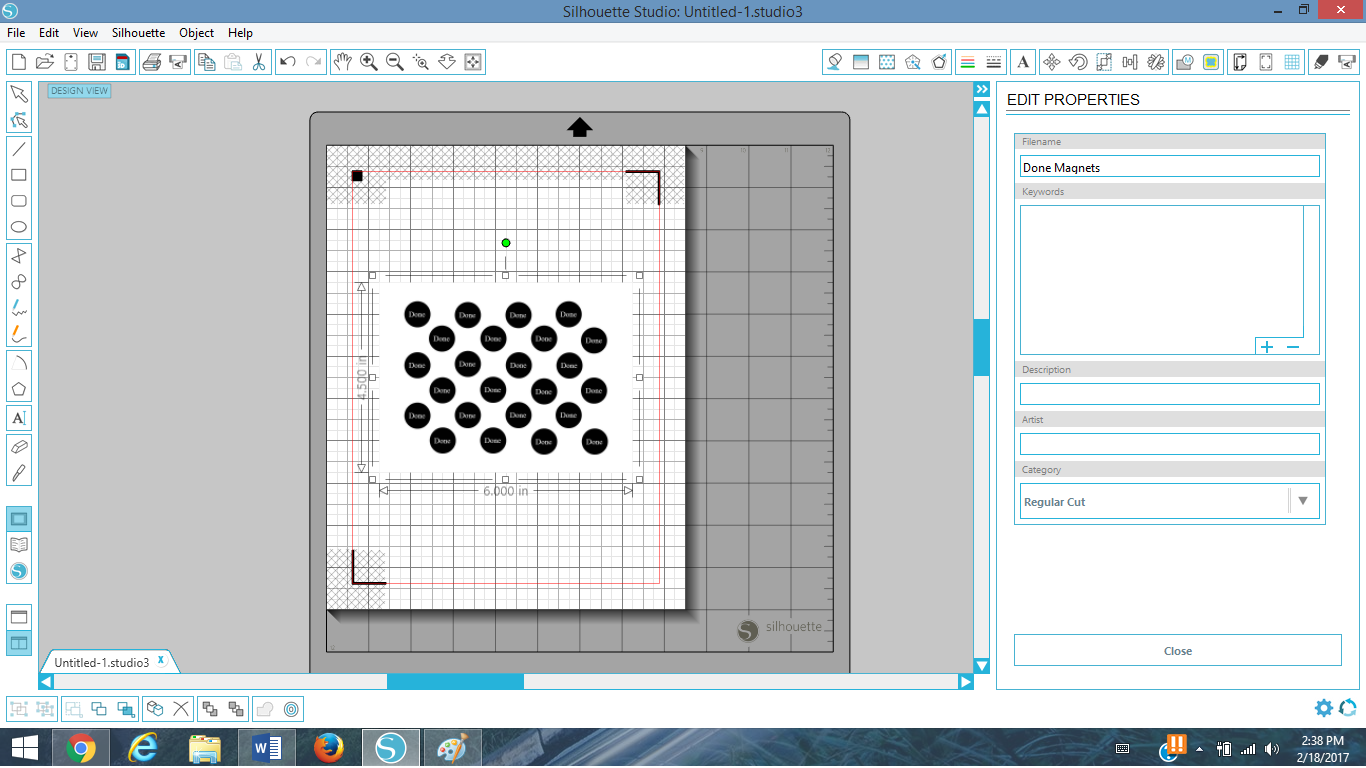
This is where I realized my error of setting it up at 8 1/2“ x 11” page and corrected it to step 1’s 11” x 8 1/2”.
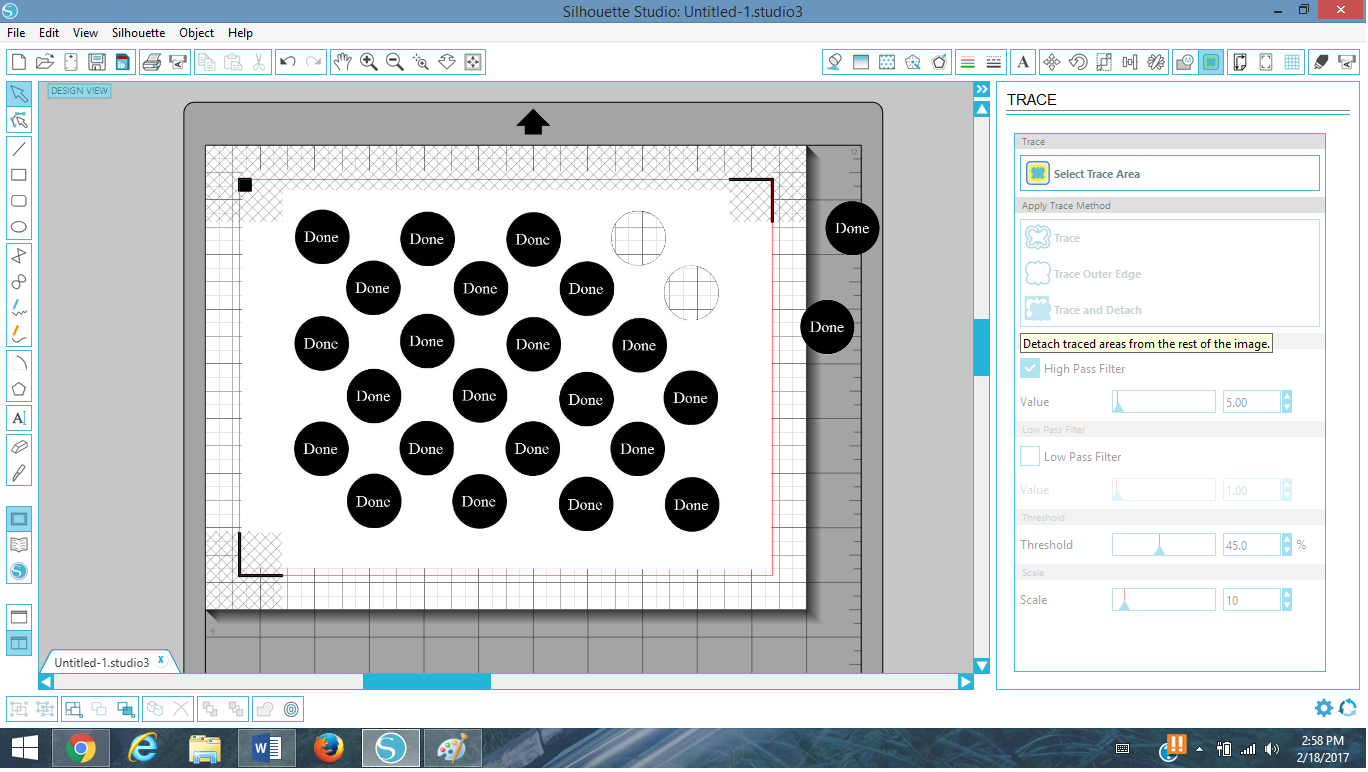
4. Stretch the image to fit your page’s registration marks and open the trace window.

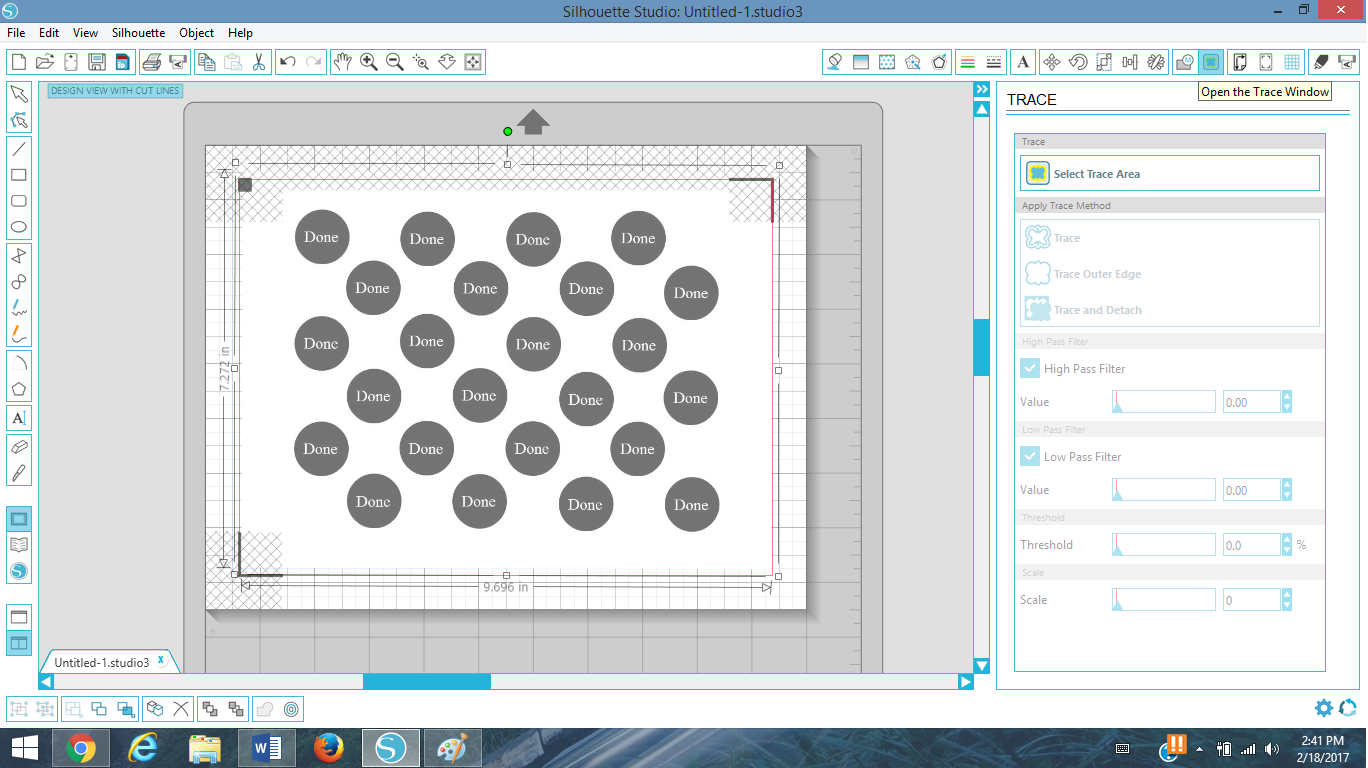
5. Click on “Select Trace Area” and stretch a box over your entire page.
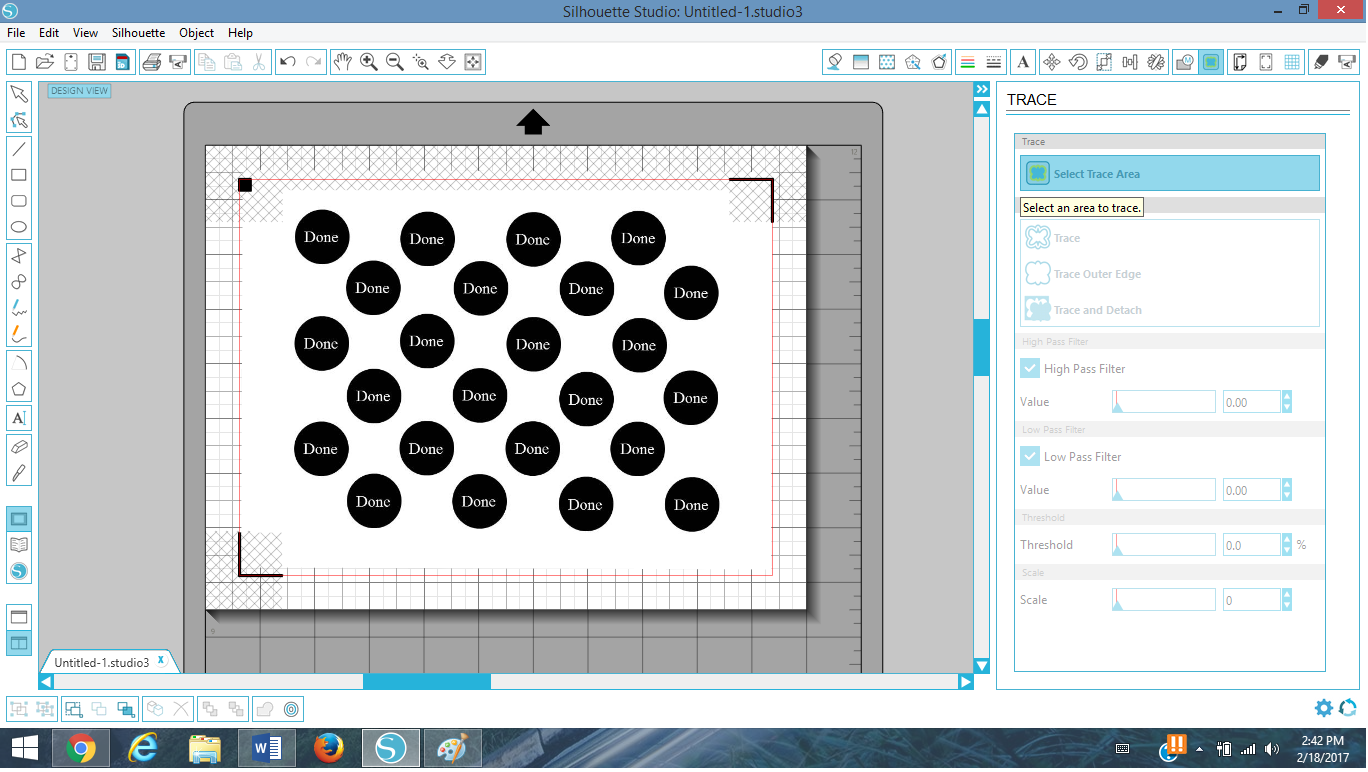
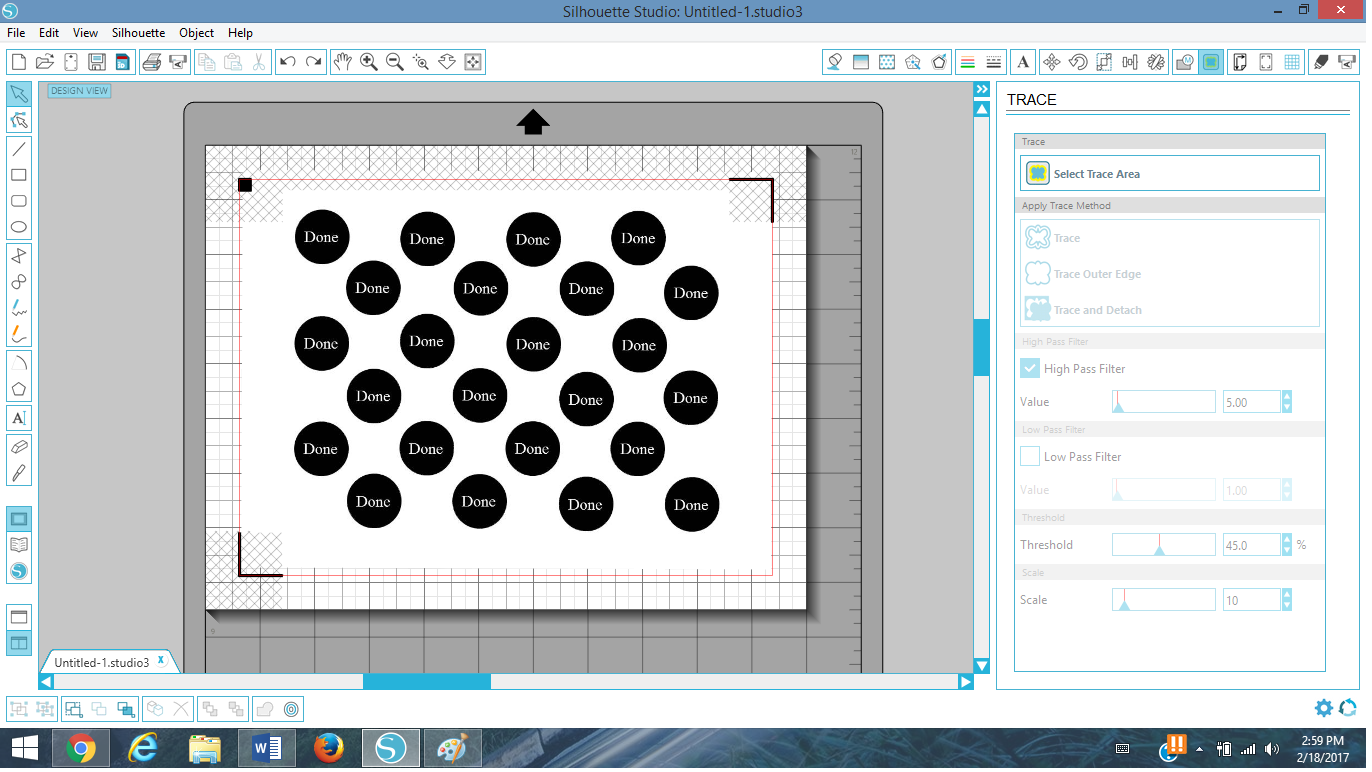
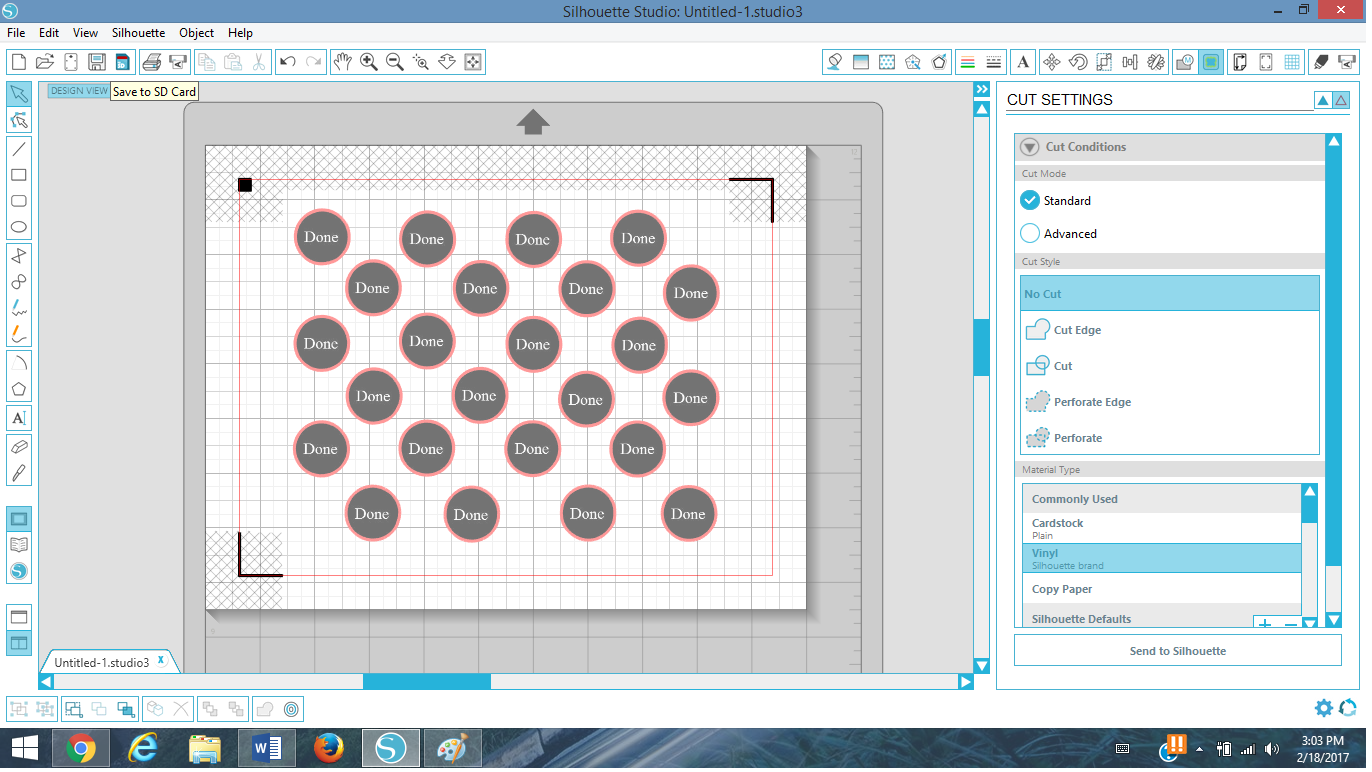
6. Hit trace and detatch. Then select any part of the white section and hit delete. The dots will be the only part of the page that still remains.
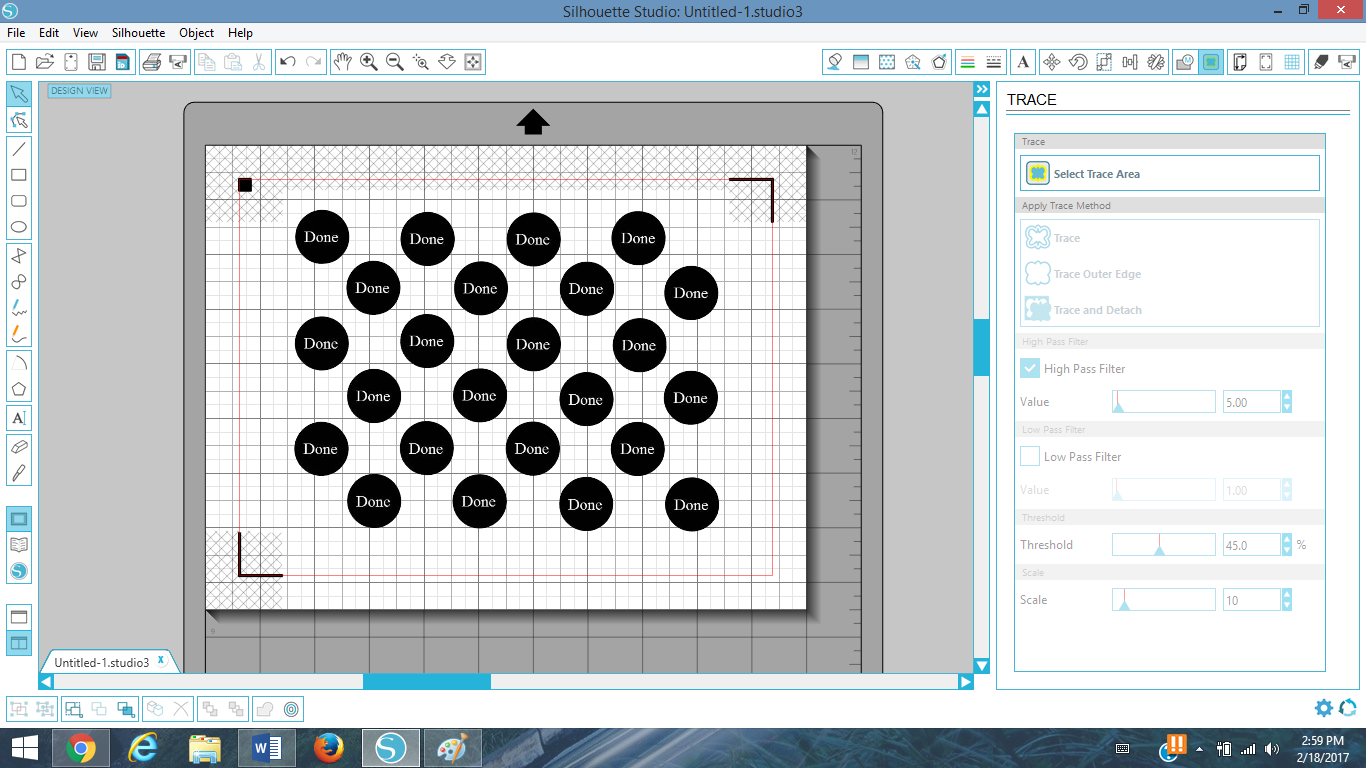
If you did it correctly, you should be able to remove the dots individually. I did not because then I would have to line them all back up. If you wished to fit more dots on a page you could place them closer together and duplicate the additional dots.
Your design is now ready to print and laminate. Print your design directly from the Sihouette Studio Program. The design will print exactly as shown with the registration marks so that your Silhouette machine will be able to scan the page and align it for perfect cutting.
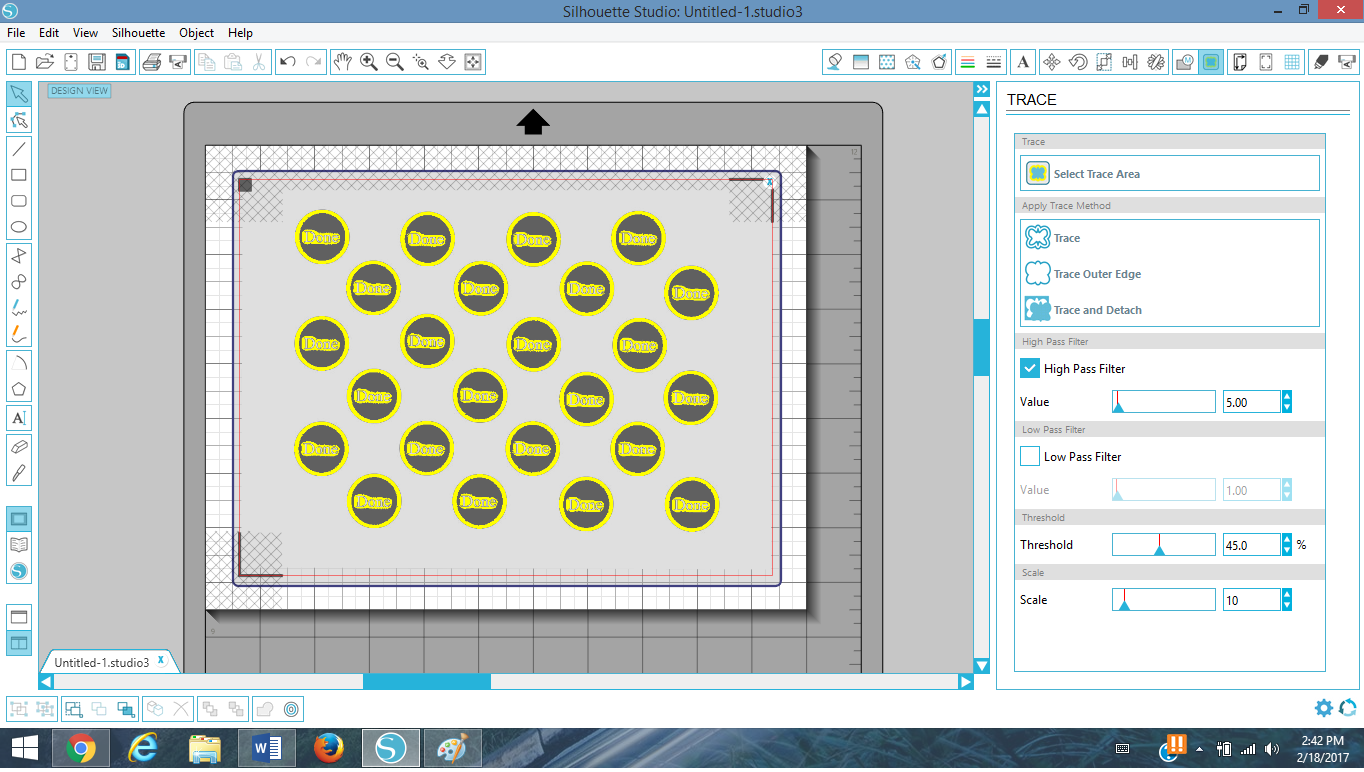
7. Now that the design is finished you need to set up the cut marks for your silhouette machine. Open the Trace window again, select the entire page as your trace area. Instead of Trace and Detatch you are going to select Trace Outer Edge this time.
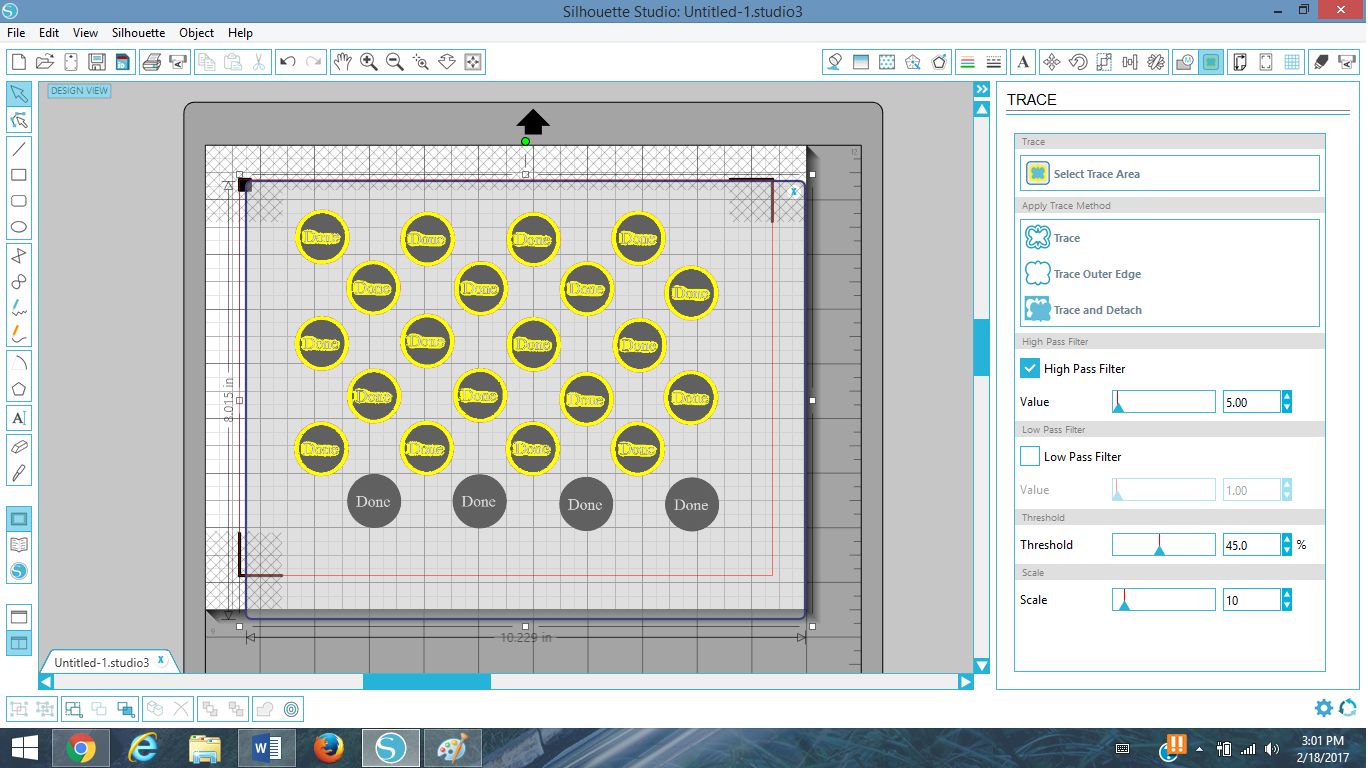
The bottom row of dots would not show up in this option at first. Not to worry just select Trace Outer Edge on the dots that did trace correctly and then repeat after selecting the bottom row only. Then the whole page is ready for cutting.
8. Select Silhouette, the cut settings to insure that all the dots have a cut line showing around them.
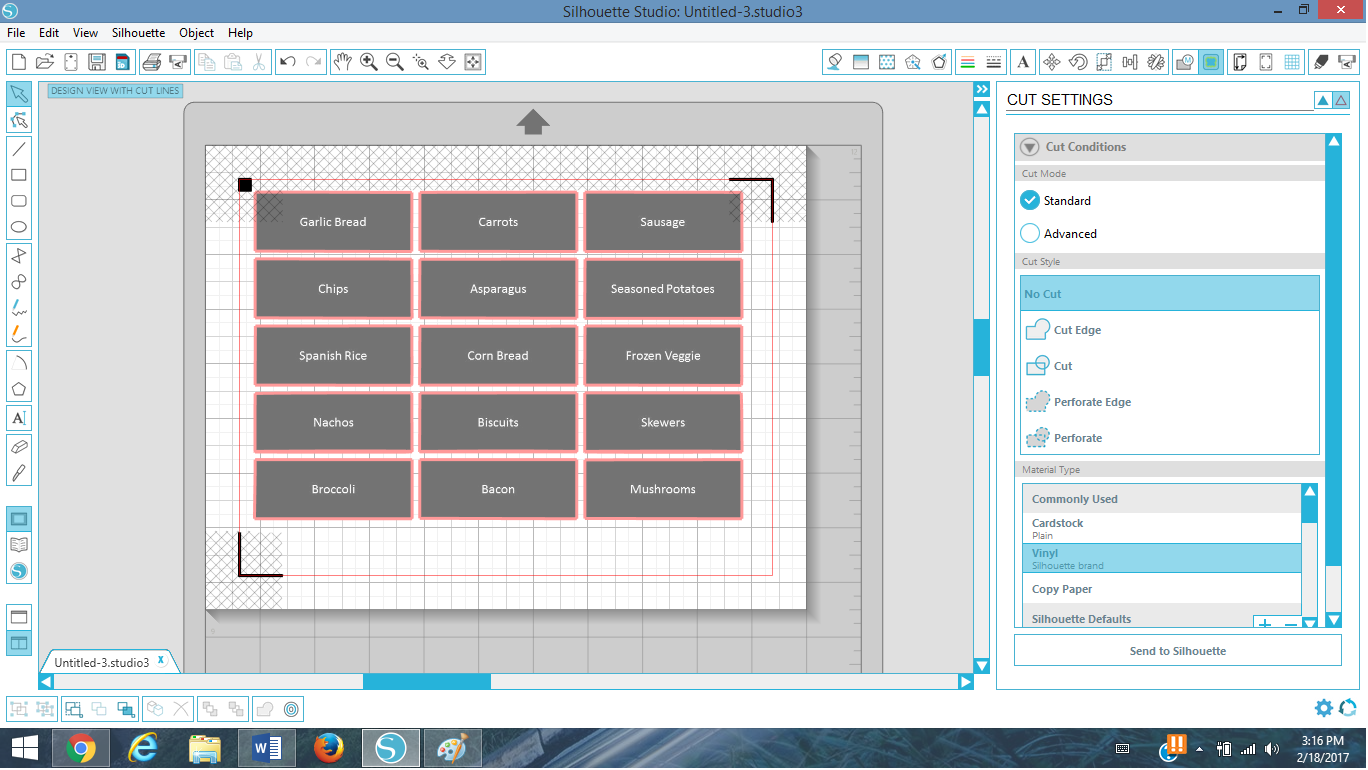
9. Align your laminated sheet onto your cutting mat and shown and then load the mat for cutting. I found that if I cut the laminated pages on the card stock setting (Blade 3, Depth 20) and select double cut the design cuts out perfectly. These steps can be repeated for your menu cards and chore circles.

_____________________________________________________________________________________________________________
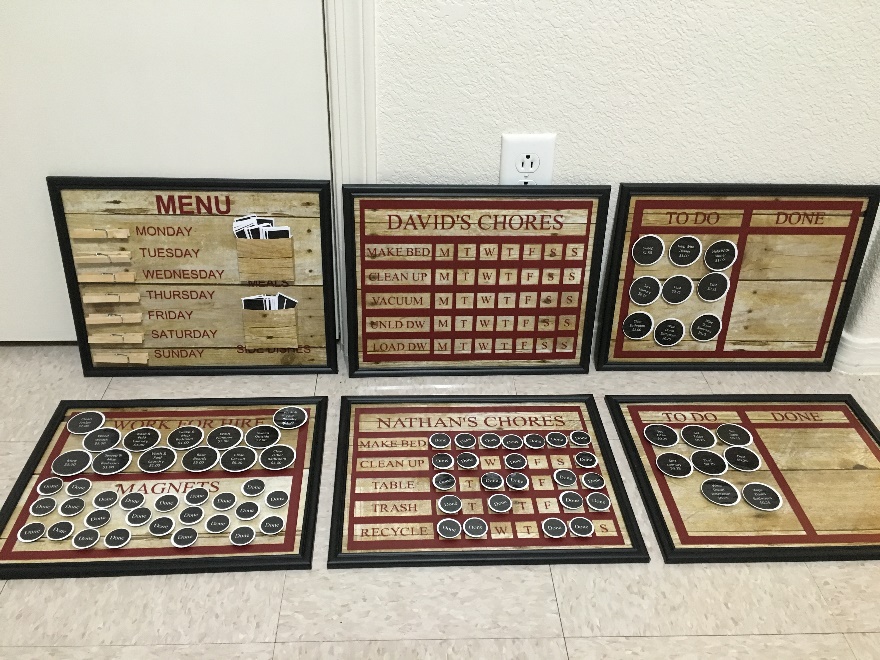
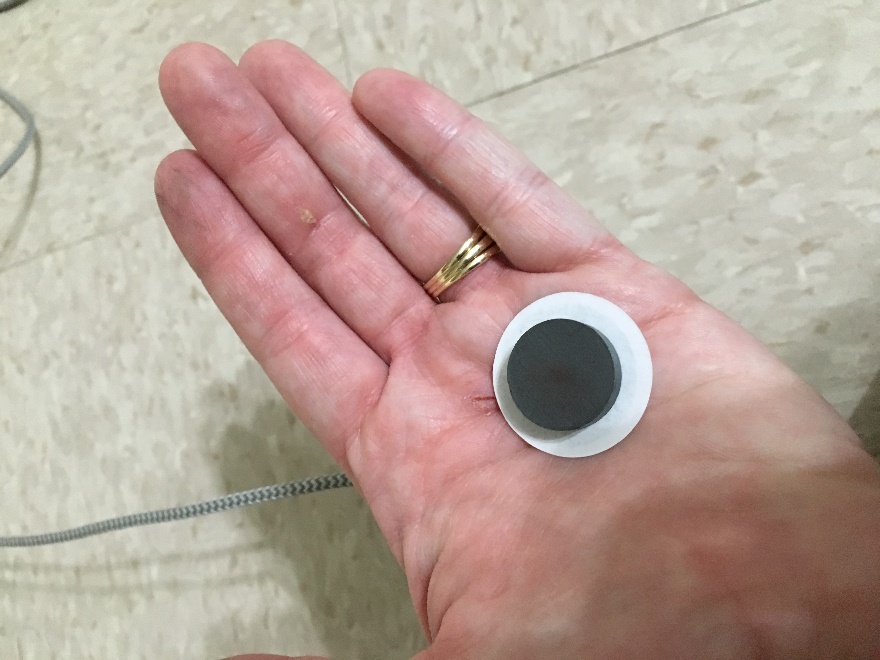
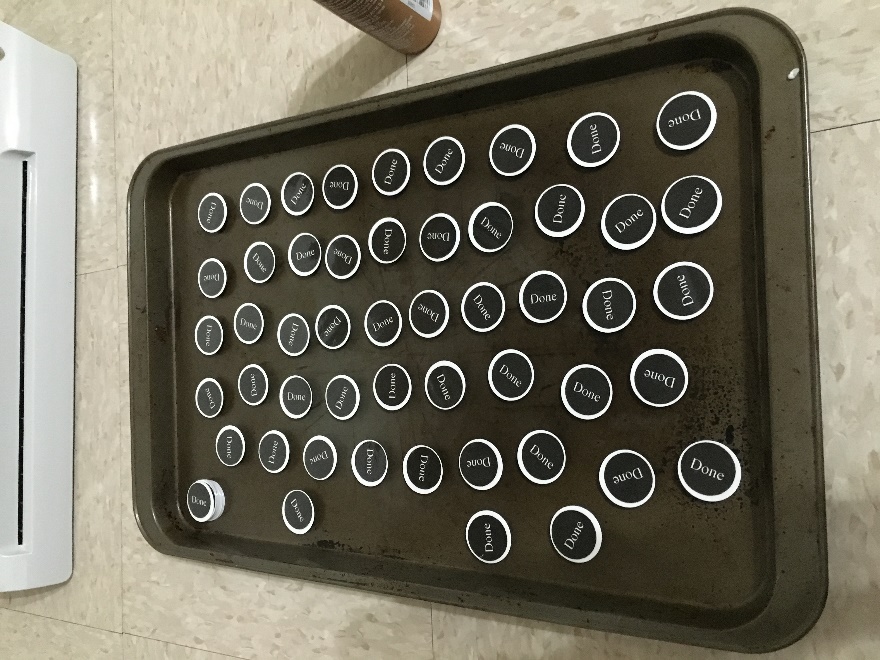
2. Once your circles are cut attach each one to a magnet. I tested the magnets on my finished chore charts to insure I had purchased magnets strong enough to get through the glass and actually stick to the shingle flashing behind it. The magnetic strength #7 magnets I purchased at Hobby Lobby work perfectly. Attach each circle to a magnet using the scrapbooking mounting squares. I had originally used craft glue and that did not end up being enough to keep them attached with the gently loving touch of my children.

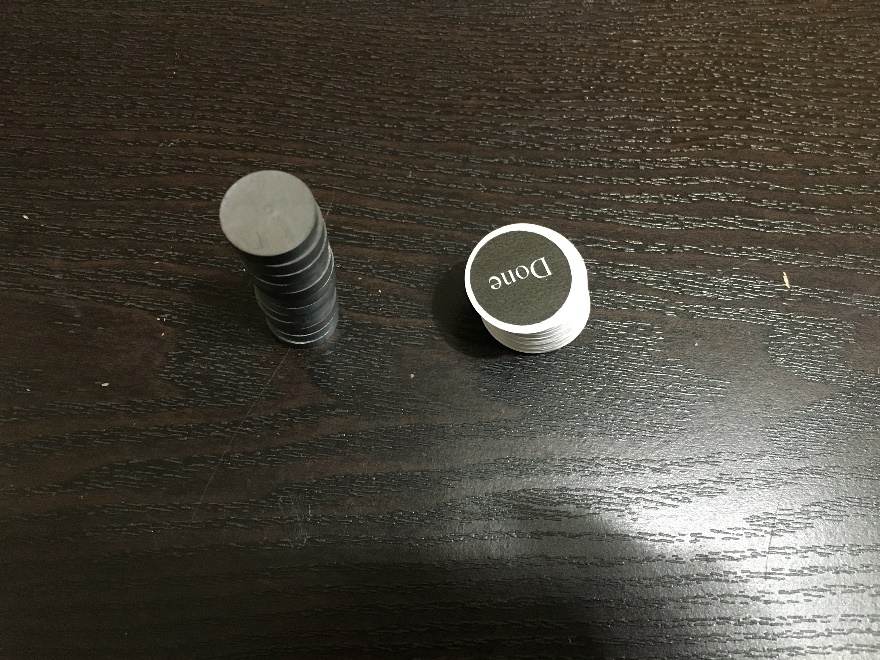

Your magnets will be cut out perfectly around the black area if you used the above Silhouette instructions. I, alas, was not that smart when I originally made my magnets.
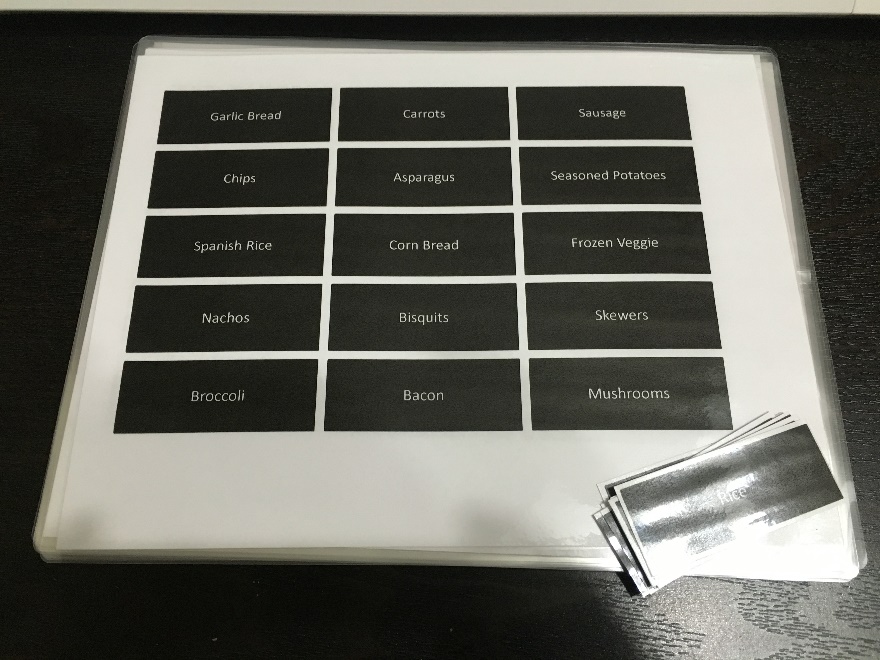
Cut out your menu options and no magnets are needed since they’ll be in your menu board pockets.
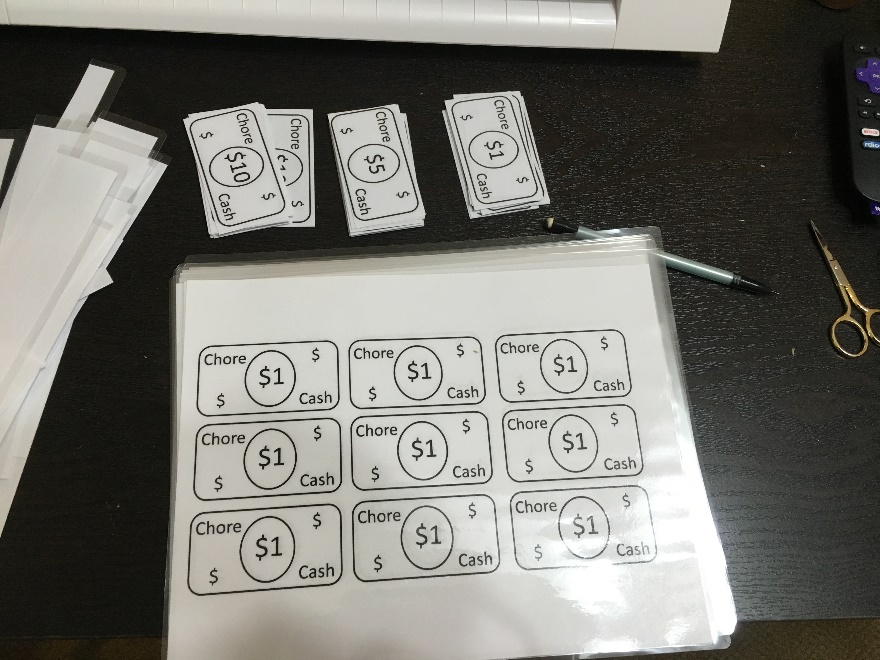
Now at my house I never seem to have cash when chore chart payment is due. We also make chore cash to pay our children out with each week, when they’re ready to spend it we cash in the chore cash for real money.
Your menu boards and chore charts are now complete! Enjoy and Happy Crafting!
2 thoughts on “Chore Charts and Menu Boards Part 3”